Digital Media Production
Louise Nichols
SID: 2313339
Year 2
Year 3
Louise Nichols
SID: 2313339
Second Year Projects
Immersive Storytelling
Timester One
Immersive Storytelling
Short Film
Graphics in Motion
Trimester 1
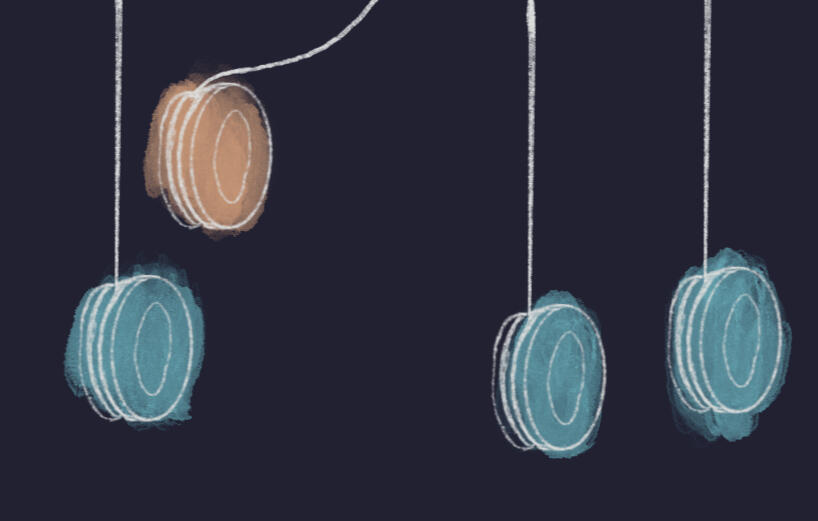
Graphics in Motion Trimester 2
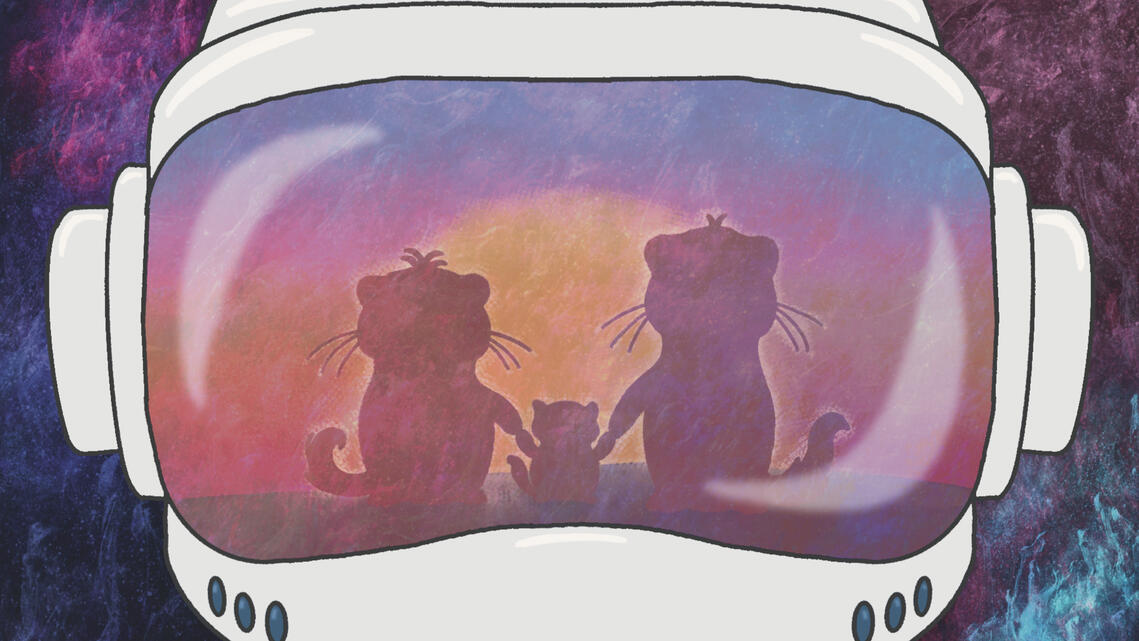
Louise Nichols
SID: 2313339
Third Year Projects
MOD007300
Year 3
Trimester 2:
Digital Media Major Project
Professional Development
Trimester 1:
Pilot 1: Rubik's Cube
Pilot 2: Synaesthesia
UKAHT Live Brief

Kite Project

Major Project
Major Project Development Website
Professional Development
Professional Development
MOD007300
Year 3
Overview
This part of the module is about preparing for after graduation; looking out where to find jobs, how to apply and how to succeed in getting hired in our chosen creative role.
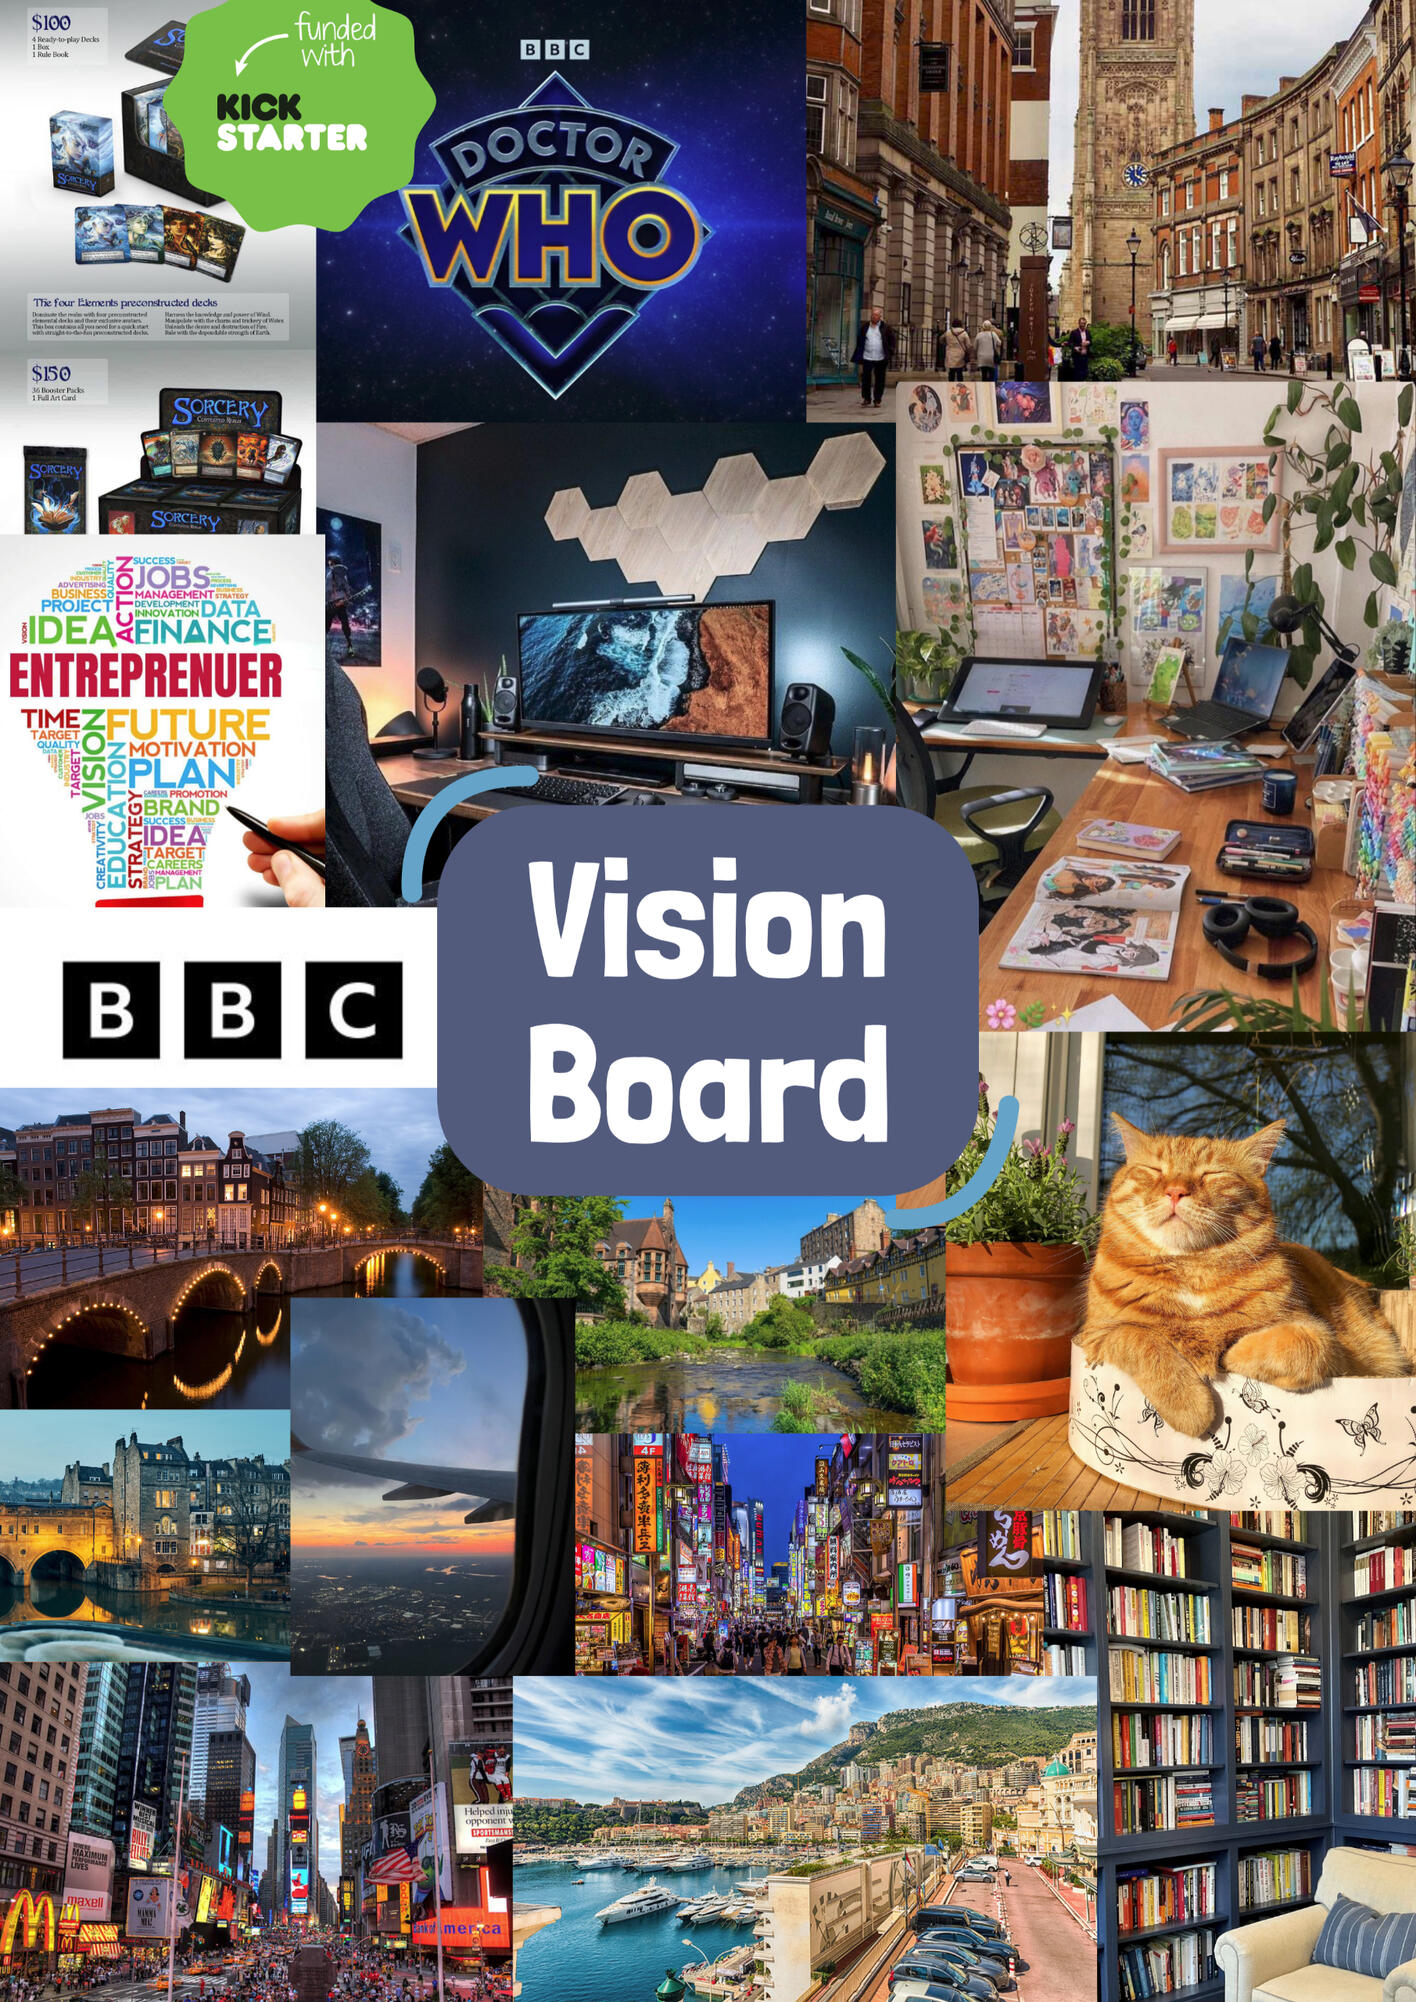
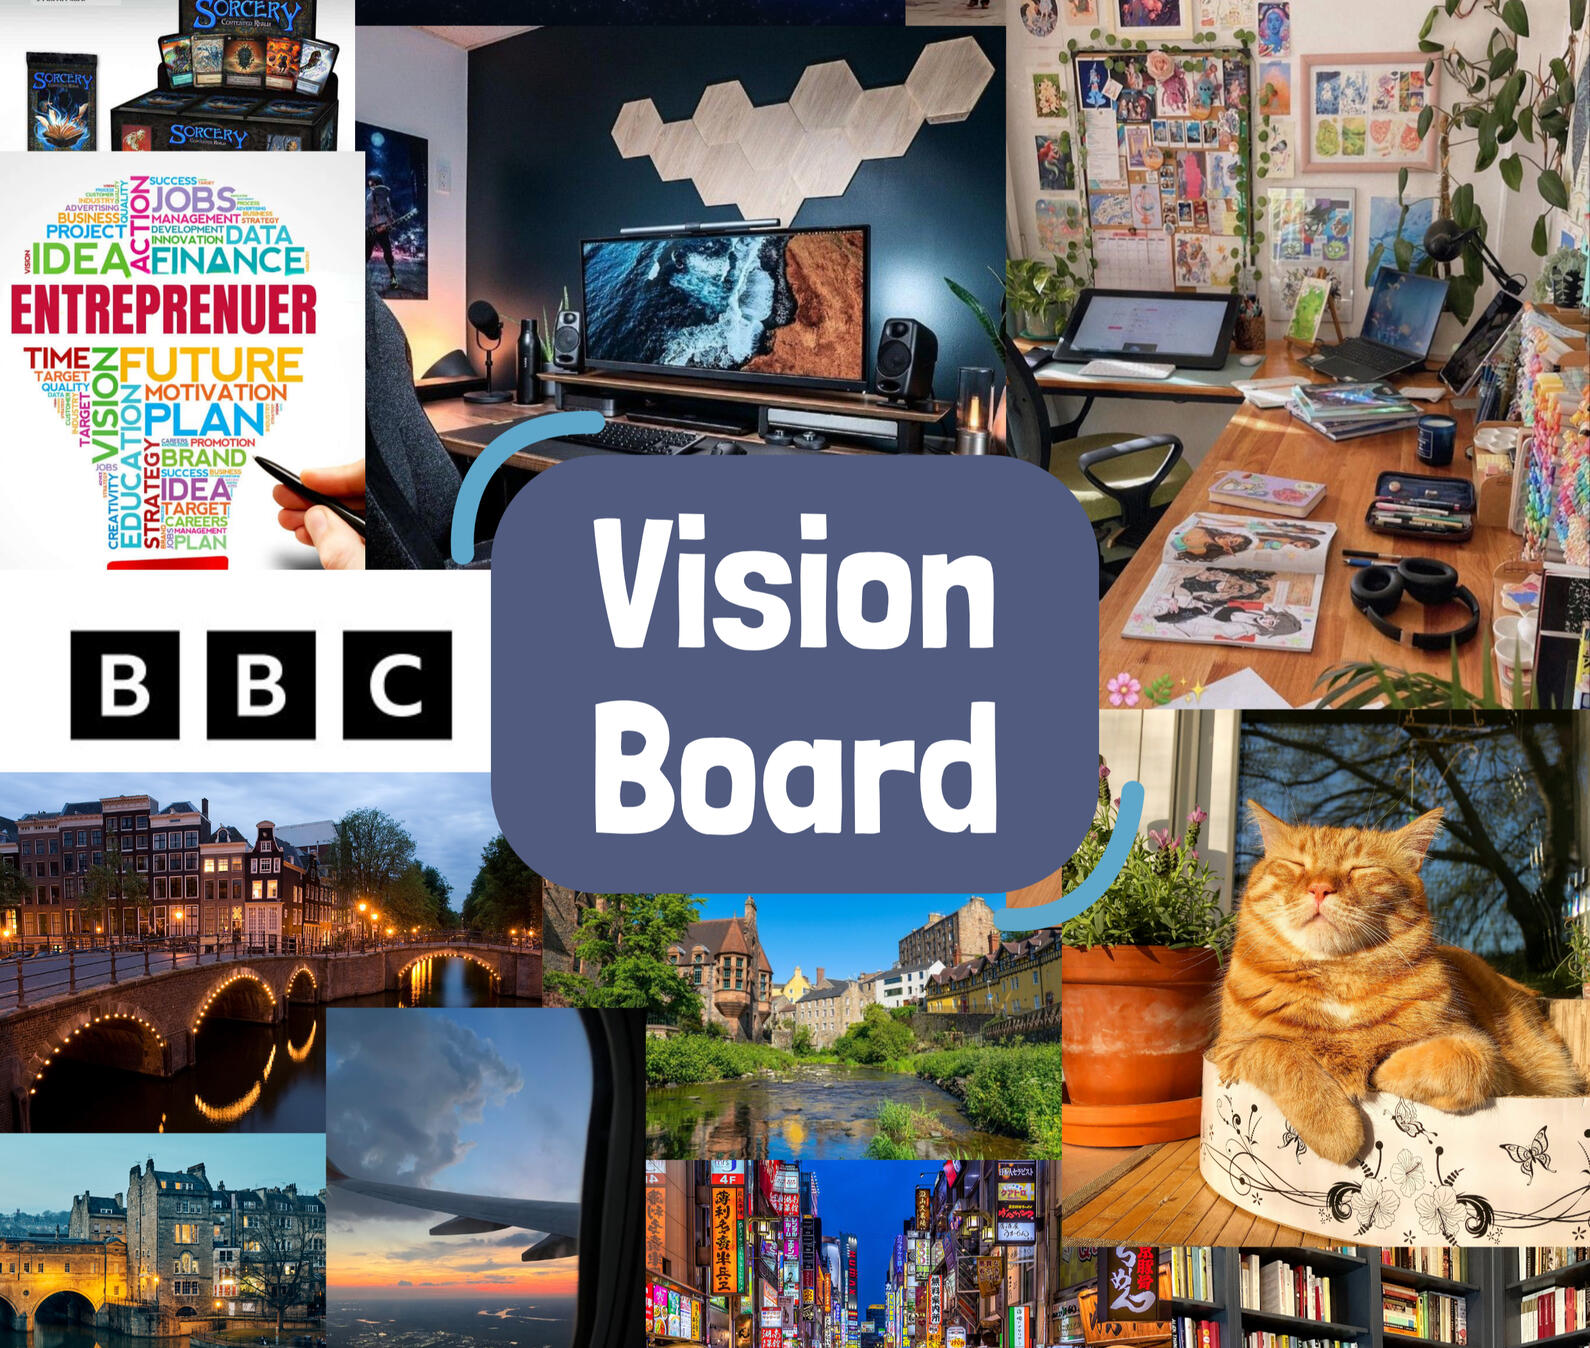
I created a mood board of what I wanted my future to look like. This included both my career goals and personal life goals.For my career, I would like to work mostly from home in a freelance or work from anywhere style because I would like to be able to travel more and this would give me the opportunity to extend my travels to work from different places. It would also be amazing to run my major project, Tickets to Connection, as a business. The goal would be to have it sustain itself financially but not to make loads of money as I want it to benefit as many people as possible, not be locked behind a paywall.There are many places I would like to visit across Europe including, Edinburgh, Amsterdam, and Florence. I would also like to visit Tokyo one day as well as New York.The short term plan is to move to Derby where my partner is to attend a master programme there, but after I am unsure of where I would end up living. I would like to have a home big enough to have a workspace and art studio, so I have a place to separate work from the rest of my life but also the ability to pursue other creative areas I enjoy. This would also have a library nook and no home would be complete without a cat which I plan to name chicken nugget.Although I wouldn’t want to ruin the show for myself, at some point it would be amazing to work to get to work on something for BBC Doctor Who. It has been my favourite show since it returned in 2005
Understanding Myself
My Core Values
Personal Values:
Creativity, equality, learning, accountability, capable, passion, originality, experience, growth, happiness, curiosity.Core career values:
Learning, confidence, creativity, dedication, innovation, growth, knowledge, equality, contribution, challenge.Core relationship values:
Communication, compassion, understanding, connection, empathy, gratitude, support, teamwork, transparency, playfulness.
Personality and Aptitude Tests
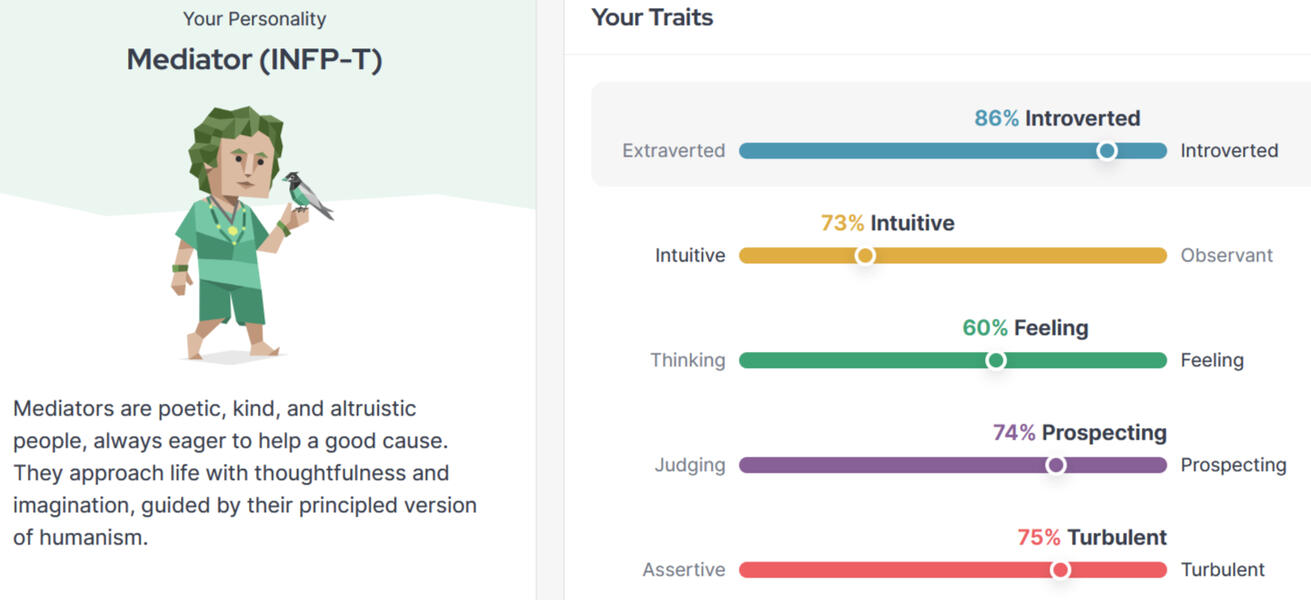
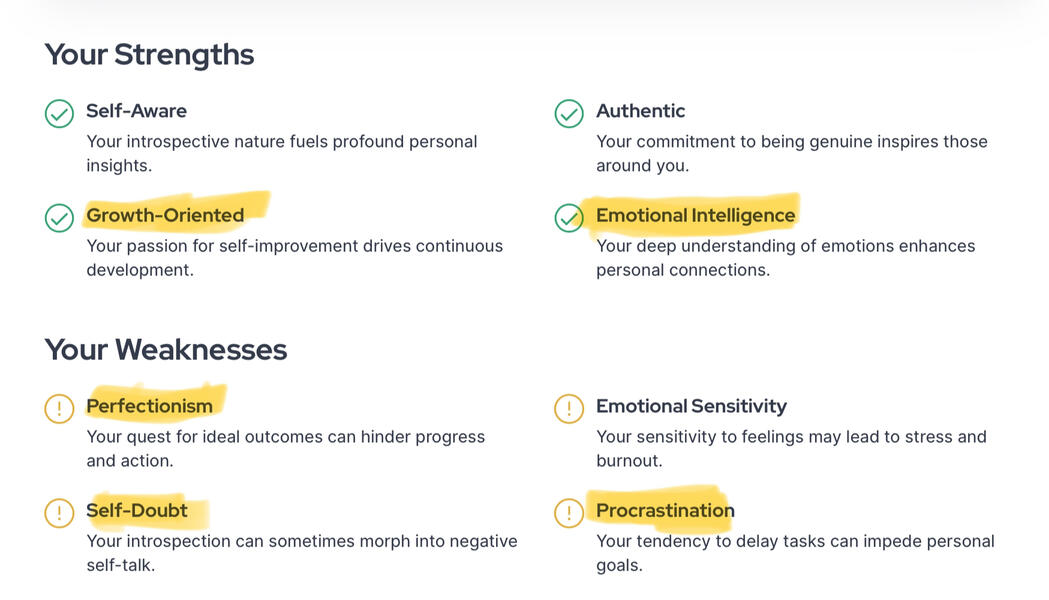
I took the well known 16 personality test and the result was a INFP-T also known as the Mediator. I had previously taken the test a couple of times, one being within the last year, and got the same type.
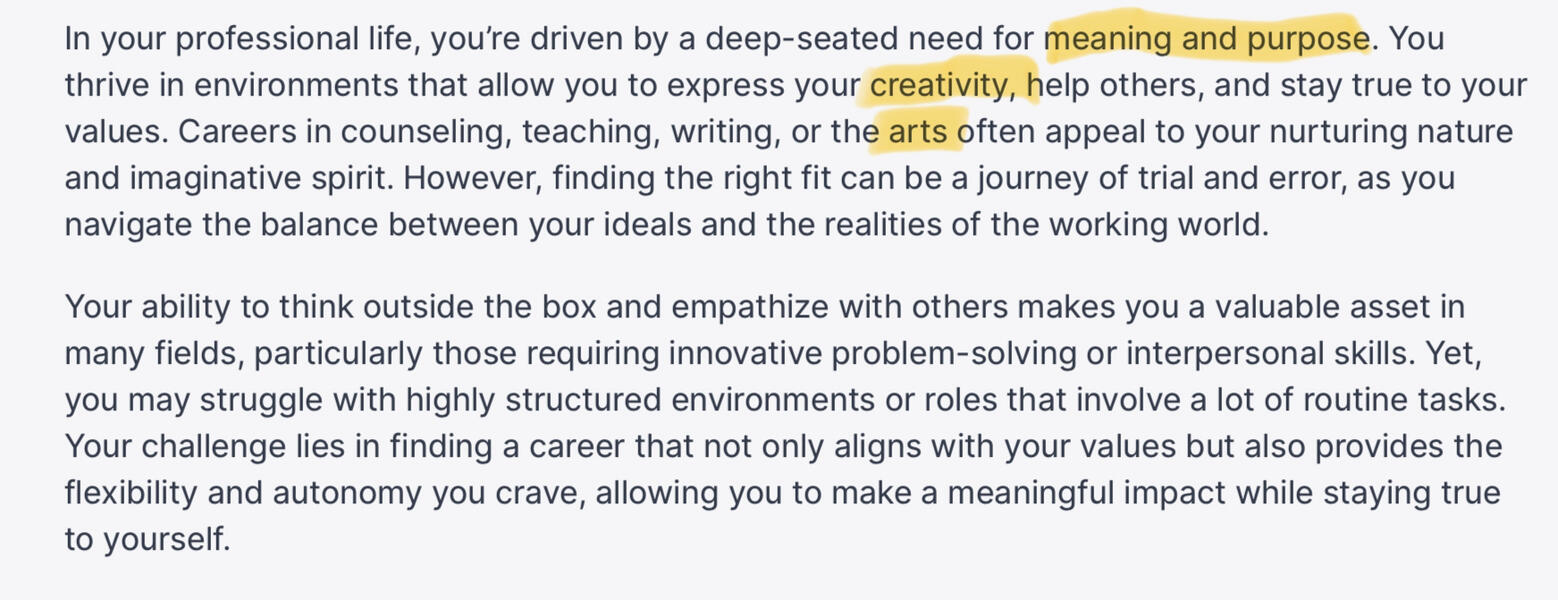
I generally agree with what it was saying, but was already aware of these things. For example, I know I am a perfectionist after spending hours redoing parts of animations before and often doubt my own abilities relating to skills in the industry. The need for meaning and purpose comes through in my major project;, wanting to make something that benefits those in long distance relationships as much as possible through the also mentioned creativity and art.
My Dream Role
What is my dream job role?
My dream role would be to be a small business owner; designing, producing and hosting a platform that helps people connect through art, as well as other related merchandise to support the projects.I would also like to work in graphic design and motion graphics to some degree. Personally, I do not want to a high-level designer tasked with big, important design jobs because I do not want that level of pressure. I would prefer to do in-house design for smaller companies working on social media, marketing and designs for merchandise or touchpoints.
Small Business Owner
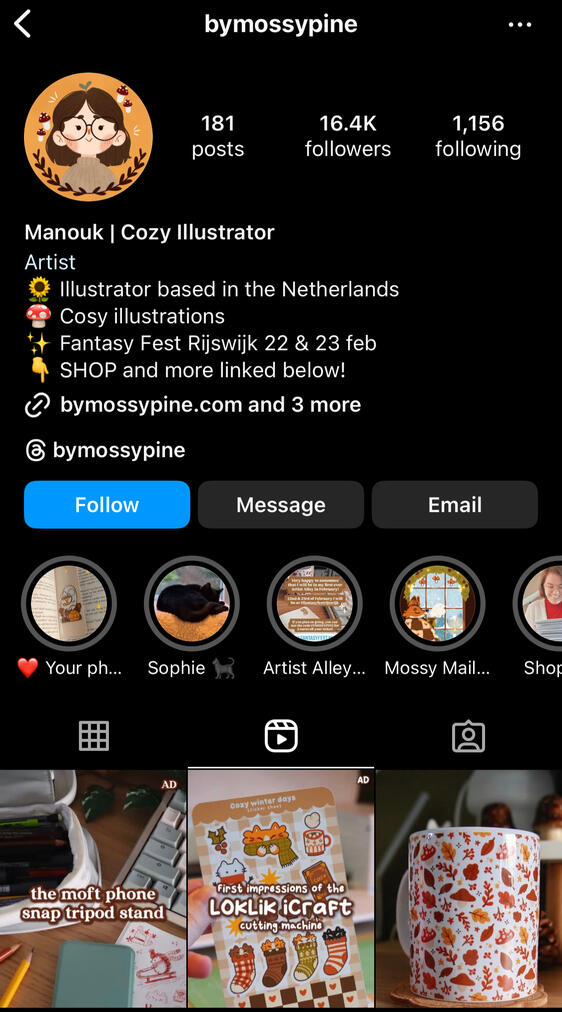
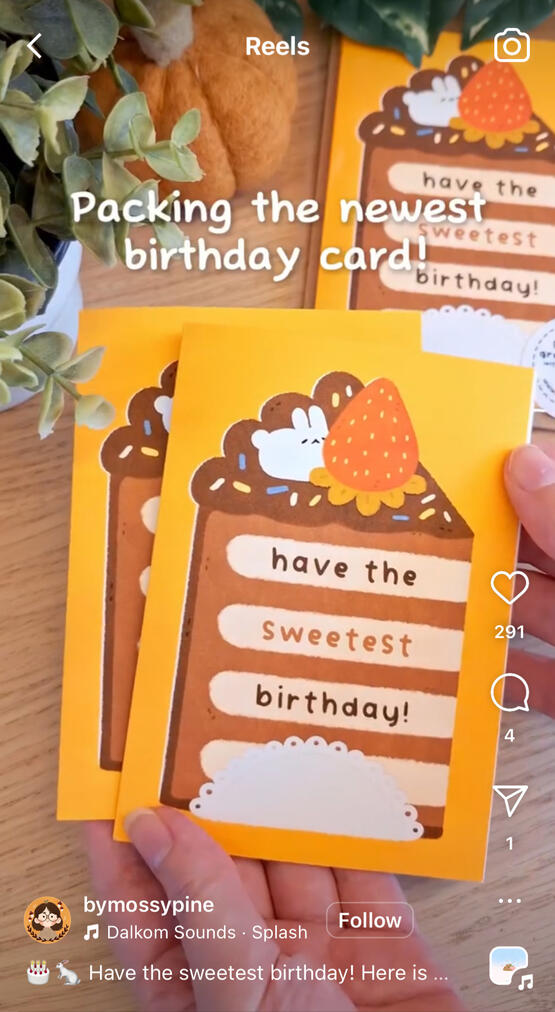
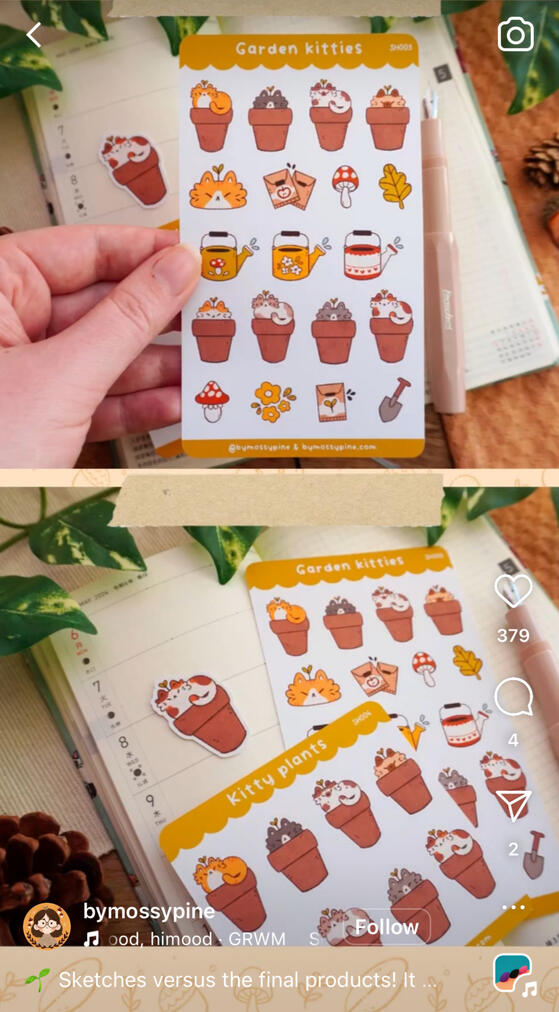
Manouk known as bymossypine on Instagram is a small business owner, running an online store that sells stickers, stationery and other items designed and illustrated by themselves. They have a style and their designs follow a general theme which gives them a specific target audience and a sense of a brand. They sell their product using a Shopify store, linked in their Instagram profile, which allows them to sell physical and digital products.
Professional Graphic Designer
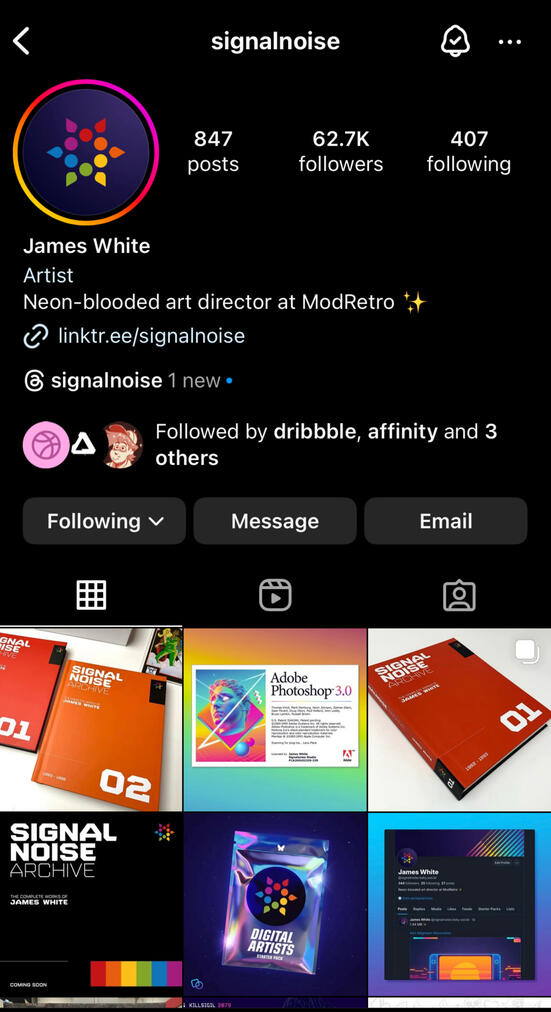
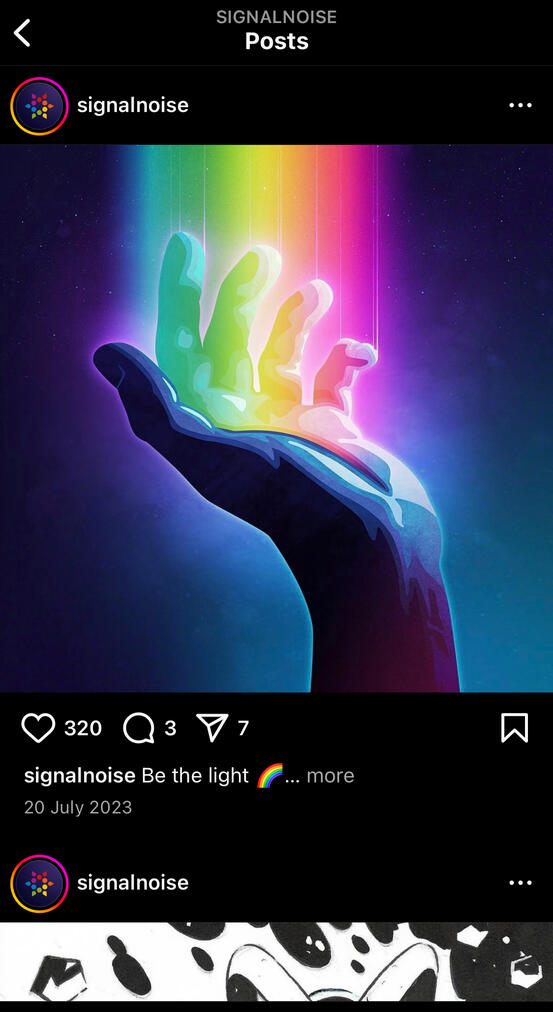
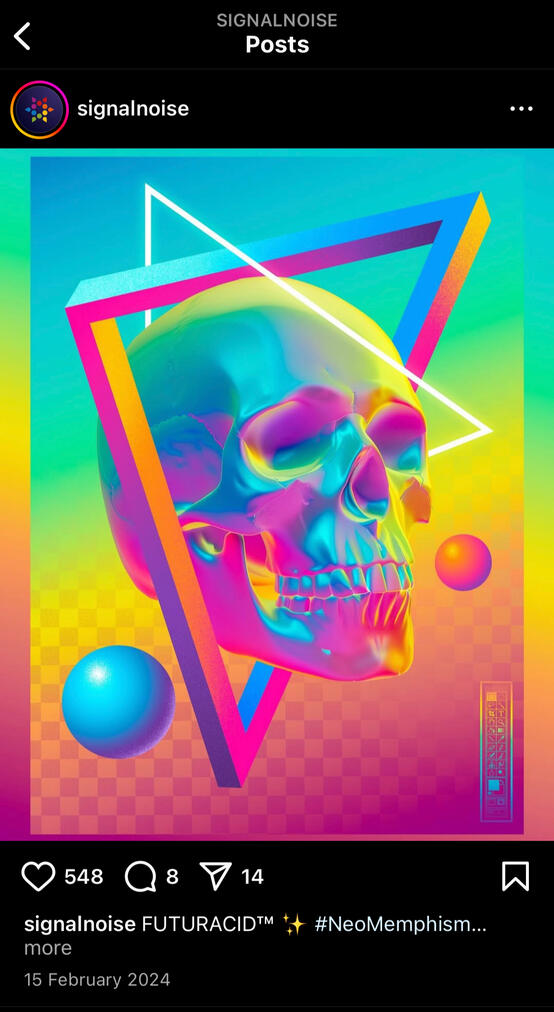
James White runs his design studio called Signal Noise (singalnoise on Instagram). He has a very distinct which has acquired a large following. His style has even reached big brands; having design three illustrations for Magic: the Gathering and character designs for the Lego Movie 2.
White has a lot of design work on his socials that he has done purely for fun,which I think is something I want to start doing. This would also help me become more creative, learn new techniques and more confident in the design software.
What do I need to achieve this
As I progress towards graduation, I want to complete all my projects and continue current jobs to gain experience and valuable skills. I am also going to take advantage of the LinkedIn Learning courses to gain additional skills such as social media marketingI want to run Tickets to Connection as a real product to benefit people, but first I need to establish an income stream to fund its development and hosting costs. The best way to do this would be a small business selling products made using my art.To run my own business, I would need to figure out what I plan to sell and design those products. As I want to turn my major project (Tickets to Connection) into a business, I am going to need to find ways to fund the productions and hosting of the platforms. A good way to do this would be to sell products related to the project. I need to start designing items such as journals, sketchbooks, stickers and postcards to sell online. Later it would be good to expand into coloured pencils, pens and other art supplies once I have the money to invest in product testing and bulk ordering these items. This is something I can start after I’ve submitted my major project, or even before if I find time. When I do, I need to make sure I establish a strong social media presence to reach audiences and encourage sales.To be a graphic designer, I need to make sure my portfolio is strong and up to date, with relevant examples of work to the job I am applying to. If necessary, I could create concept designs; showing my skills without designing for a real client. I have experience working as an in-house designer, especially for social media, as well as other creative roles which I would use to get a similar position that is full time with more chances of learning new skills. I need to research what kind of positions I could work in, as not all of them appear as “graphics designer” on job boards.During working on my career and small business, I will begin to network and look for funding. Networking will connect me with the people who have the skills I need to turn Tickets to Connection from a prototype to the real deal. Funding will give me the ability to pay them.
How to Find Jobs
There are many places to find jobs for a digital creative role. The best places to look are online jobs searching sites, especially ones catered to finding creative roles. Places such as LinkedIn and Indeed are good for general job searches, whilst places such as Creative Pool are refined for creative job searches.When searching for a job, it can be helpful to use the filters to find the correct experience level or type of work. I personally found it more beneficial to not use filters and just search the word “design” as it helped show jobs where the responsibilities included design work, which were far more common than jobs titled “graphic designer” and often more suited to my level.
Places to find jobs
https://creativeaccess.org.uk
https://www.artsjobs.org.uk
https://www.linkedin.com/jobs
https://uk.indeed.com
Directly on the website of a company
Past Experience Applying to Jobs
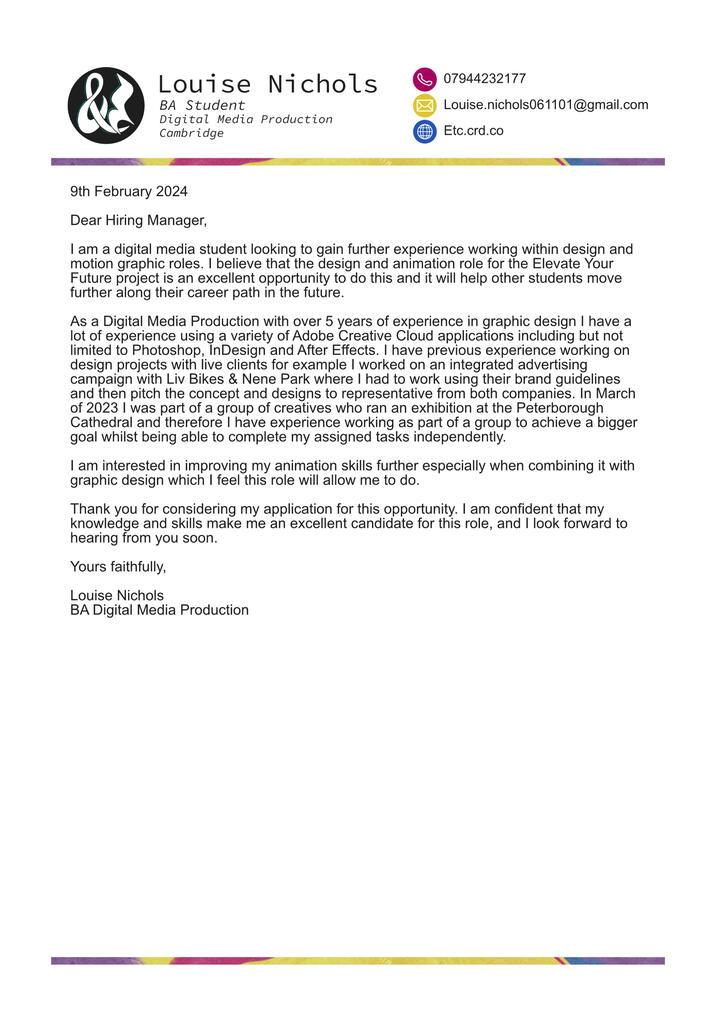
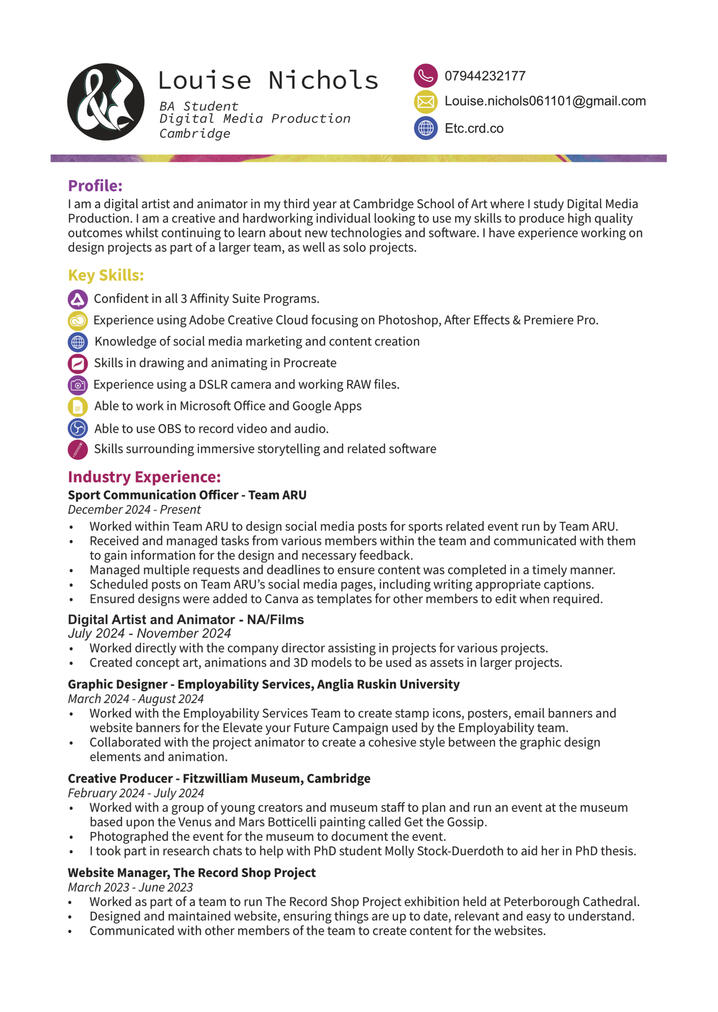
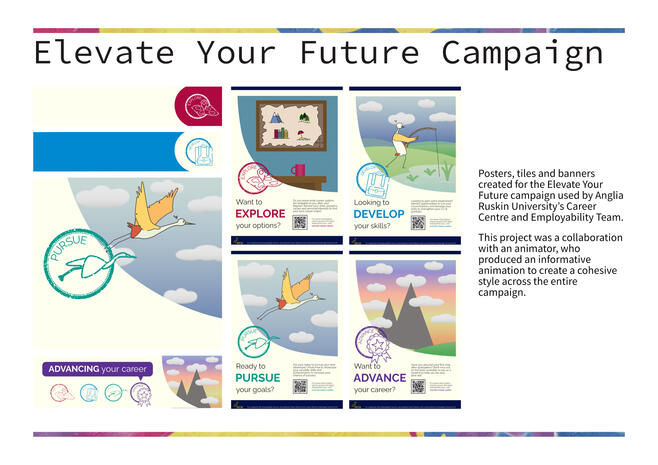
In 2024, I applied for an animation role at the career's centre at ARU to work on the Elevate Your Future Campaign using this cover letter and CV.I did get an interview from these but was hired for the graphic design role as the people conducting the interview felt my graphic design portfolio was much stronger.
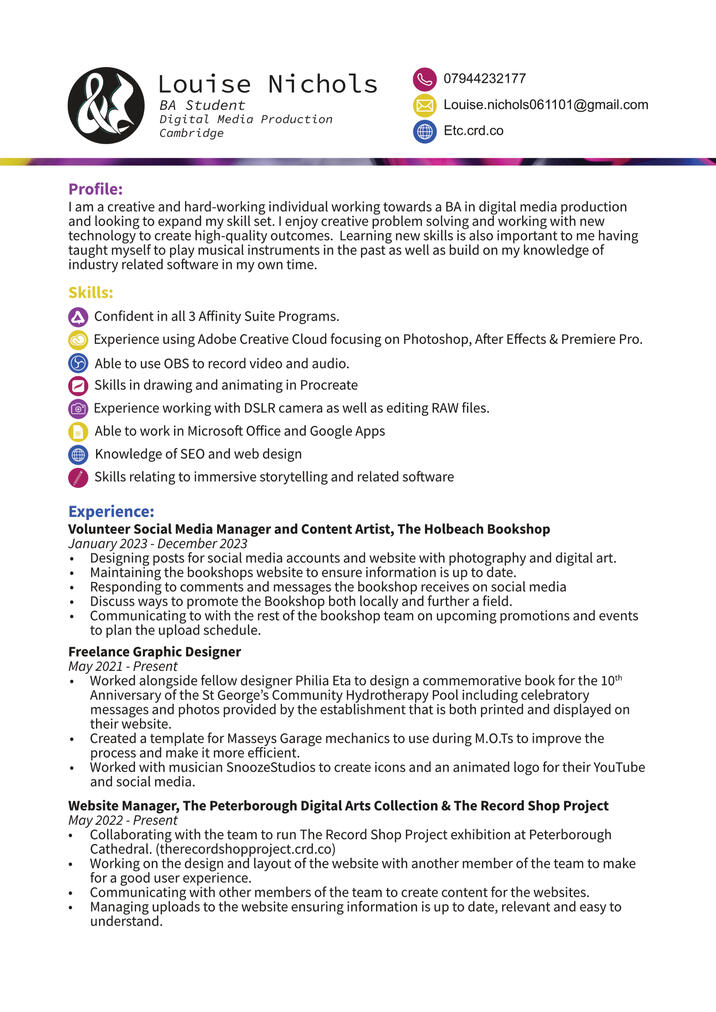
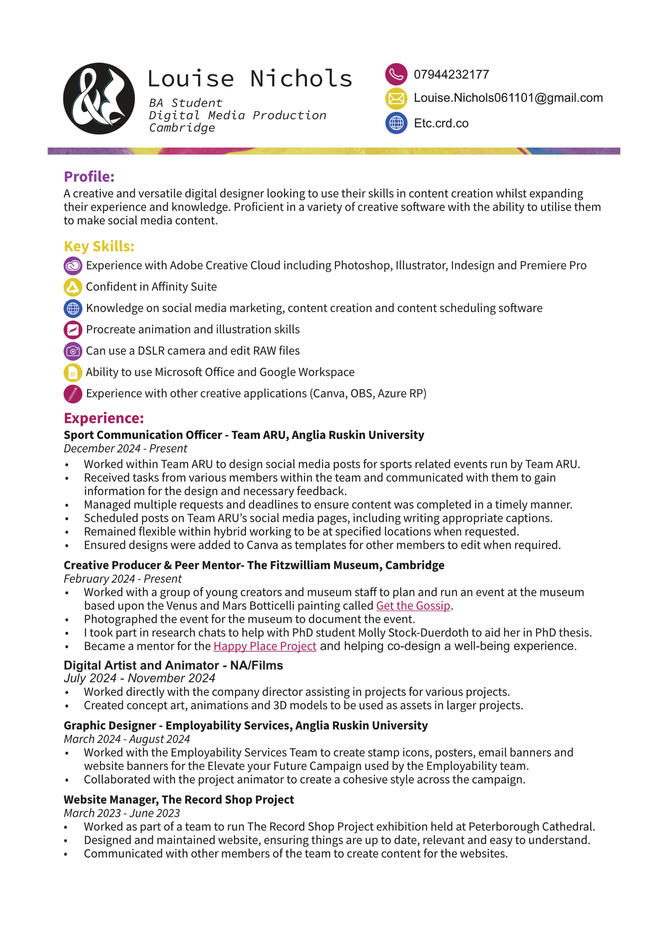
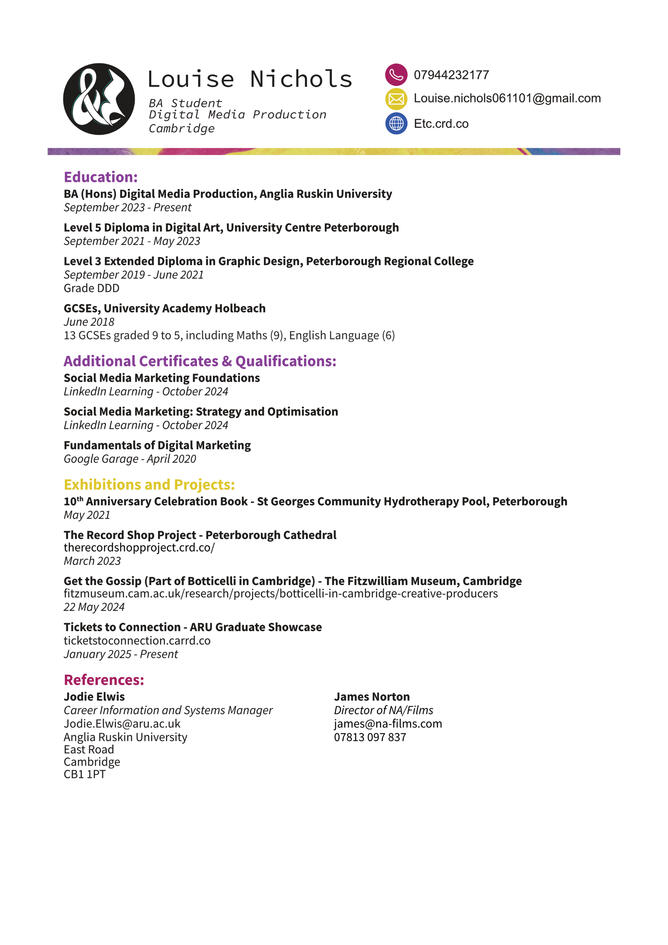
My Current CV
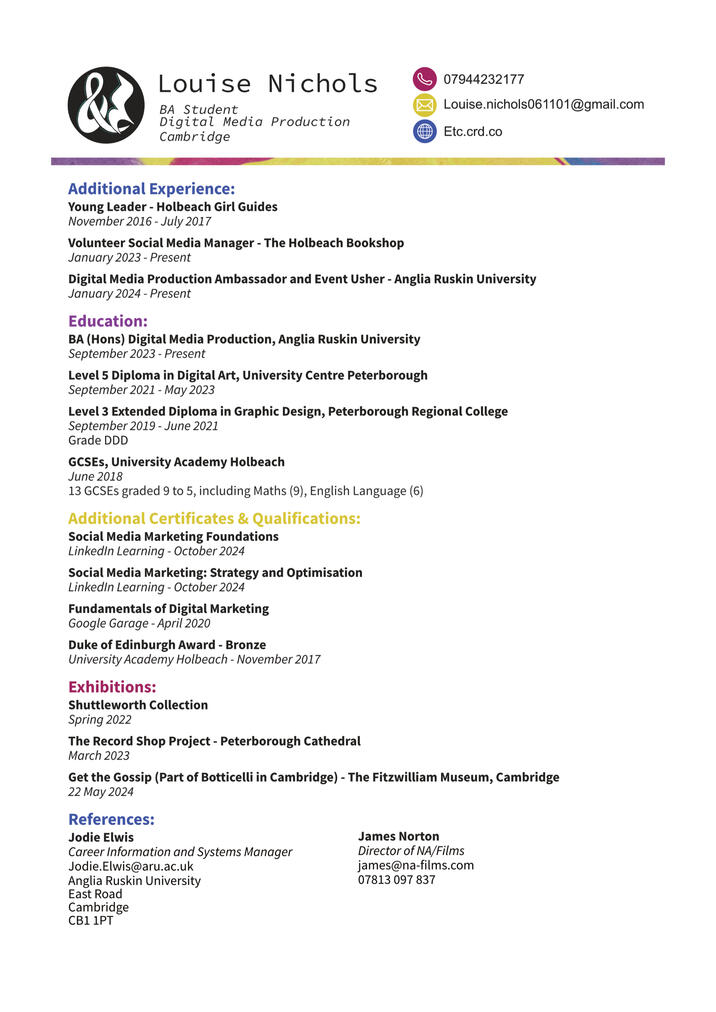
This is my current main CV that I use as a template when applying to a role. This is a CV that is aimed at applying for creative jobs in design or digital marketing. It contains my key experience in this area and what I feel are my strongest industry related skills that can be used across multiple roles.When I am applying to a specific role, I might change out certain roles or adjust the responsibilities for a role to make it more relevant to a certain role. For example, if a role was more social media based, I might change my website managing role at the record shop project for my volunteer social media management role at The Holbeach Bookshop. Furthermore, I only list the most relevant additional certificates. I have taken many LinkedIn Learning courses. If I listed all of my experience and certificates, my CV would be too long and full of irrelevant information the hiring manager wouldn't want to read. I choose to have my references listed on my CV because it shows I am transparent about my experience and character, and both are listed only under their work contacts. Currently, both my references are from past roles, not my current ones, this is because I have their permission to have them on my CV, but I will soon ask my current manager permission to use them as a reference as I have now been in the role a significant amount of time.For the visuals of the CV I used the same colours and fonts I have on my online portfolio, which creates a link and builds personal branding. The use of colour for titles and the little bar dividing the main body and the heading adds just enough interesting elements to be memorable whilst still being clear to read and easy to understand.
CV Profile
I find writing the profile of my CV the most difficult even though it is the smallest part because it is hard to know how to best showcase yourself and skill in such few words, and you have to change it for almost every application. Below is the list of traits I keep in mind when writing the profile.
Creative, versatile, passionate, hardworking
Worked in industry for 4 years
Experience in adobe and affinity suite
Passionate about learning new skills
Ability to learn on the job
Worked in teams, collaboratively and individually.
My Portfolio
For the past 4 years I have kept an online portfolio hosted on a website under my online name. Having an online portfolio makes it easy to update with current projects and work keeping it relevant and showing my current design skills. It also allows me to showcase related skills such as illustration, photography and animation but giving viewers the option to view them instead of being forced to. Furthermore, I can link to related projects I have been a part of to allow viewers the chance to find out more.
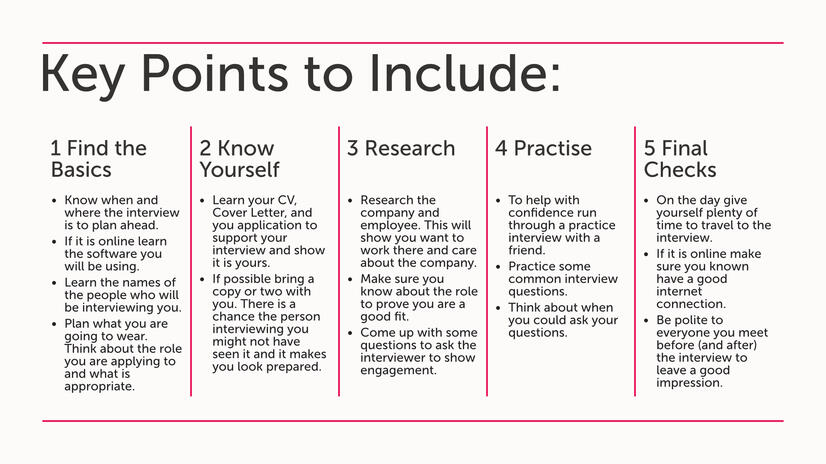
Answering Interview Questions - Key Points
Tell me a bit about yourself
- Core values
- Key skills
- Most valuable experience
Why do you want to work here
- Company Values (workplace environment, equality, sustainability etc)
- Why you like the company
- Make a difference in the sector
- What value you would add to the business
Why do you want this role:
- Why you would benefit the company
- What you want to get from the role (gain experience, make a difference etc)
- The role seems like a good fit
What are your strengths
- Link to what the role requires
- Think more about transferable skills than software skills etc
What are your weaknesses
- Spin it into a positive
- Try not to be too generic
- Show you are working on it and learning etc
- Best to be honest and take accountability
How do you overcome the challenge
- Briefly cover the situation and the task or the problem that occurred
- Explain your approach (including accessing the situation)
- Show what you learnt from the experience
- Tell it as a story
- Use the STARR technique (situation, technique, action, result, reflect)
Do you have any questions
- Ask if they want clarification on anything
- Ask 2 or 3 questions
- Ask about the daily life of that role and opportunities to grow.
Understanding Networking
Networking is a large part of working in the creative industry especially if you want to do more than generic in-house or studio work. Knowing people and them knowing you gives you the chance to hear about exciting opportunities, work on interesting projects and learn from others. You can then repay this by helping the people you know such as helping them out or sending them opportunities that are more related to them. Networking also gives you a pool of people and knowledge that you could ask to work with be that on a one of project or a start-up.
Places to Network
LinkedIn
In-person networking events
Social Media
Colleagues in the workplace
Workshops
Creative based events
Career and industry related fairs
Cold Emails
Find the name of the person you are emailing. If you can't find it, use a casual greeting, such as greeting the entire team or studio.
Make the email unique every time and specific to who you are emailing.
Link your work to what they are doing and how you can benefit each other.
Use a call to action such as would like to connect or arrange a call to encourage them to respond.
Sign off properly with a thank-you.
Include contact information with link to portfolio.
Send as many as you can, only few will ever get a response, and even less will lead to next steps or connections.
Freelancing
Freelancing is the route many creatives want to achieve. It allows more choice in what you work on and as well as a more freedom on when and where they work.One of the challenges with freelance is building a list of clients. When working in a studio you get handed a brief and do the design work, as a freelancer you have to find the client first. On top of that there are many other things you have to manage, such as finances (cash flow, taxes etc), maintaining client relations, marketing and creating a work-life balance. This can be a lot of work, but to many people it is worth it.Because of the time it takes to grow, freelancers often start freelancing on the side and slowly increase their time freelancing whilst decreasing their time working a standard job. They also have other streams of passive income, creating a security net if a client drops out, or they get sick and have to take time off work.
Managing your Finances
Set up your business and tax information with HMRC
Create a business plan
Find a system for managing cash flow
Useful Links
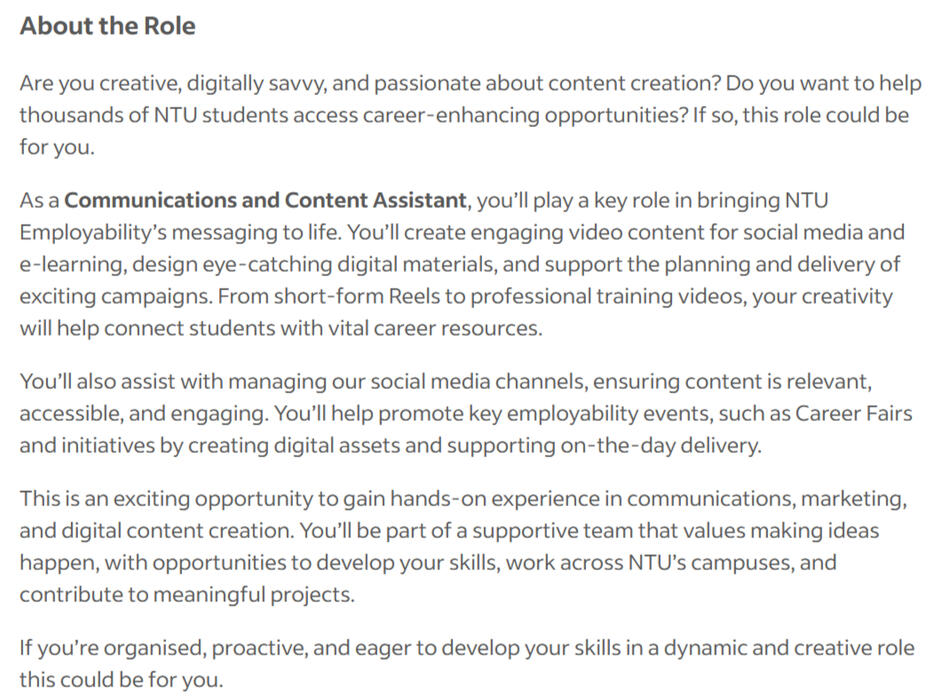
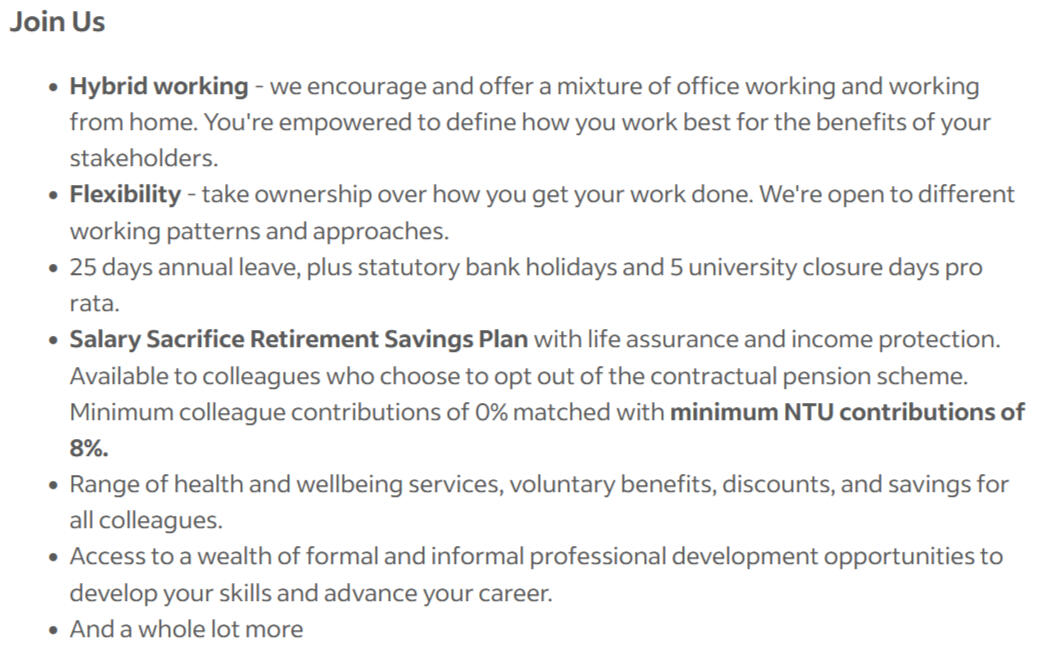
Example Job Opportunity & Application
Key points from job listing
Graduate role: Will have a suitable start date post finishing Uni.
It is Nottingham, local to where I want to live in the near future.
I have experience in the required areas.
Hybrid and flexible working is appealing.
Why I think I would fit this role
I have experience working in content creation, having worked for Team ARU and The Holbeach Bookshop.
I have experience working with employability teams in higher education, having worked with ARU Employability Team.
I know how to use the required software.
CV I used for this role
Looking at this job opening I realised this was a job I would actually love as it is similar to what I was doing now as a Sports Communication Officer but with more opportunities to develop my skills, so I actually applied to the job.
Cover letter I would use for this role
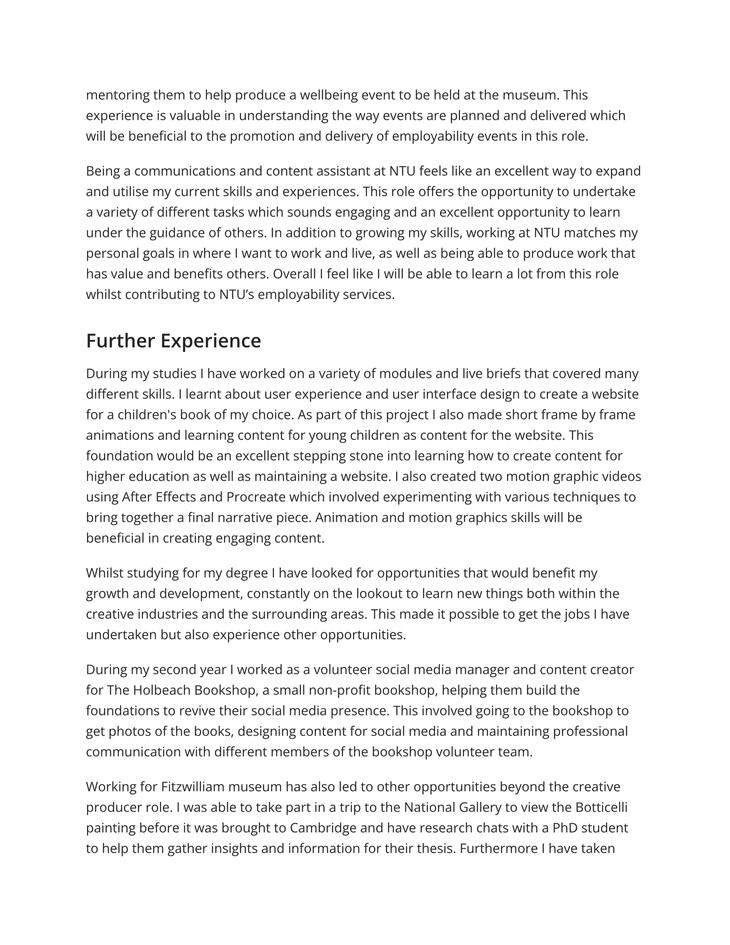
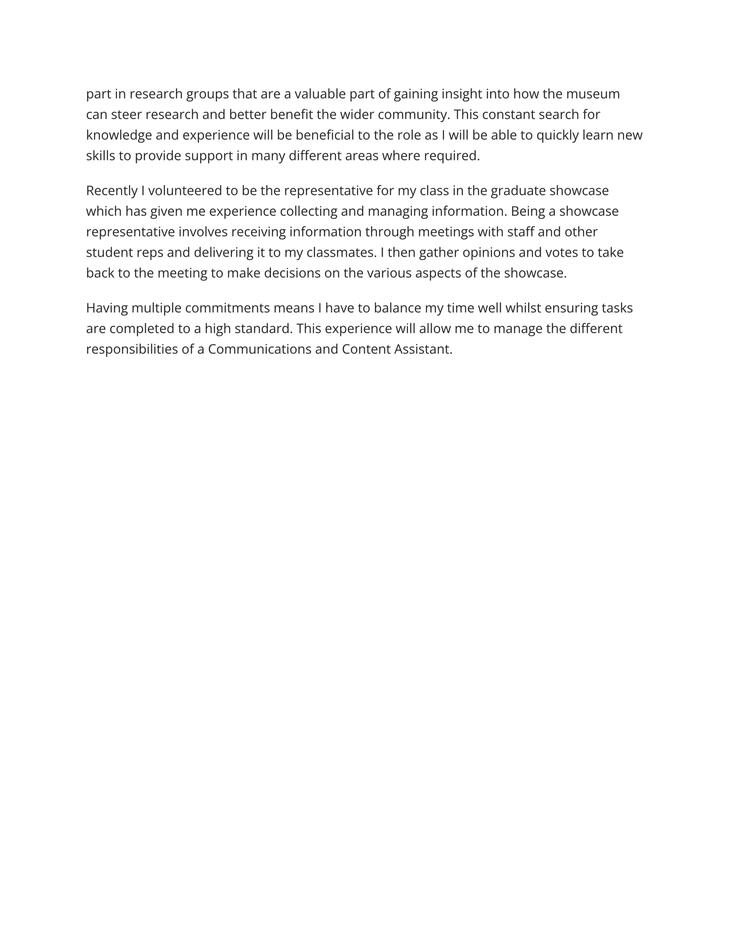
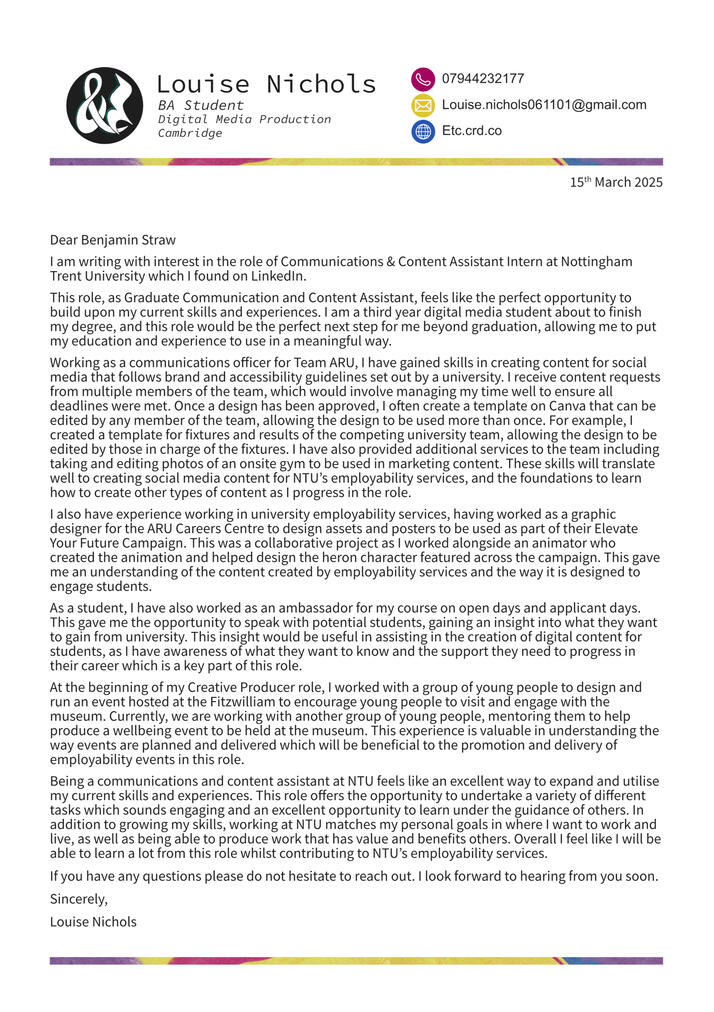
This job didn't require a cover letter to be uploaded, instead it had a section for answering questions similar to what you would answer within a cover letter. I wrote out everything I wanted to say in a Google Doc before copying it into the submission boxes to make it easier to write out what I wanted to say as well as check spelling and grammar.
Below my answer is the way I would have formatted this into a cover letter if the job had required a cover letter instead. I make sure my cover letter is in the same style and formatting as my CV with the same colours and fonts to keep a sense of personal branding.This cover letter is actually a bit longer than most I would write but it is the only job I have applied for where I match this much of the criteria.
Portfolio
The job opening suggested submitting a portfolio to strengthen the submission, so I did. I pulled together the work most relevant to this job, followed by other pieces of work that highlight my skills and that I am proud of. I emailed this as a PDF to the person listed in the job opening and also included a link to my online portfolio even though this is on my CV.
Interview Prep
From my application, I got asked to attend an interview. For this interview I was asked to prepare a small presentation on a given task and I also requested the interview questions to prepare in advance.
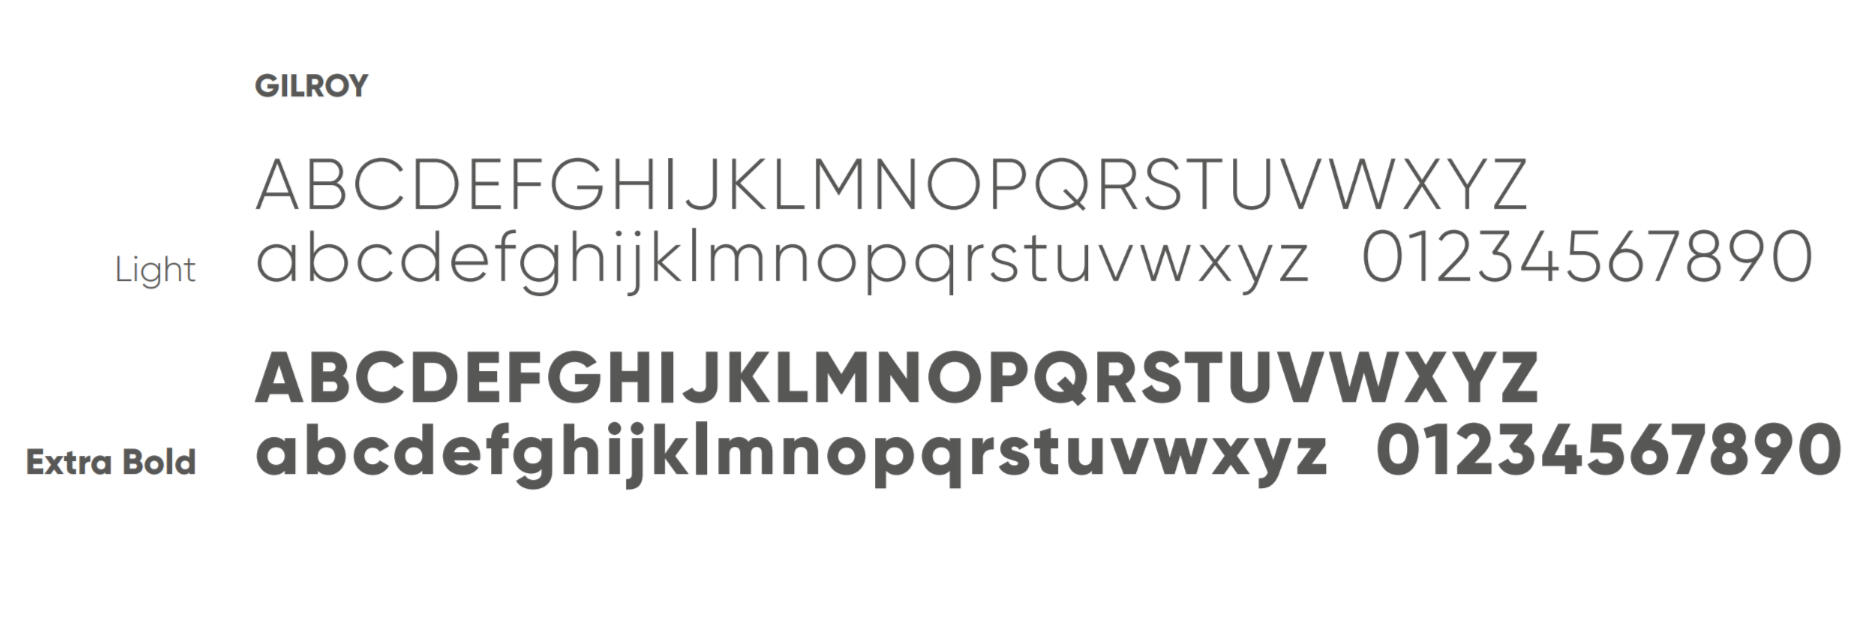
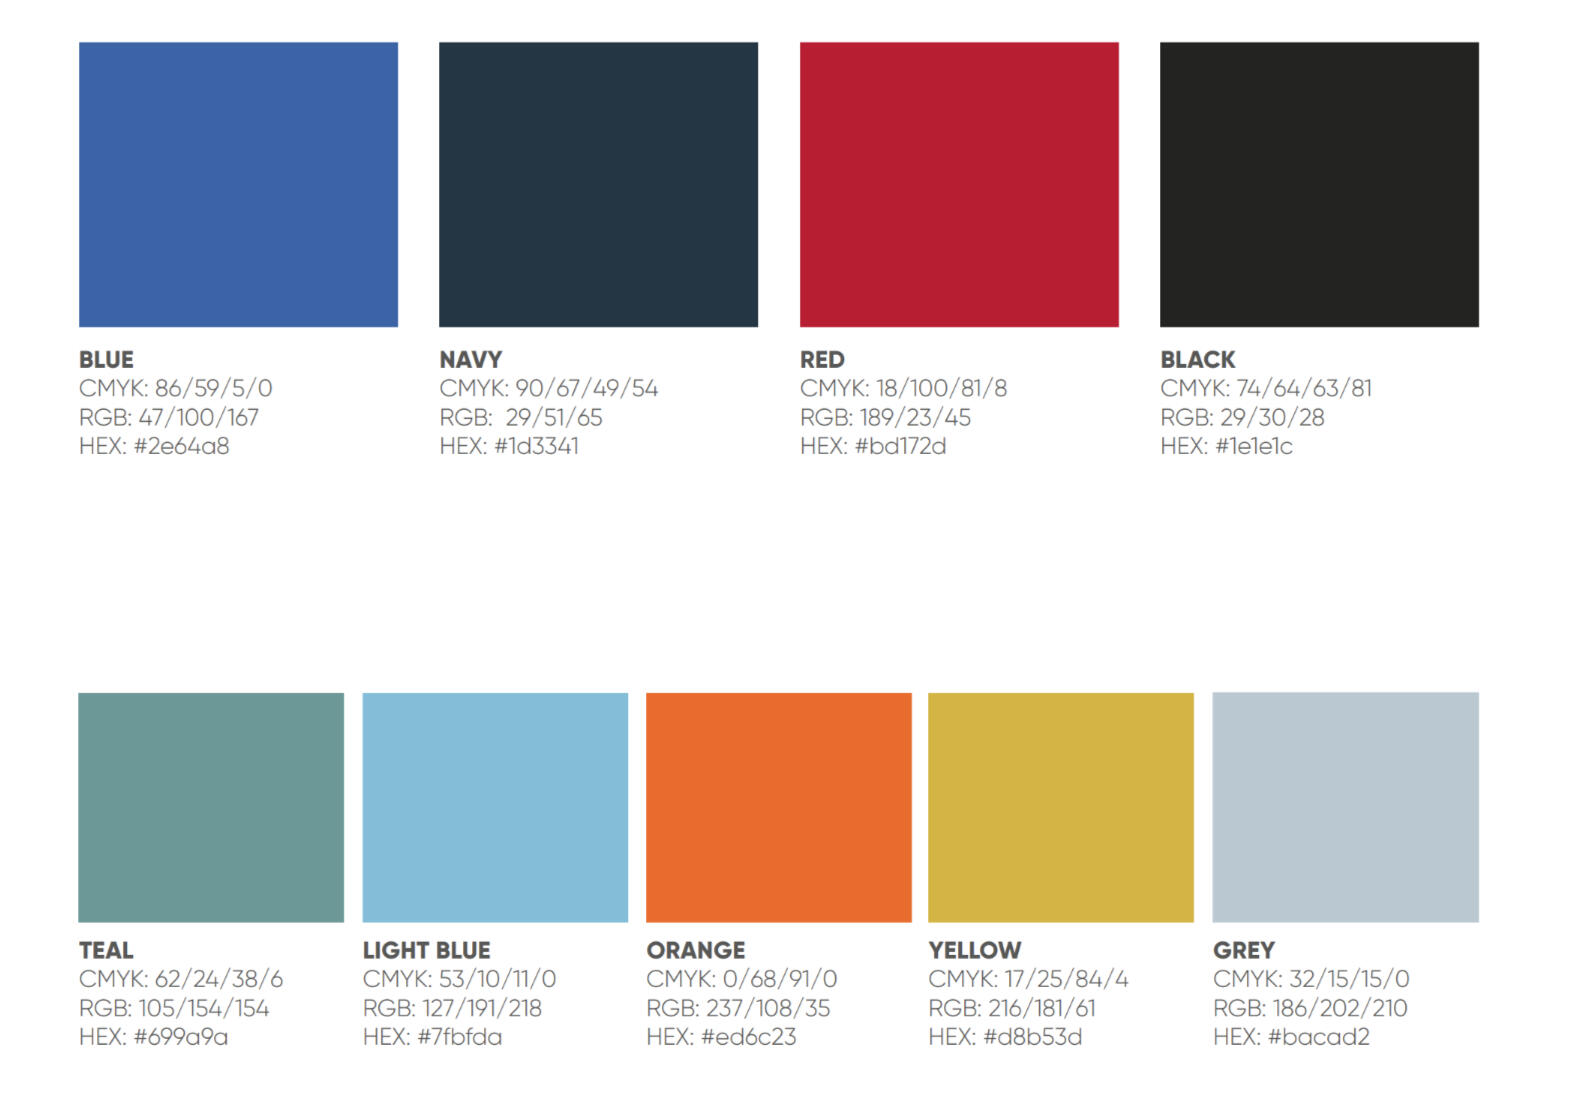
As per the feedback from the pitches to UKAHT in trimester 1, I styled my presentation using the Nottingham Trent University colours and typefaces, which I found using by searching for the university's brand guidelines.For the questions, I had notes in a notebook that I took to the interview, including a couple of questions I wanted to ask the interview panel. However, I had been over my answer so much beforehand that I did not need to reference it.I am still waiting on the outcome of this interview, as they said it could take up to 3 weeks for a decision to be made due to university policies. If I have not heard from them after 3 weeks, I will send a polite email inquiring about the progress of role and decision making.
Additional Ways I am Progressing My Career
CPD Modules
Alongside my required modules, I have also taken on 2 additional modules through ARUCPD. I have taken and passed one on social media marketing and am currently taking one on freelancing. These modules add additional credits to my transcript. Unfortunately, I am unable to obtain an additional certificate because I was not aware of ARUCPD until my 3rd year, meaning I only had a chance to complete 2 of the required 4 modules to complete a full certificate.
LinkedIn Learning
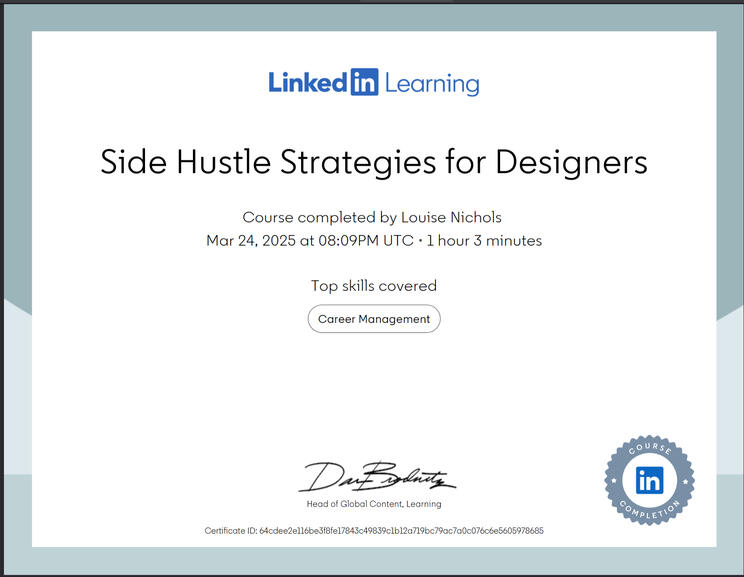
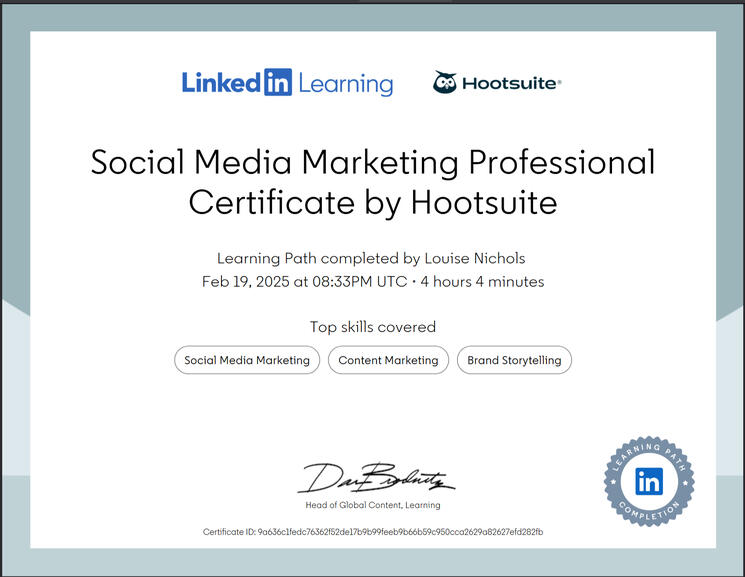
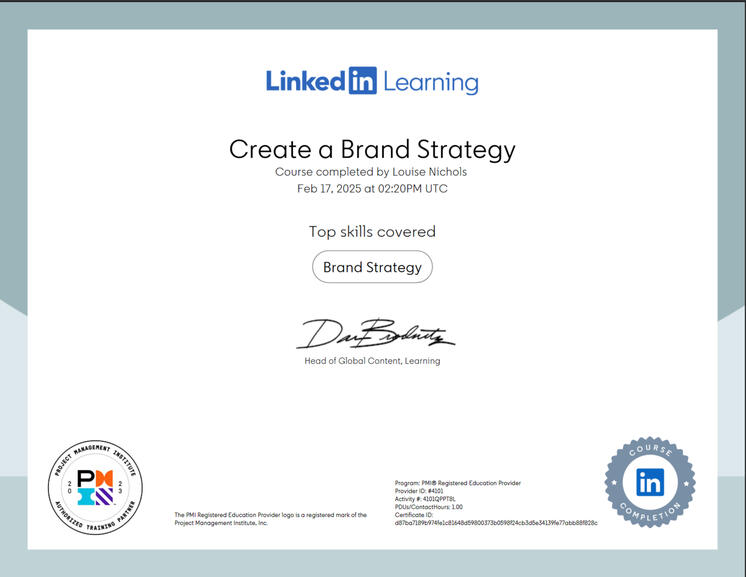
As part of my social media marketing ARU CPD modules, I had to complete several LinkedIn learning courses in addition to the assessment task. This provided me with certificates I can add to my CV and LinkedIn profile. Since then, I have also taken other LinkedIn courses and have 13 certificates listed on my LinkedIn profile with further certificates not listed such as a course of building side hustles for designers. Where possible, I take the extra exams to get the full accreditation from the training partners such as the Project Management Institute.
Other Online Learning
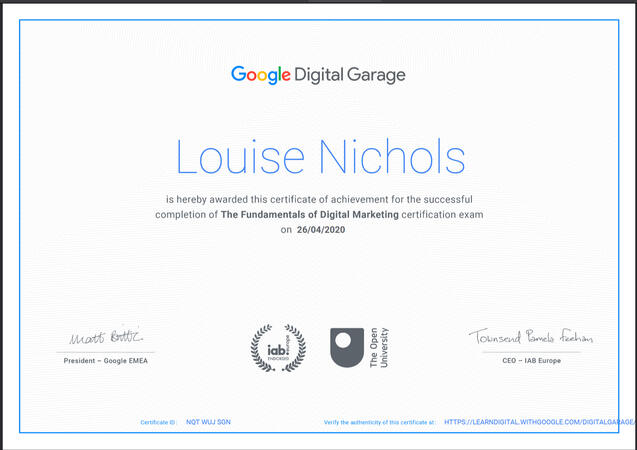
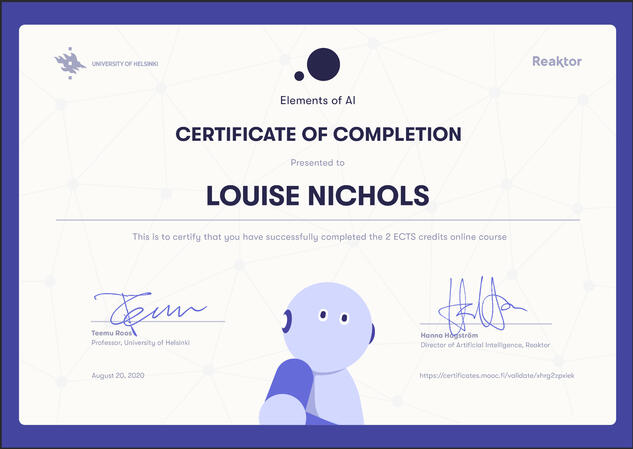
During Covid-19 lockdowns I used my time to get the Google Garage Digital Marketing Certificate which is available for free from Google. There are also a variety of other free courses, just not with the recognised certificate like the digital marketing course.I have also taken other free online courses on other platforms including Open Learn (from Open University), Coursera and FutureLearn. Some of these courses are in collaboration with universities, including the University of Edinburgh and the University of Helsinki. Although these might not be fully recognised by employers, they provide foundational skills that I can build on in the workplace and showcase my desire and ability to keep learning.
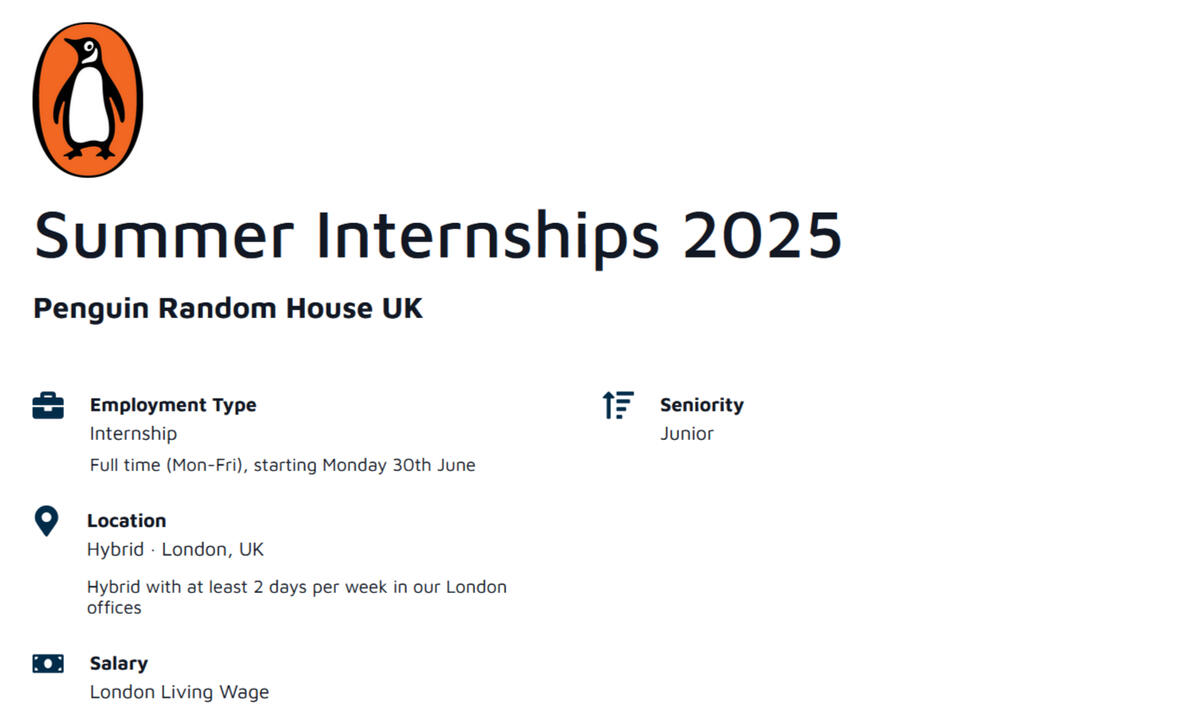
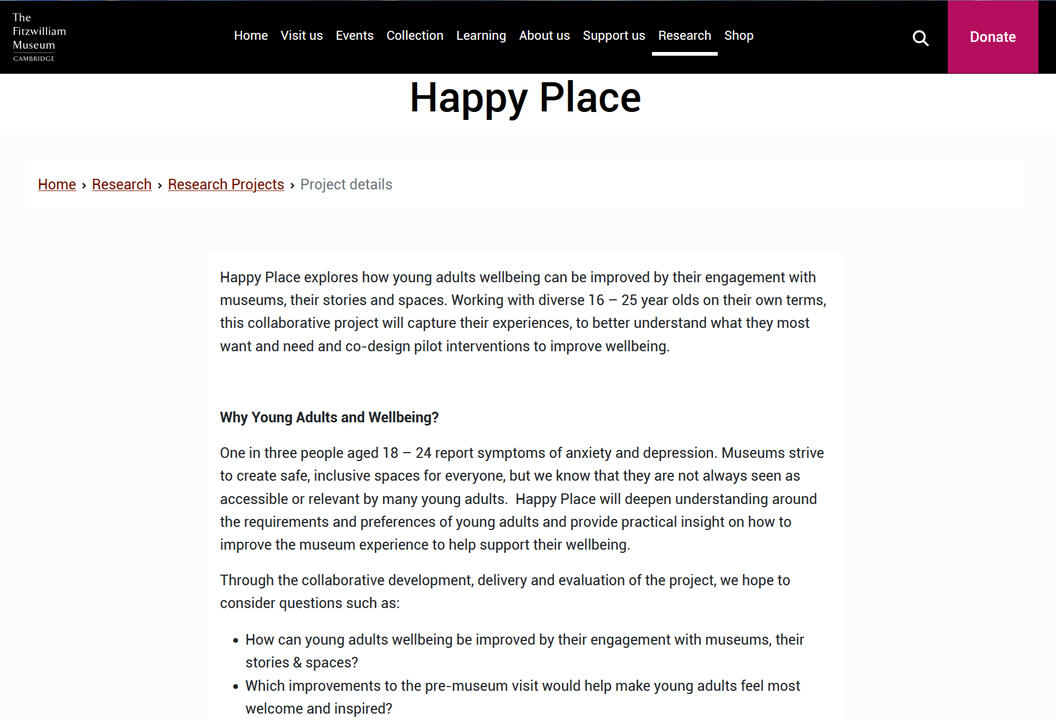
Applying to Spring and Summer InternshipsI have a rental contract in Cambridge until the end of August, so I want to make the most of my time; gaining skill, experience and connections.I am continuing my work with The Fitzwilliam museum, working as a mentor for a project called the Happy Place, which will allow me to connect more with other young people and the staff at working on the project and the chance of future opportunities. I feel the experience will also be valuable to gaining opportunities at other museums and galleries local to wherever I move to.I am also applying to summer internships such as the Penguin one, which I hope to get a place on as it is a paid hybrid placement in the London office which will be an excellent experience.
The Kite Live Brief Project
Overview
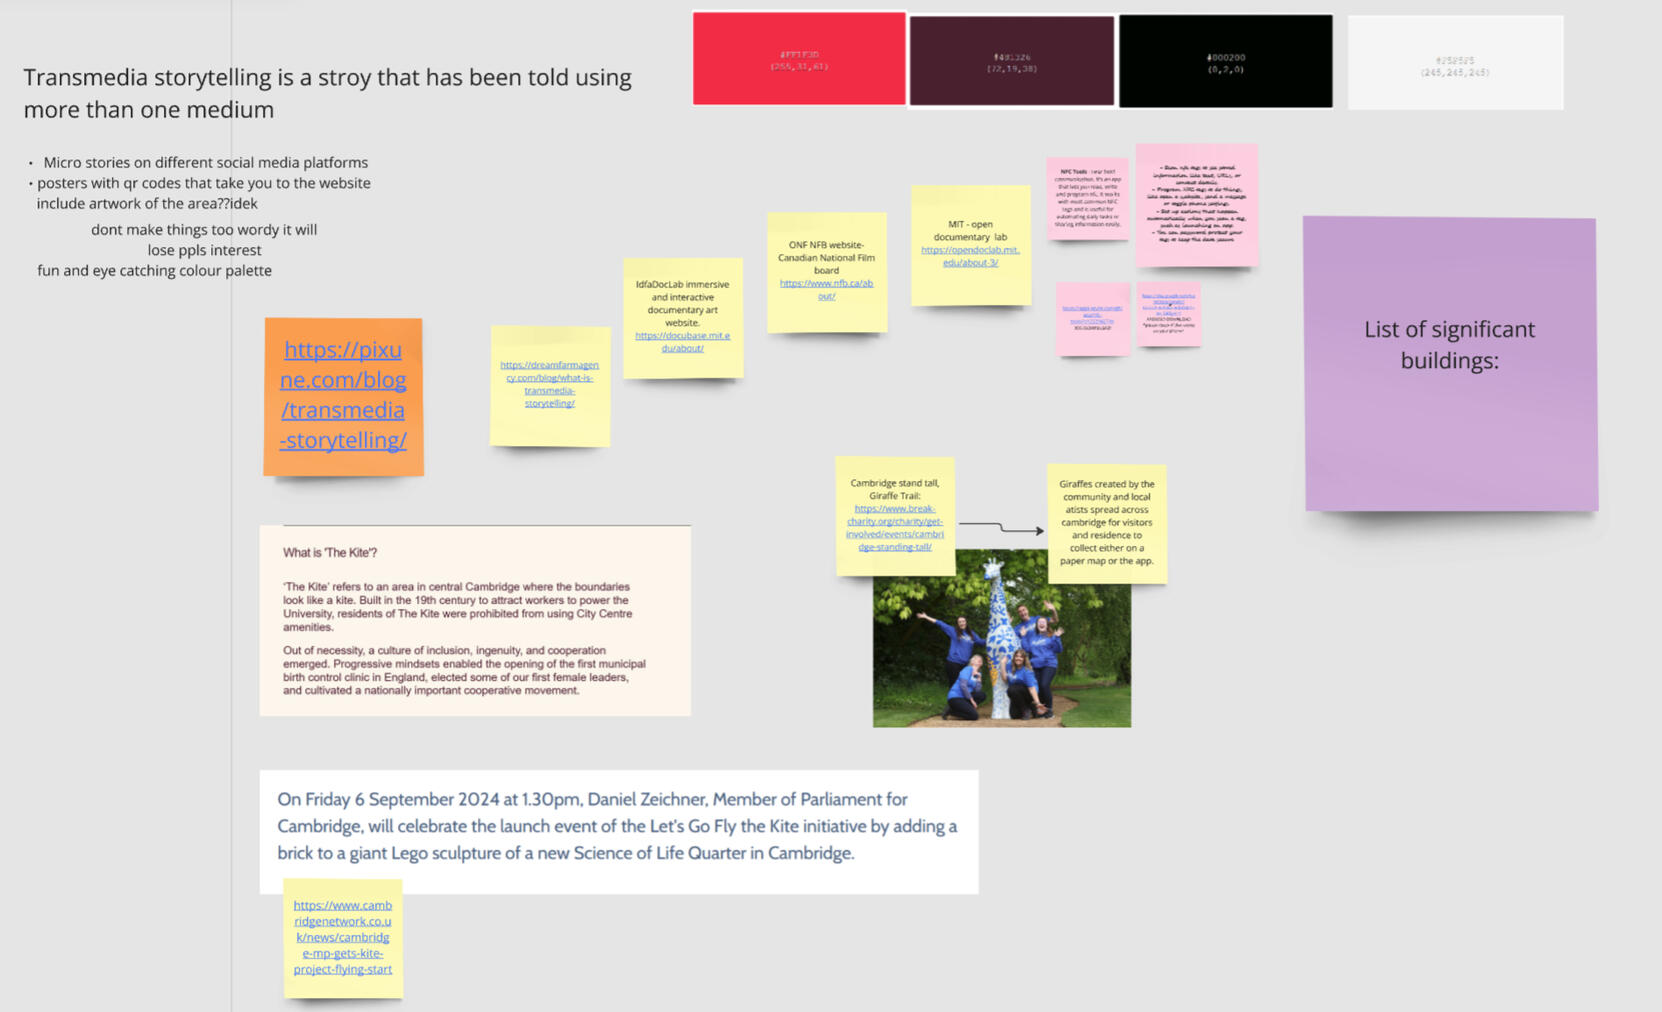
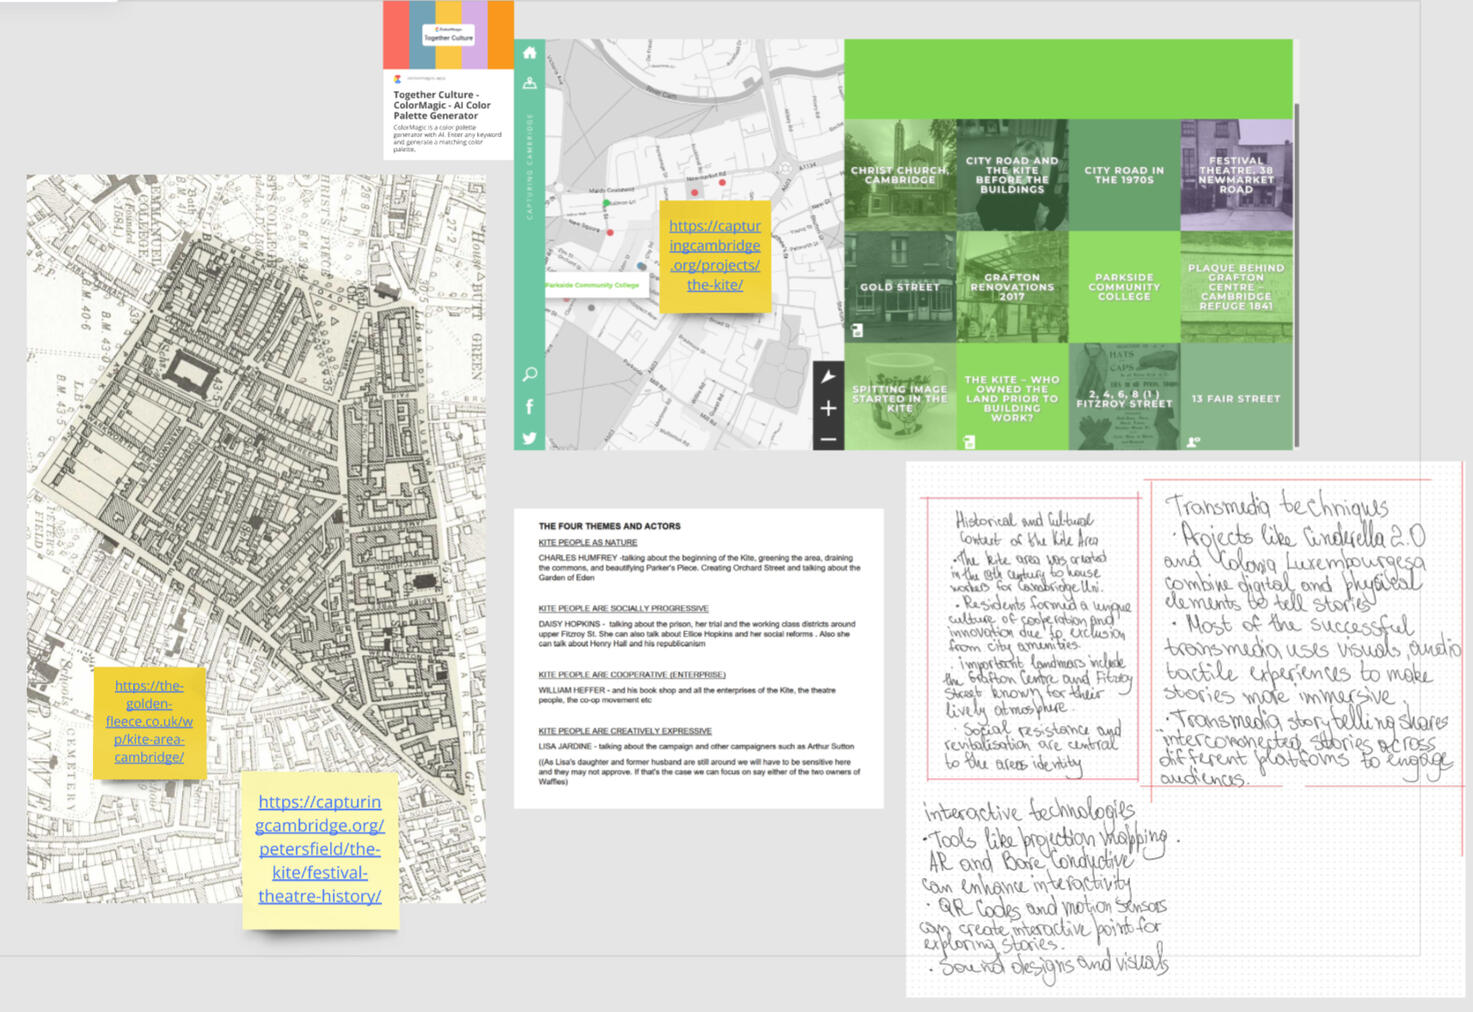
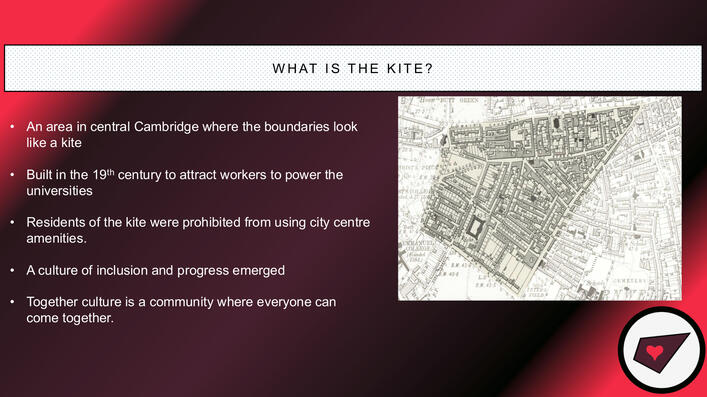
This project was a live brief from a collaboration between Storylab at ARU and Cambridge Together Culture Cambridge. In groups consisting of people from all 3 year groups to create a transmedia exhibition for an event in February to gain audience interest in the Navigator website for Go Fly a Kite campaign.The Kite area is an area in Cambridge with a lot of heritage, and Storylab are working with Together Culture Cambridge to celebrate the heritage and make more people aware of the area's history.
Communication
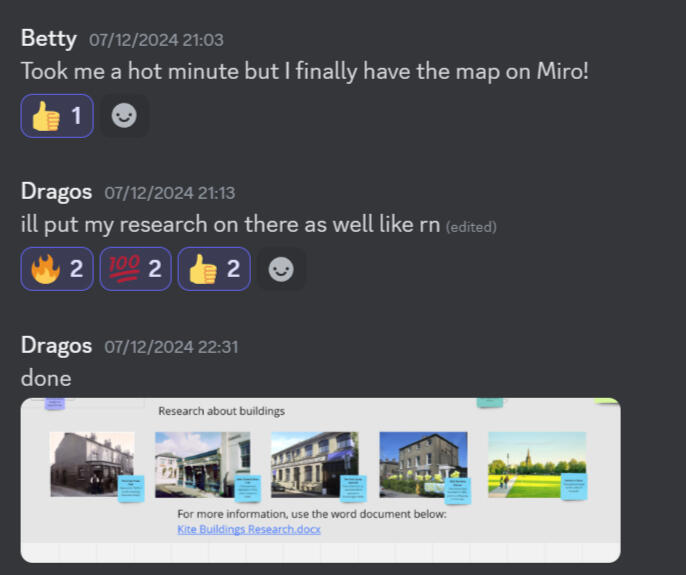
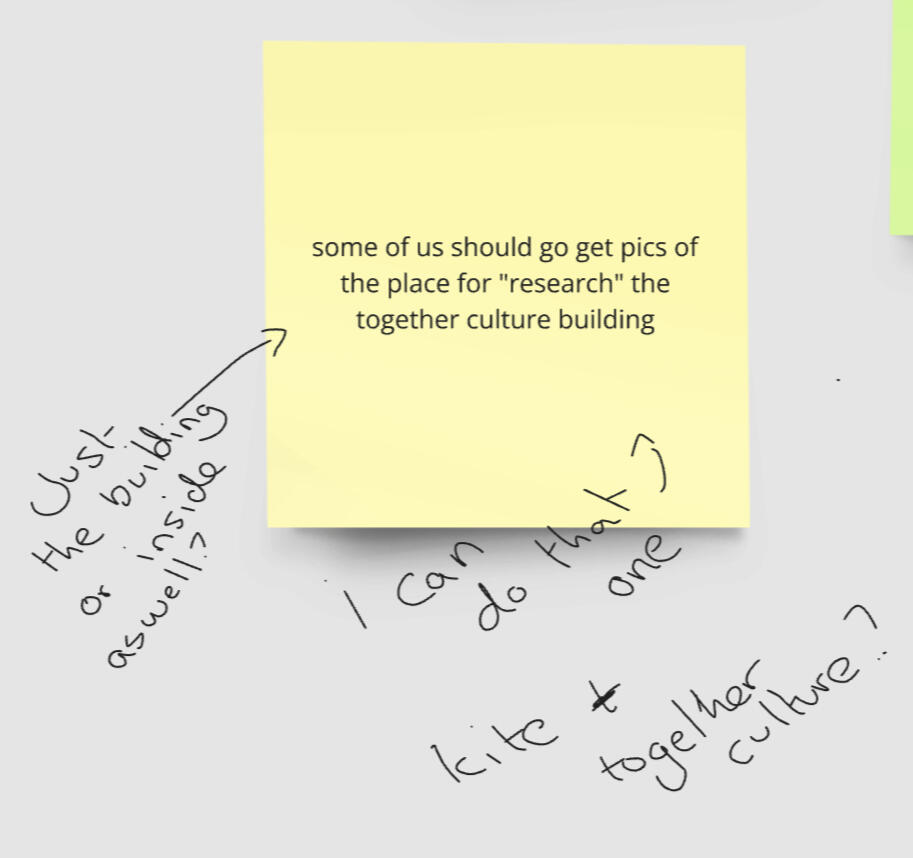
We chose to communicate on Discord, although this seems unprofessional we all have Discord and all looked at it making sure we would actually check our messages unlike the more professional means of communications.We would also have a Miro board which we used for ideas, research and development, but we would also make comments on things put on the board if we didn’t understand or wanted to add something. This was an easy way to have conversations, especially to identify the part that needed further communication.
Ideas
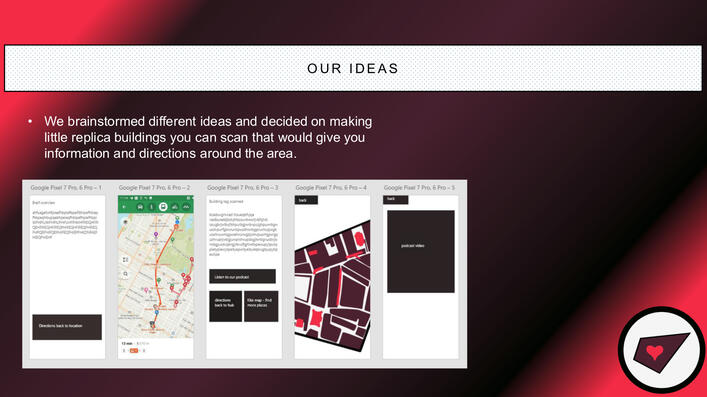
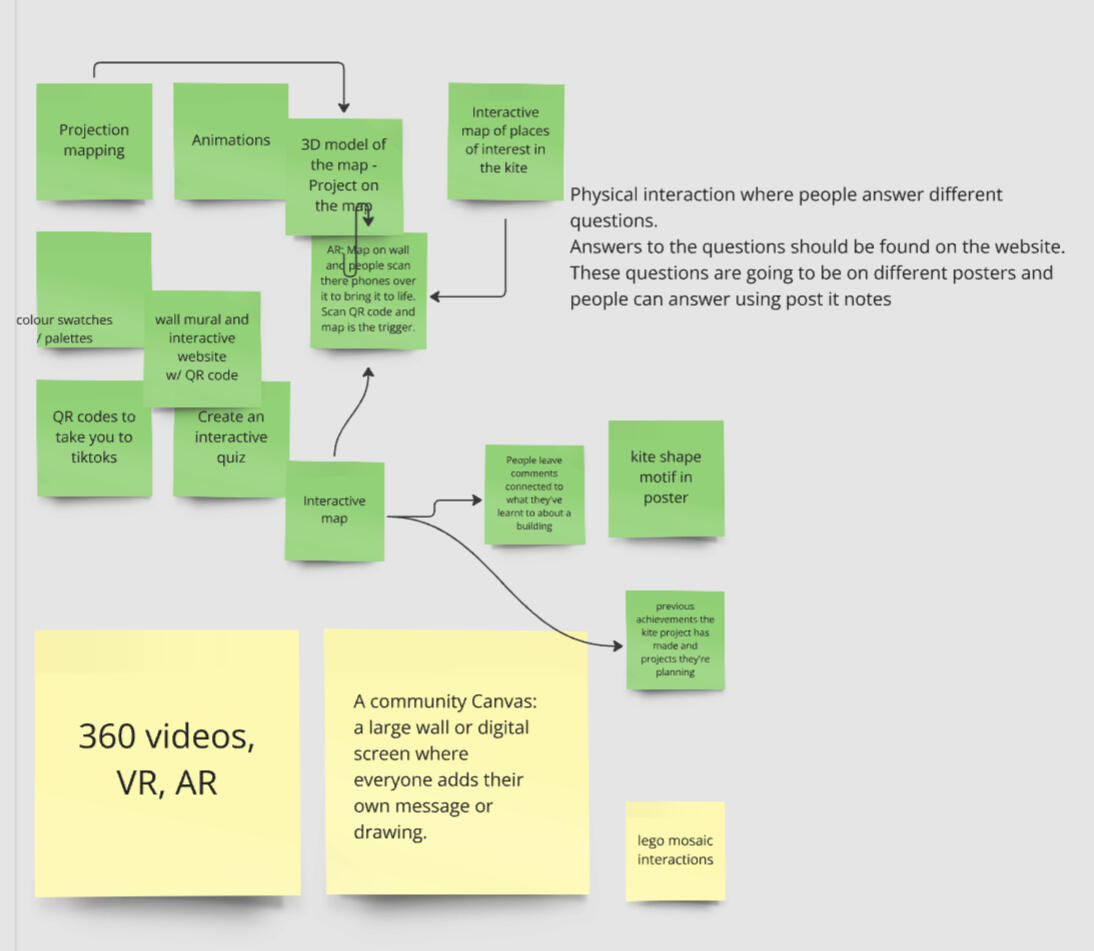
We started by discussing and brainstorming ideas. Everyone wrote their ideas down on the Miro board. We also organised some of the ideas to see how they would interact with the different sentences.
Development
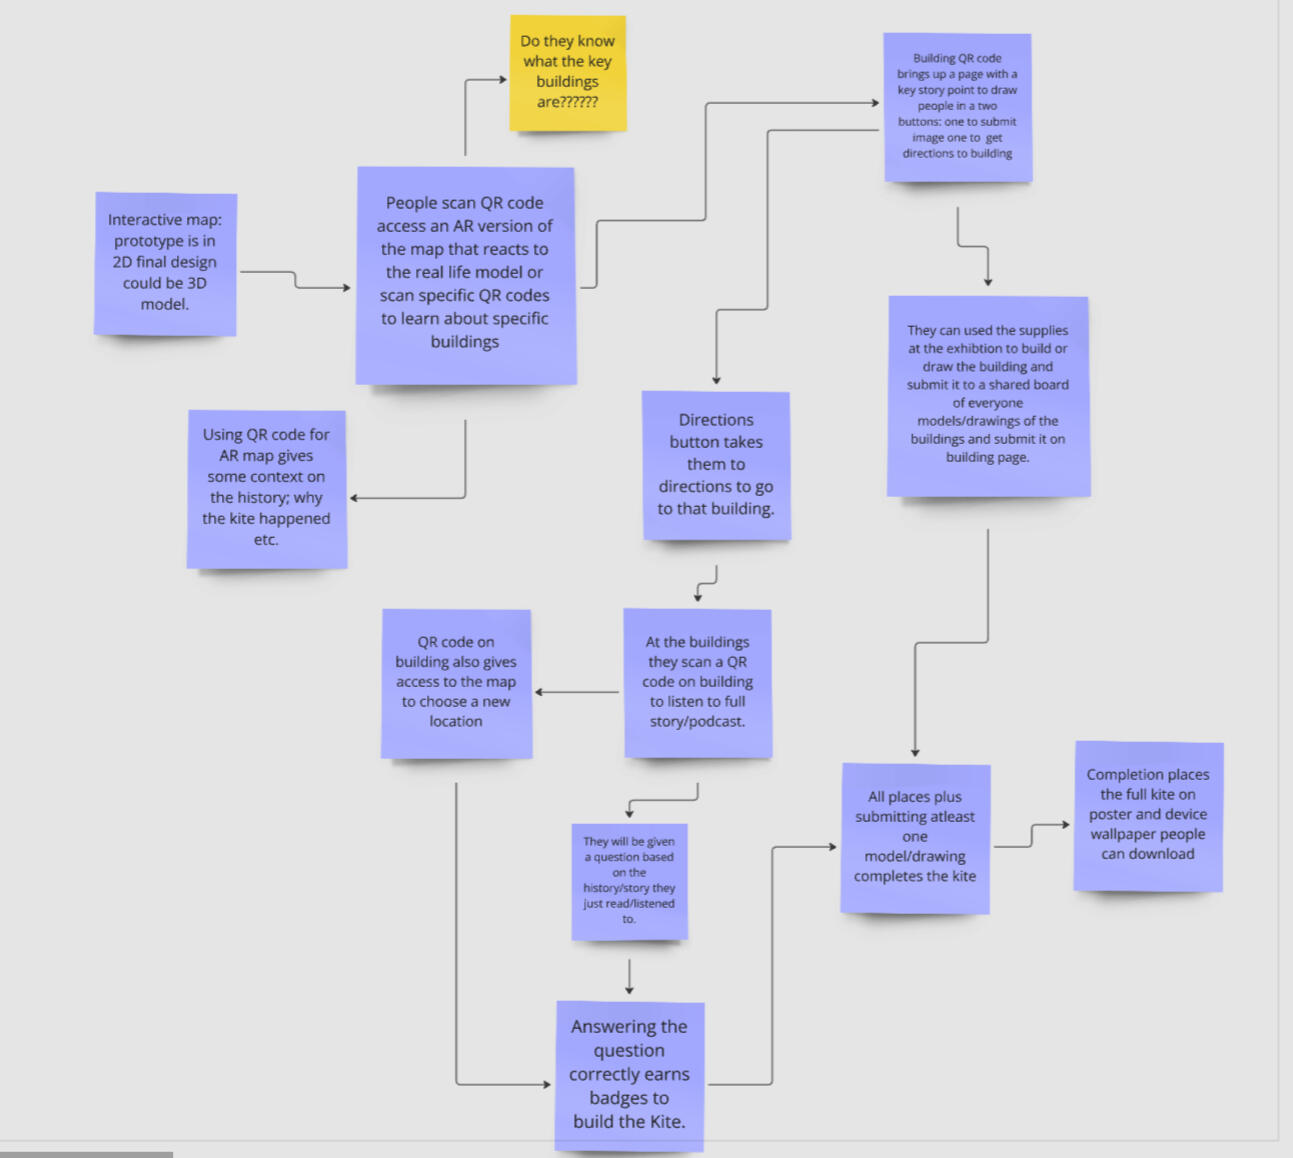
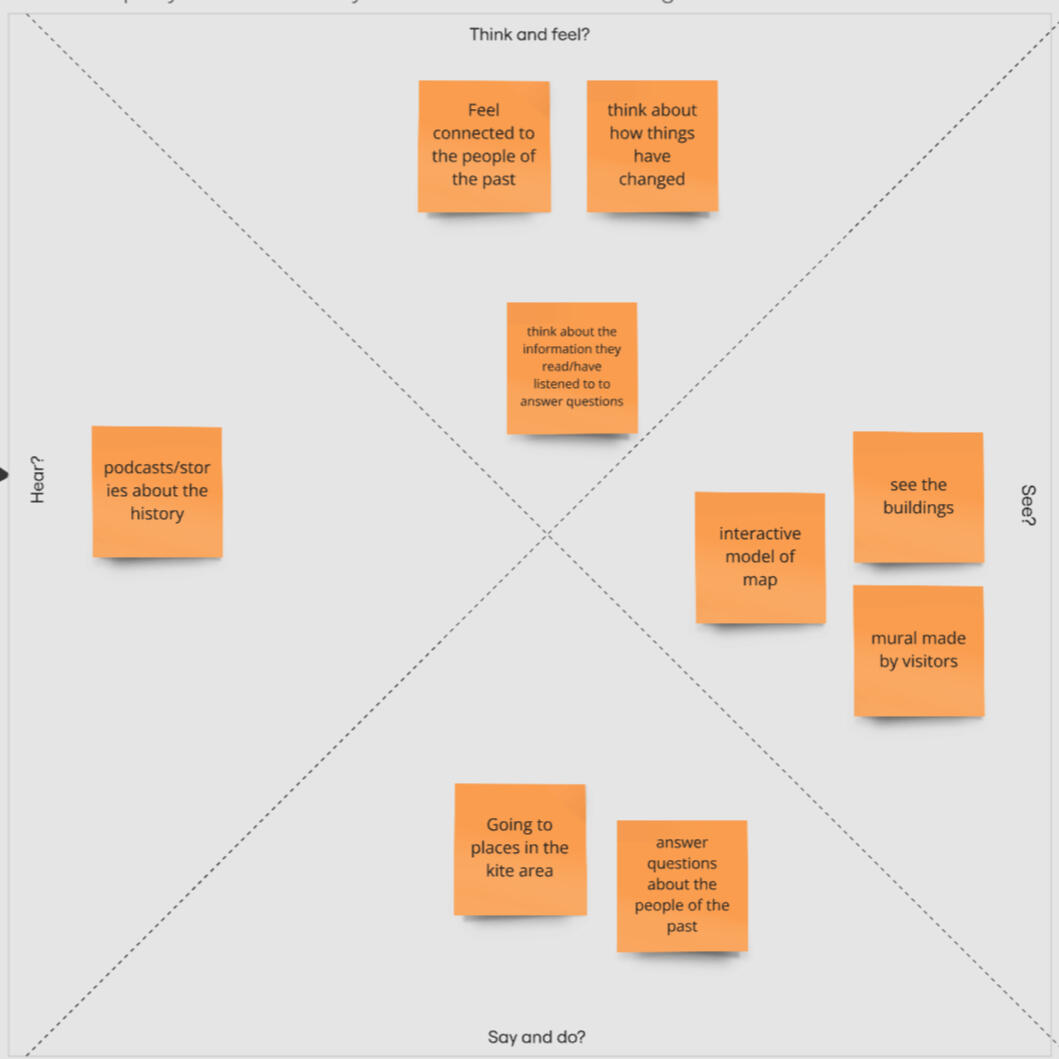
Together we chose an idea and developed that idea into something that covered all areas of the brief and discussed how it would be executed.
Our Idea
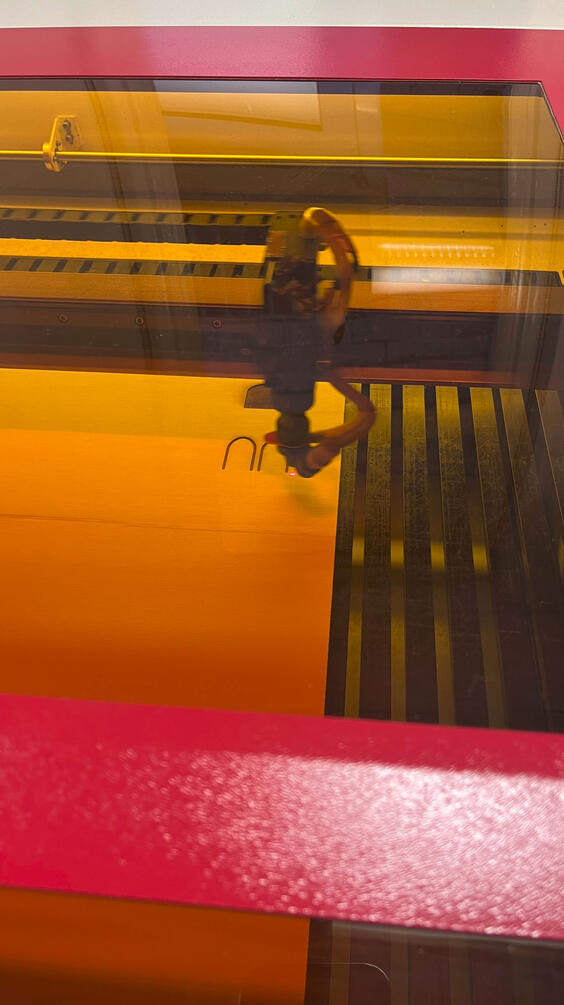
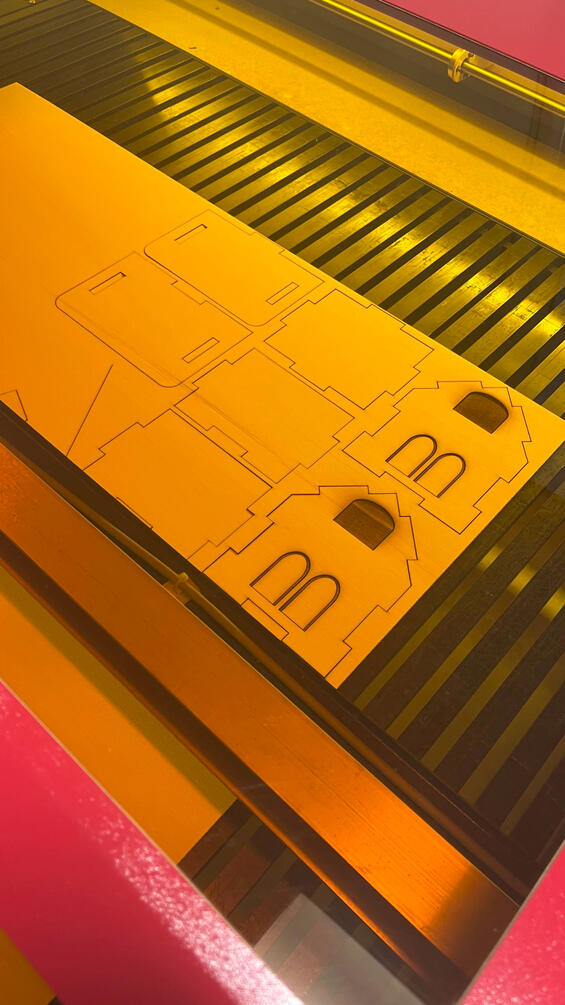
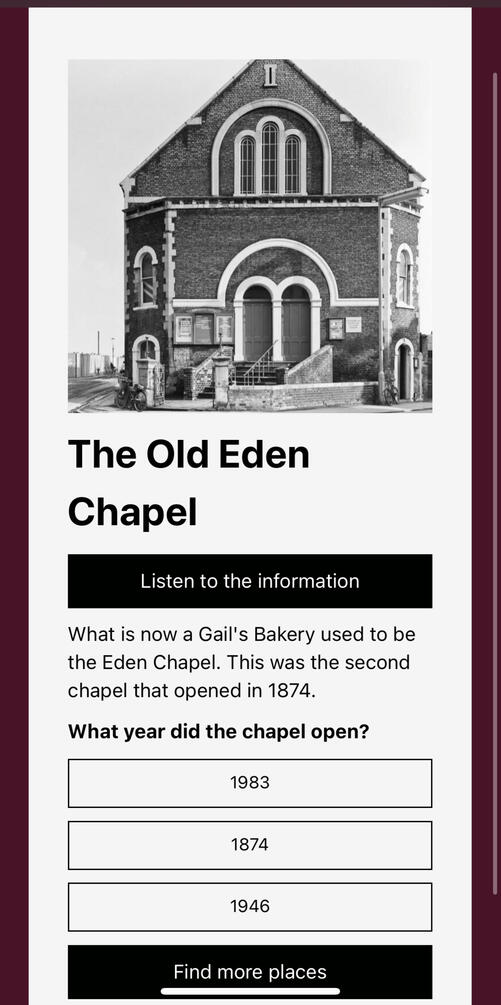
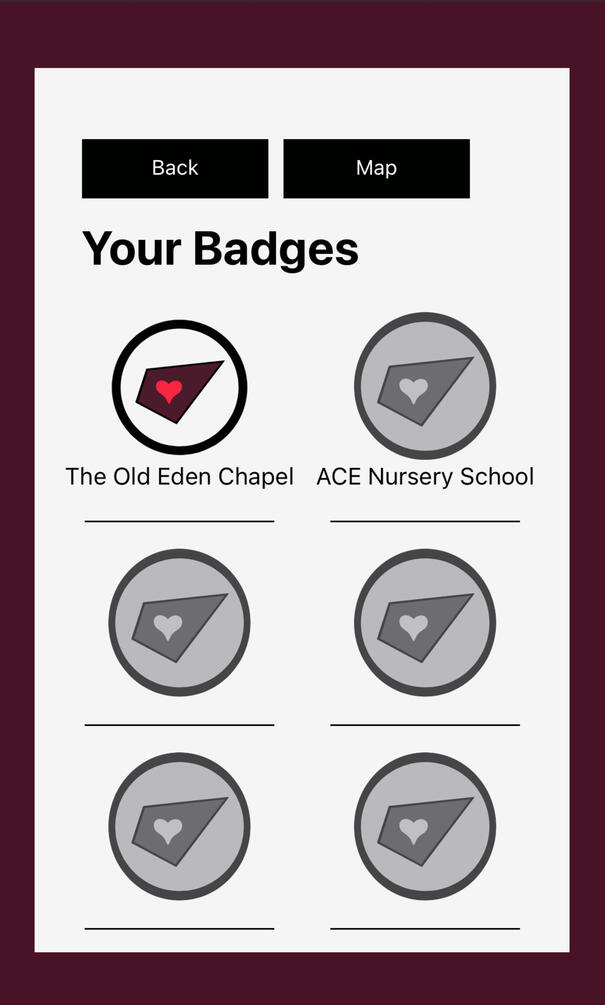
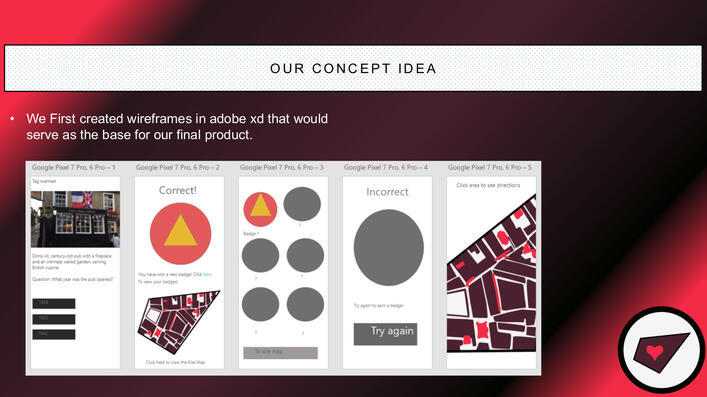
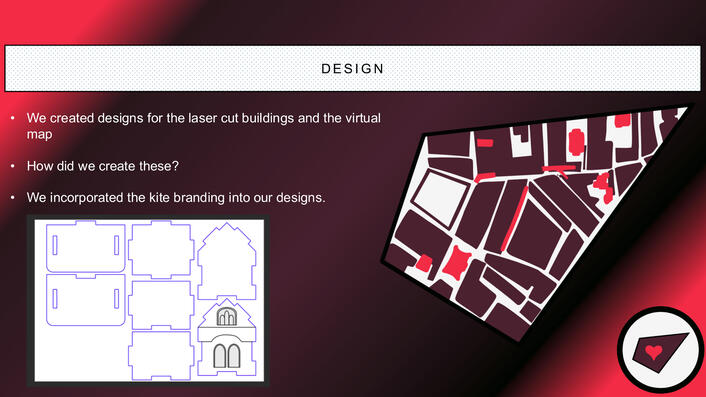
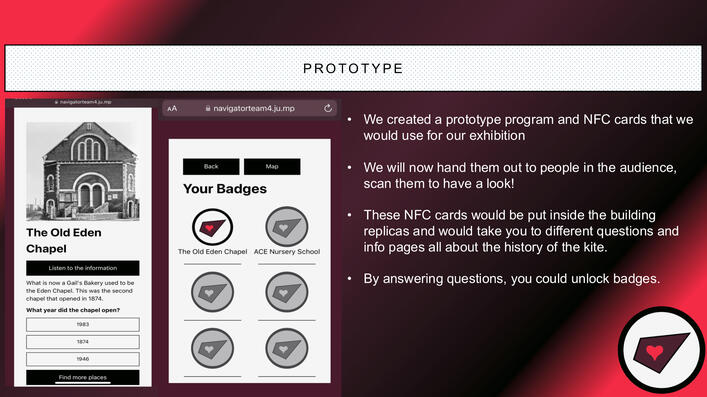
Our idea is to have a 3D map at the exhibition, made up of laser cut wooden models of all the buildings. The important and interactive ones would be lit up. Visitors can then use their phones to scan NFC tags inside those buildings to learn a little bit about it. They can then choose to walk to the building and learn more, or scan another building. If they choose to walk to the chosen building, they will be able to scan another NFC tag to learn more about the building, listen to a podcast and answer a question about the building to earn a digital badge.
Production
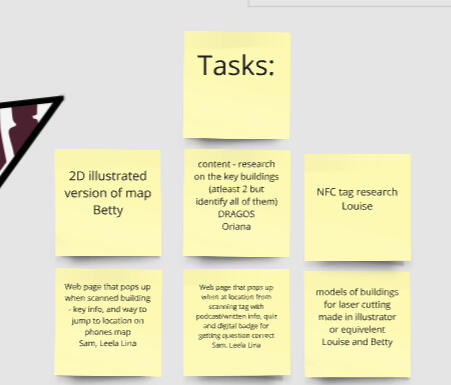
To be able to create our prototype having both the physical and digital parts, as well as a pitch presentation, we needed to split the tasks effectively between everyone in the group. We took roles where we felt our skills suited more strongly, leading to me taking on researching and figuring out the NFC tags, as it was a more hands- on technical task that I am good at figuring out and enjoy the problem-solving of.
Prototype
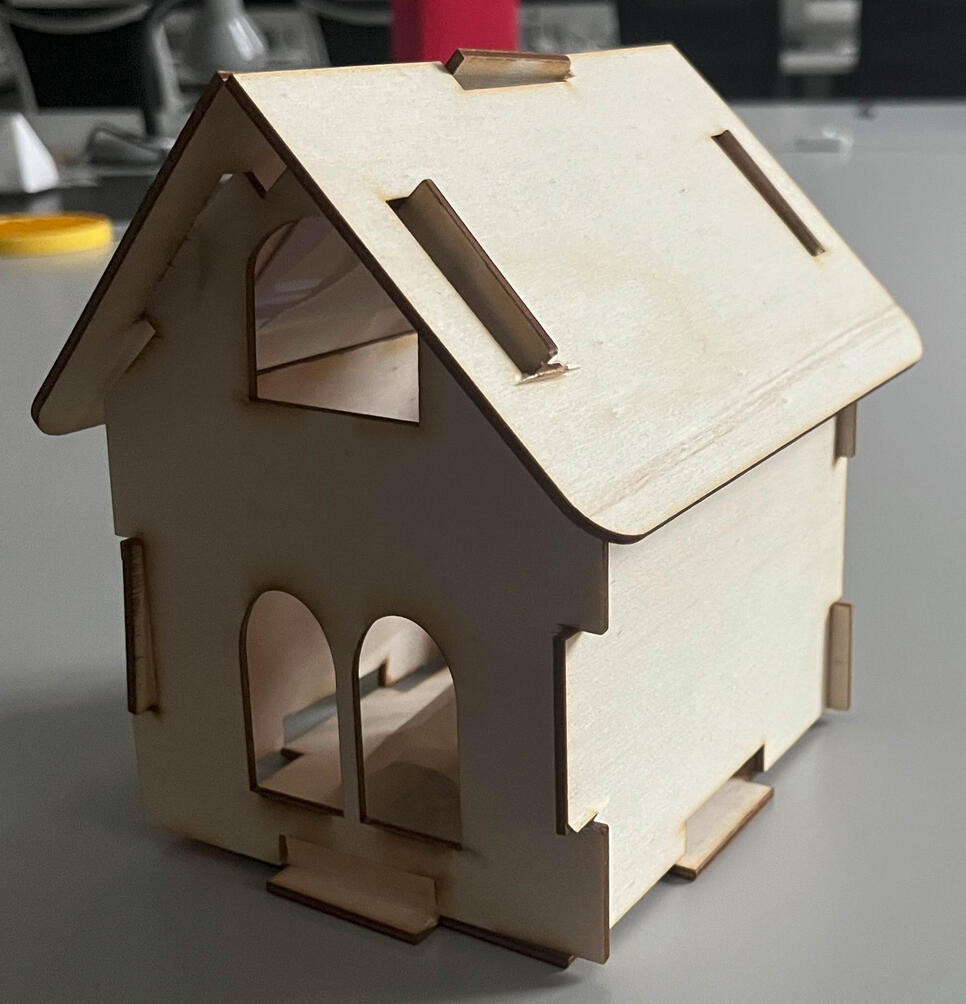
To test our idea and support our pitch, we created a prototype of a building and placed an NFC card inside the house that had the data to the website written on it.We used the laser cutter to make the pieces for the houses.
I set up the NFC tag that was secured to the roof of the building and created a website that can be accessed by scanning the tag.
Feedback
Our biggest question surrounding our idea was about how it worked, and with that question we gave everyone a chance to test the prototype with their phones. If we were to present the pitch again, it would make sense to reorder the presentation and have people test the prototype whilst we explain the concept. Everyone also really liked the building, saying they would like one or that it would be good to have people build models of the buildings out of cardboard at the exhibition.
Peer Feedback
I completed a peer evaluation form but due to my blog technically being public and the form including people's name it is not featured on my blog.
Reflection
Given the time and schedule constraint of the project, I am happy with how the project turned out. I really like having a physical prototype to the project and despite needing slight modifications I think it looks really good. As usual with any group projects I struggled with not being able to work using my own process and at my own pace, but I felt we worked really well together as a group which resulted in a good outcome.
UK Antartic Heritage Trust
Overview
For this project we were working with the UK Antarctic Heritage Trust to create social media content for them to encourage young people to engage with the organisation.UKAHT is a heritage organisation that aims to preserve the British buildings in the Antarctic and make sure the story of Antarctic exploration is available for everyone.
Target Audiance
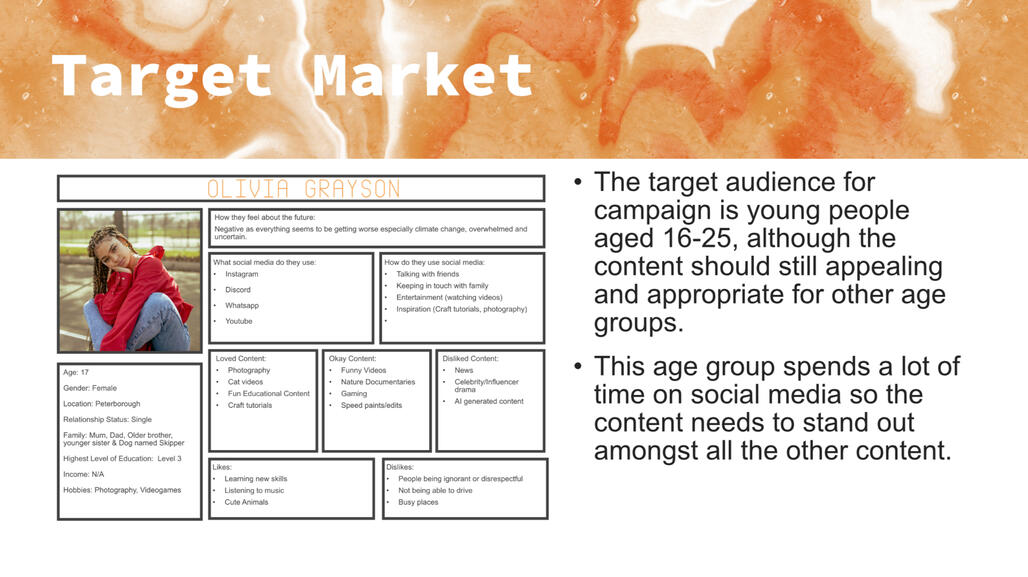
The target audience for this campaign is very important because UKAHT wants the content to be aimed at young people, between the ages of 16 and 25. This means the content needs to be engaging to this age group but shouldn’t deter other audiences away from all UKAHT content.
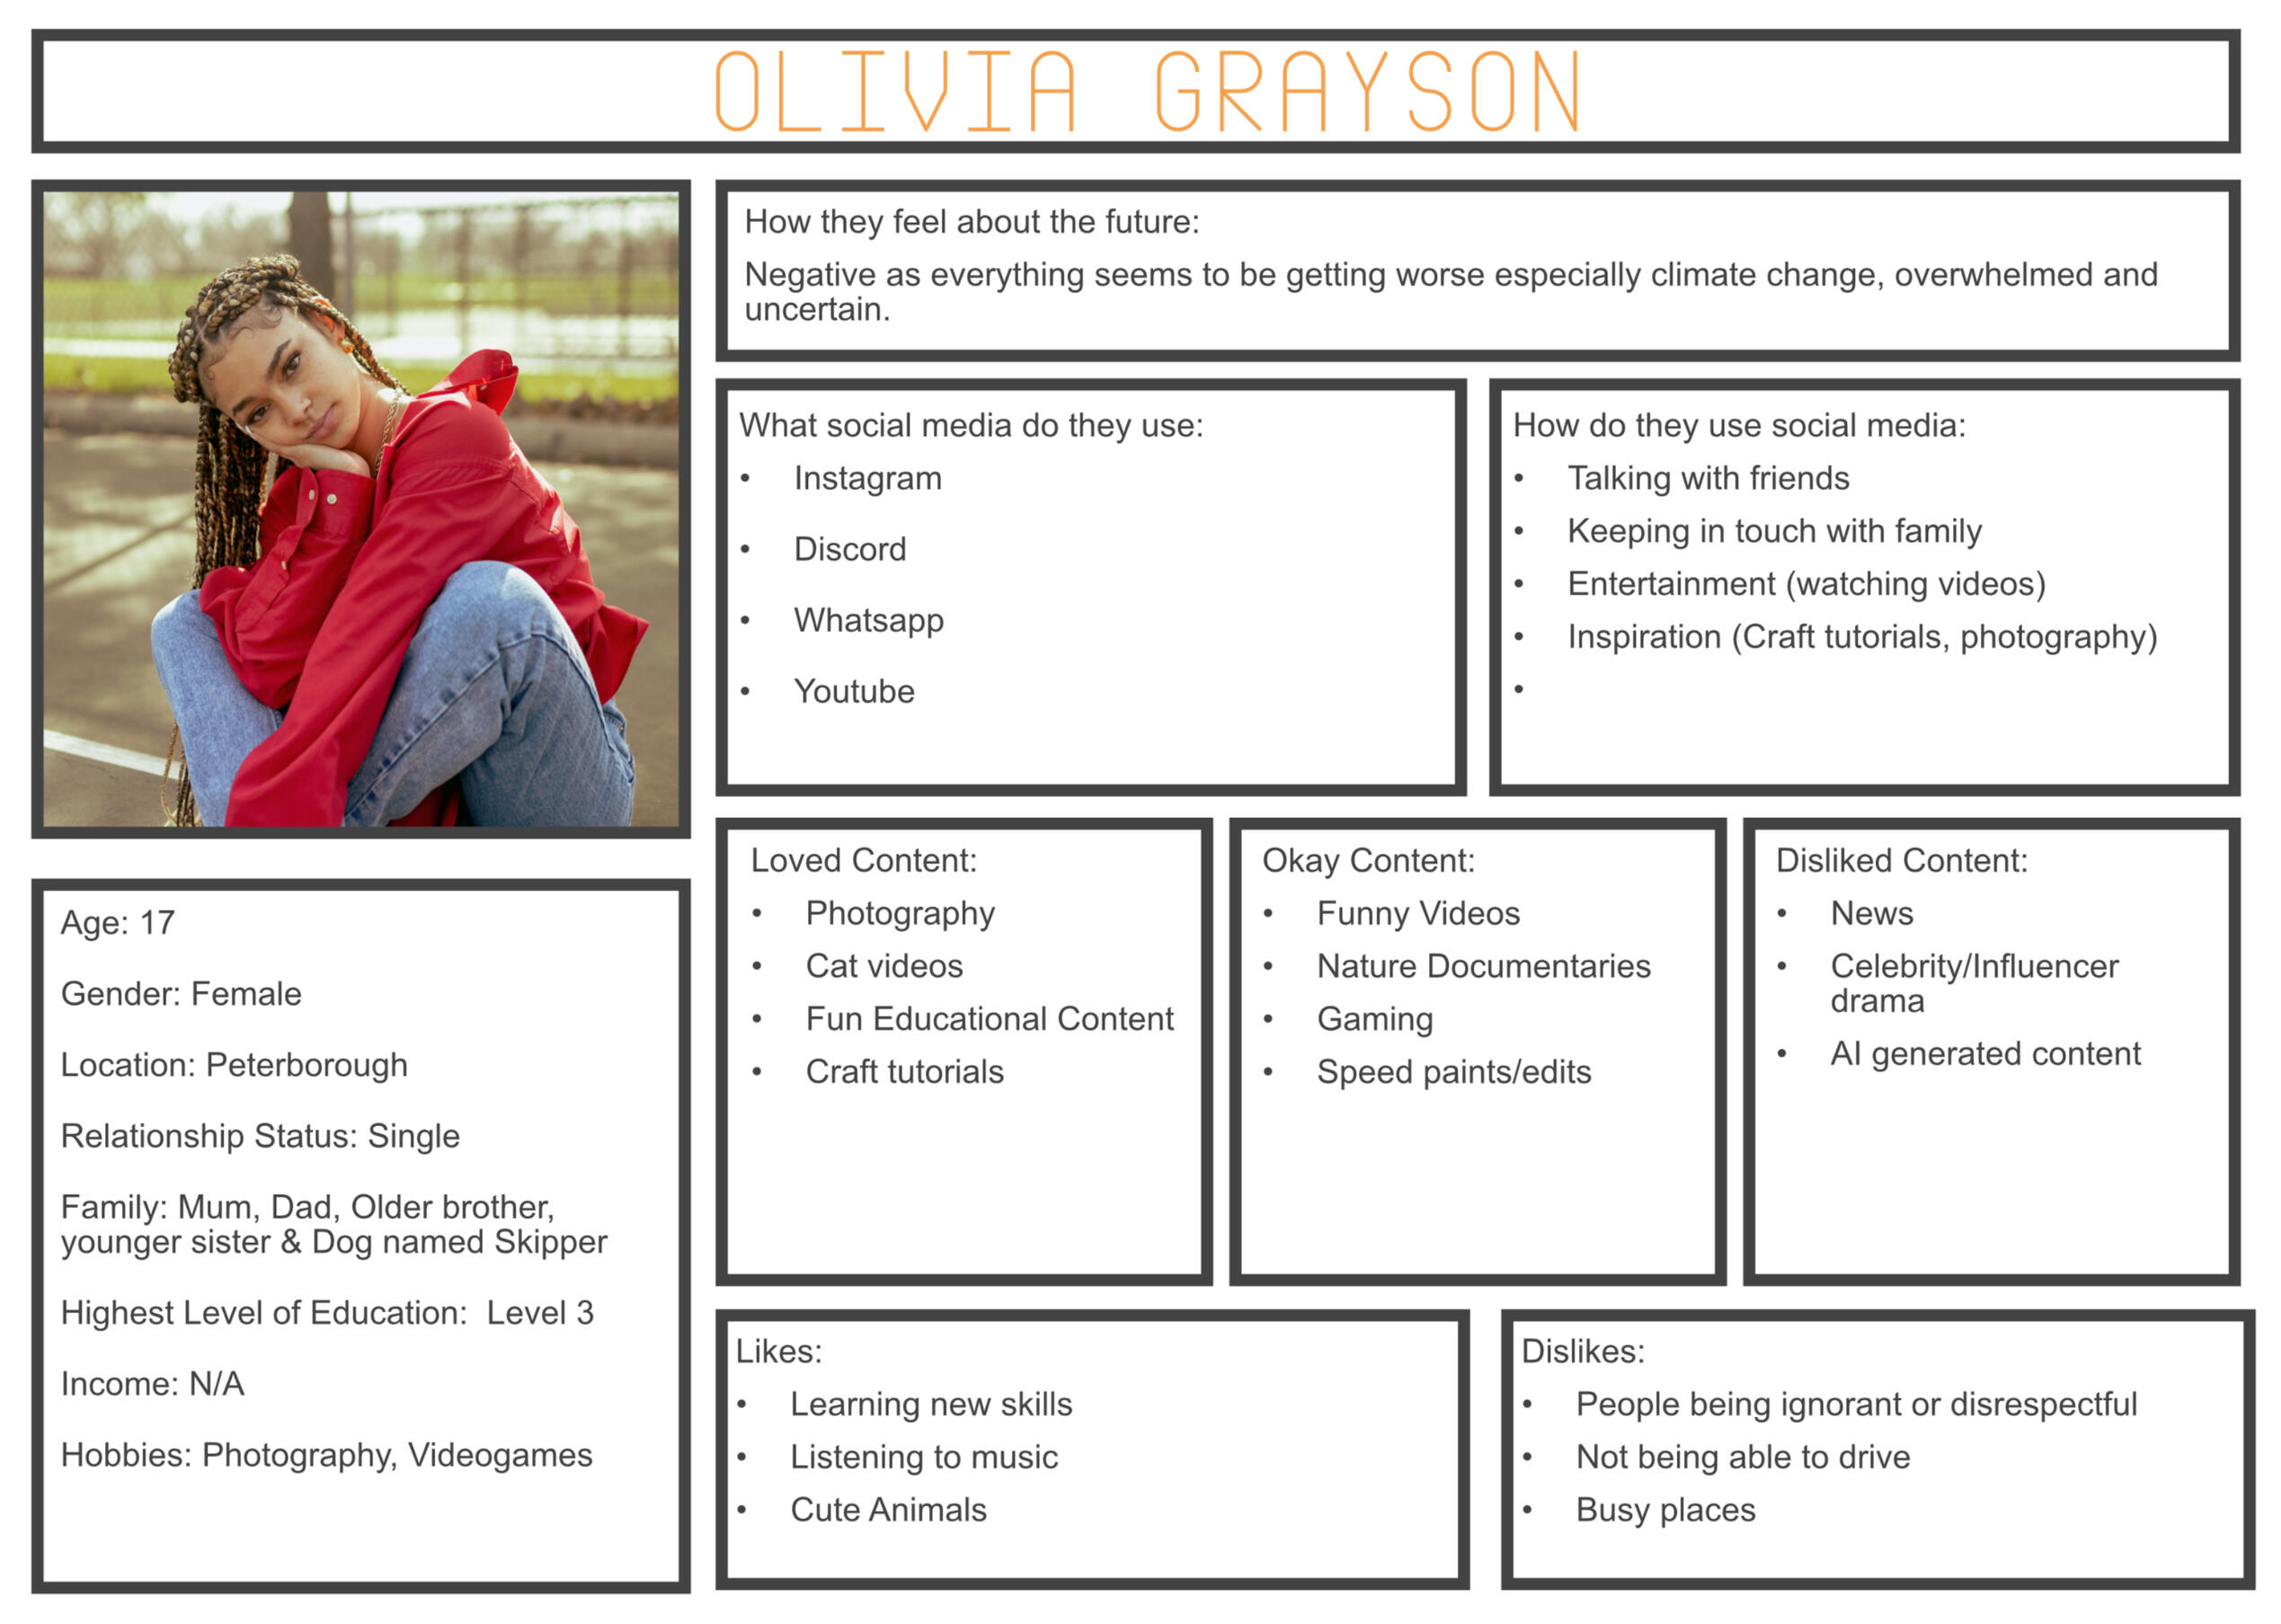
Persona
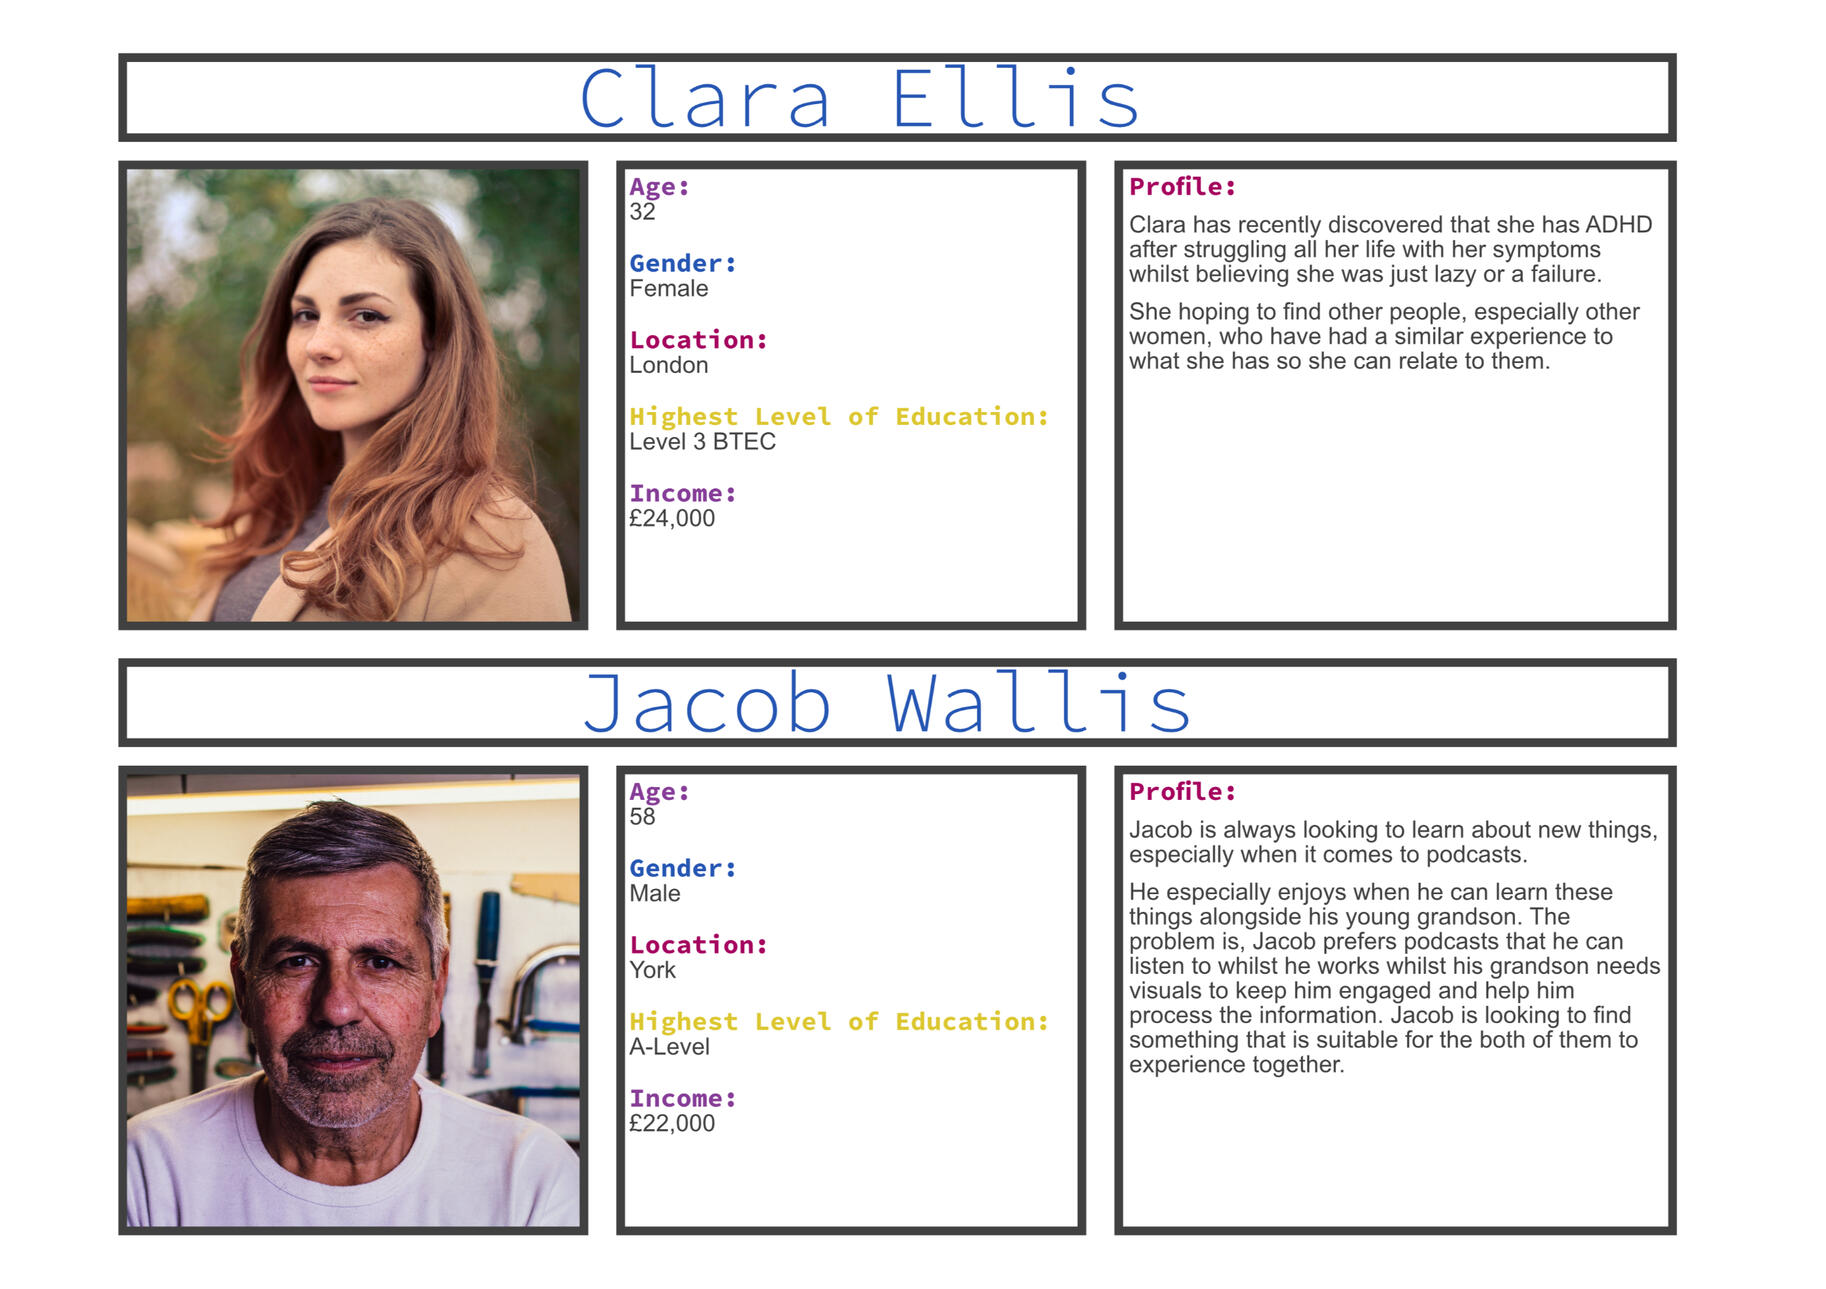
To help guide my development of my content, I created a persona that fits in the age category and uses social media.From this I found that the video needs to be suitable for multiple platforms as young people use multiple different apps. I also found that it needs to be more fun but still educational, which means I should try to avoid feeling too much like a documentary but still be informative.
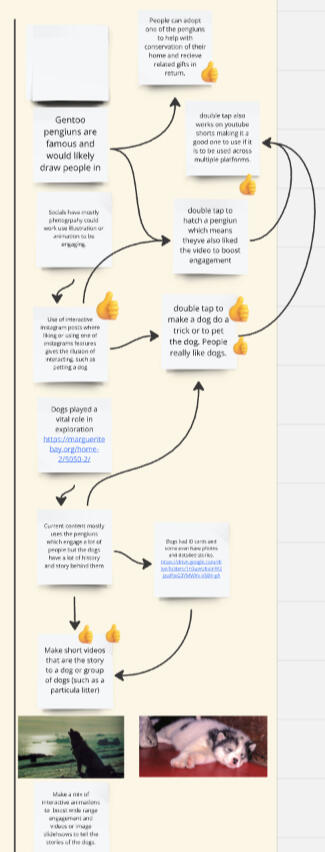
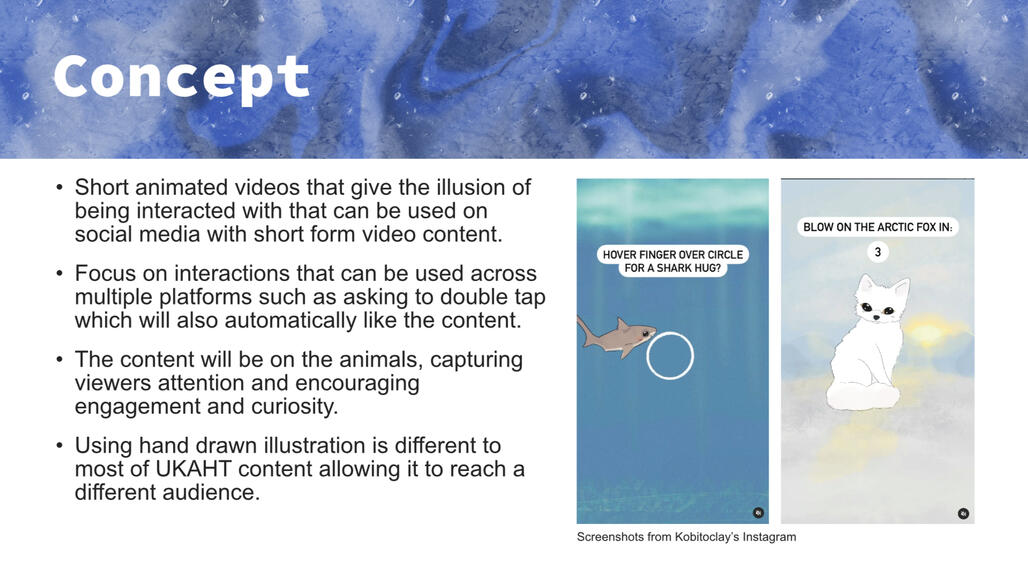
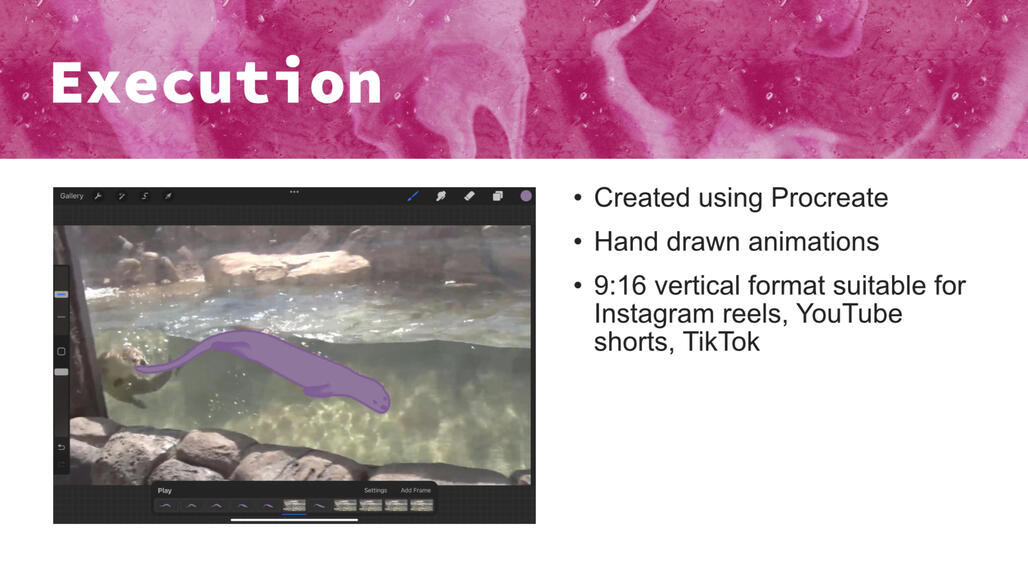
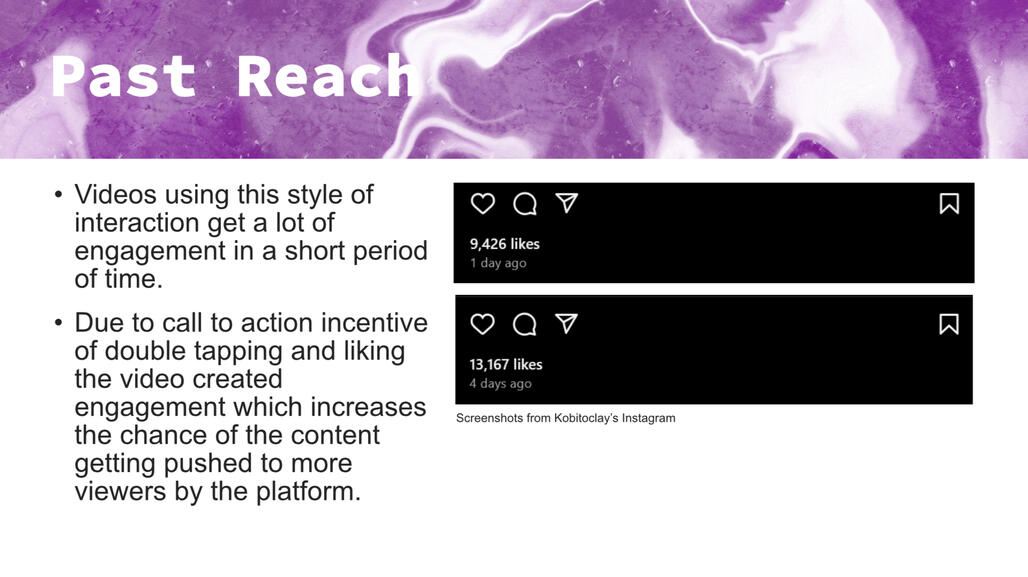
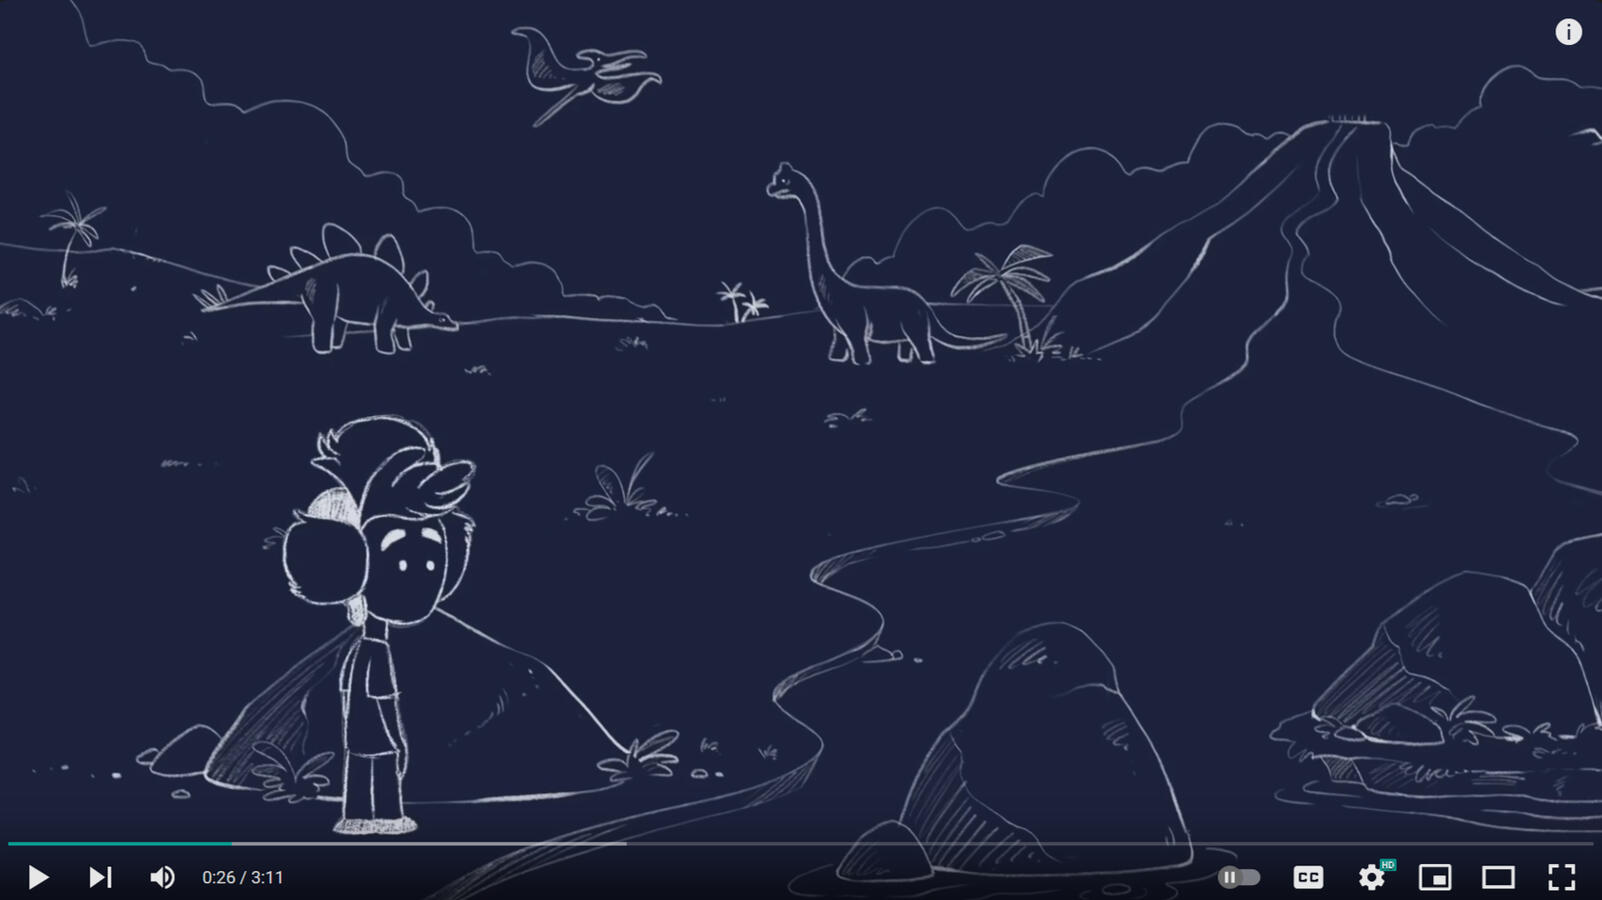
I researched UKAHT and pulled out parts that were important and what I felt could be good to create content around. I also looked at UKAHT social media, learning what they post and the type of continent they upload. Given my target audience, I felt that it would be a good idea to focus on the animals, as everyone loves animals.I then thought about ways I could use the information I found to create content. I wanted to use the stories of the dogs, given that UKAHT has a lot of penguins content.I decided I wanted to create a short animation of one of the sled dogs, Steve, that encourages the viewer to like the post because in doing so they give the dog some pets. This type of perceived interaction is common on Instagram as they have a lot more things creators can add to posts that audiences can interact with, but by using likes the content can be used on multiple different platforms. The final video will be in the vertical 9:16 ratio to work on Instagram Reels, YouTube Shorts and TikTok.
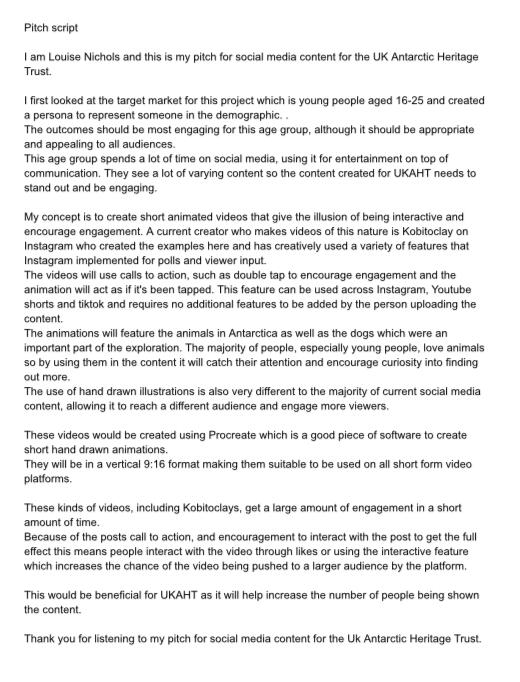
To present my idea to UKAHT I created a presentation that could be shared explaining my research and ideas. I included my persona to show understanding of the market, my inspiration and even some research into the effectiveness of the type of content I wanted to create to show it will be beneficial for UKAHT.
I also created a video of me talking through my pitch to send to UKAHT so I could receive feedback from the organisation on my idea.
Pitch Feedback
UKAHT Feedback
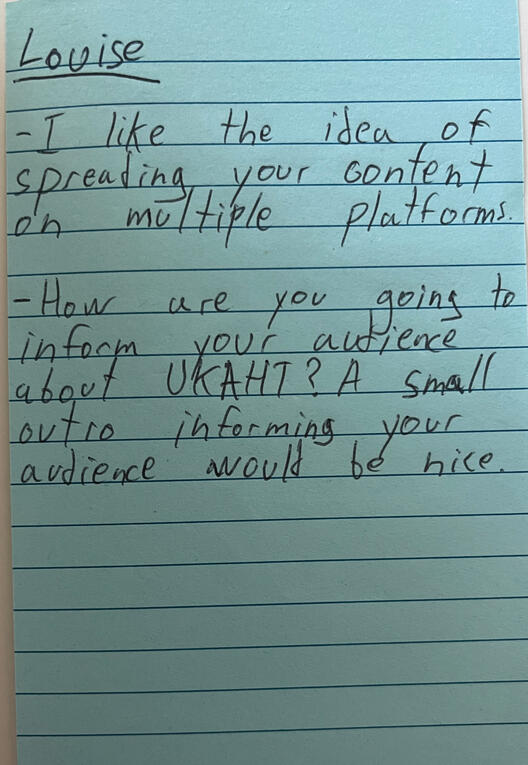
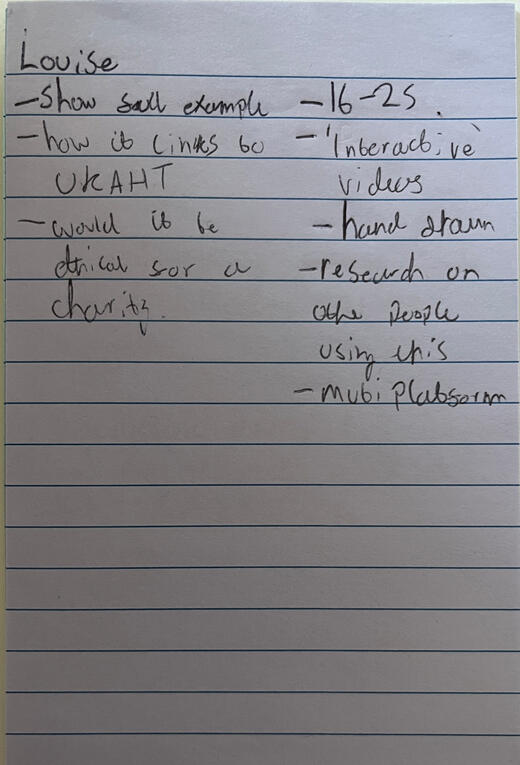
I got feedback from UKAHT on how to improve my idea.Part of the feedback was actually good feedback for any pitches I do in the future. For my pitch I used the colours and graphics I used for myself, when it would have been better to use the branding of UKAHT and so when pitching in the future I will use the branding of the company I am pitching to.The feedback relating to my content was that they didn’t know how I was going to link my content to UKAHT and ensure that the audience knows that it is for UKAHT. This means before I start production, I need to know how I am going to tie UKAHT into my idea.Peer Feedback
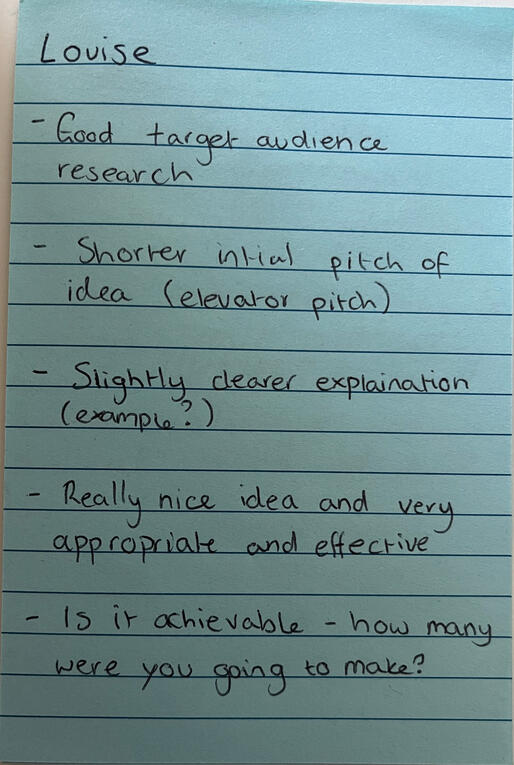
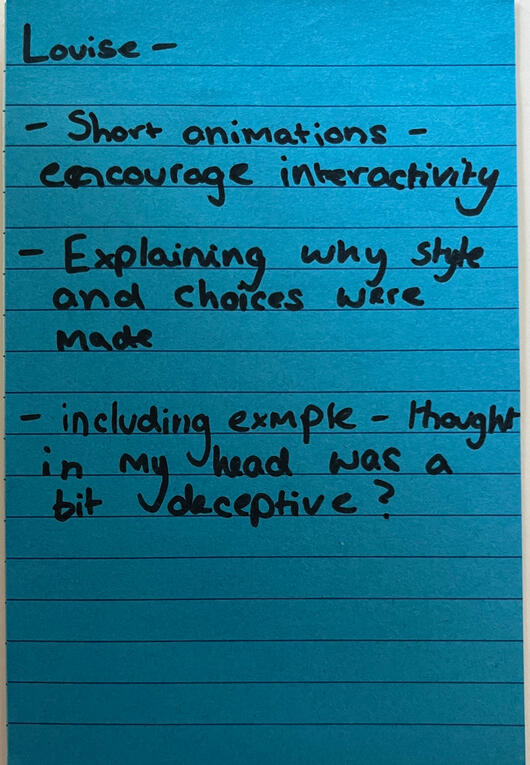
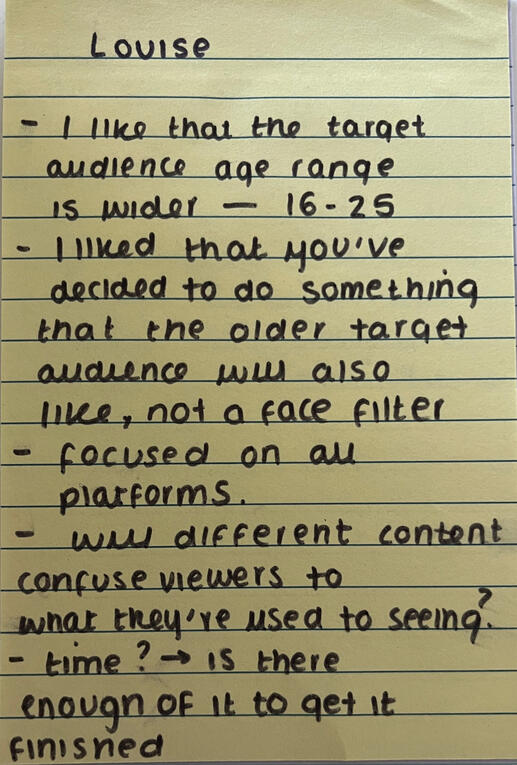
The class presented our pitches to each other to get feedback from people in our own age group. From the pitch, people needed more explanation of what my idea was as I had not included video examples on my pitch, only images. But the concept of the idea was well received because UKAHT as it is a very different type of content and that it was good to have a video that can be used on different platforms.
Making my Content
Character Design
I wanted my character to be cute to catch the attention of people scrolling and stand out from other UKAHT content.In today's society, cartoon characters have a much wider audience than they used to, with them not just being for children but for teens and adults too. Cute, cartoon-like characters are increasing in popularity with teens and young adults as collectables become more popular, and it is becoming more socially acceptable to like these things. It is important to appeal to these audiences, as these are the ones spending the most time watching and scrolling through short term content.Furthermore, this style would appeal to children or draw the attention of guardians or family members of children. The character style makes the organisation look more family friendly and encourages them to head to the UKAHT store and look at the products they could purchase for a child, such as the adoption kits.Animation
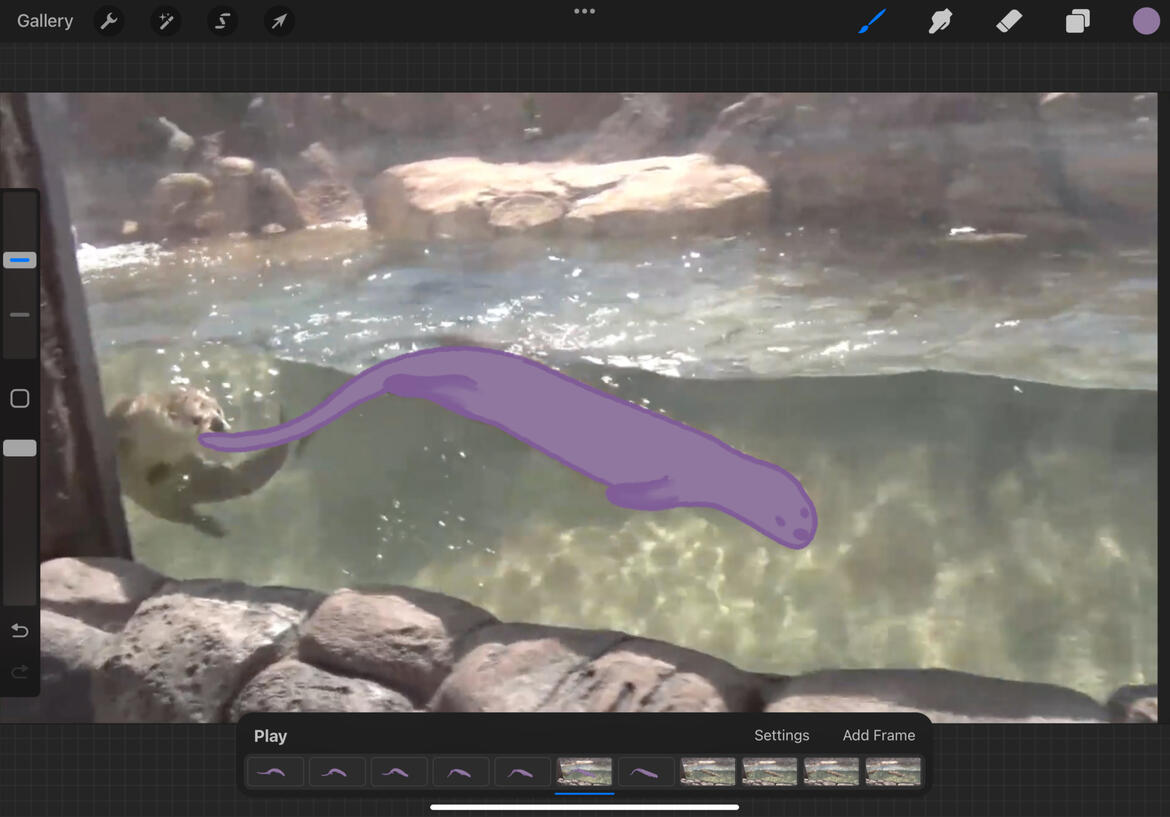
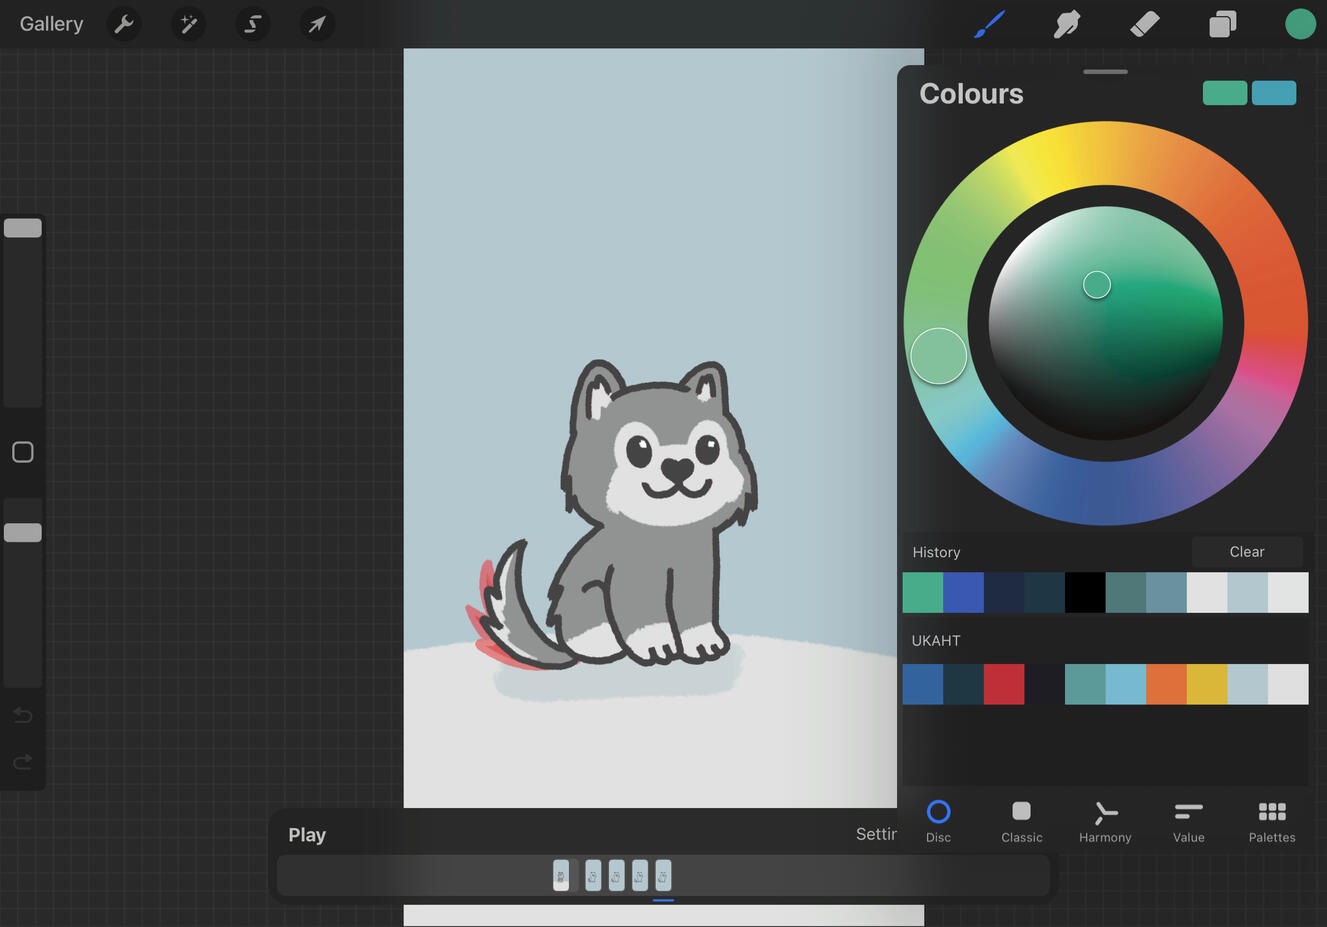
To make my social media content, I used Procreate to animate a short movement sequence for a husky dog. I added a colour palette of the colours from the UKAHT brand guidelines so I could use them where possible. I was able to make the background the light blue and white from the palette, and used the red for the hearts that appear after the user interaction.Editing
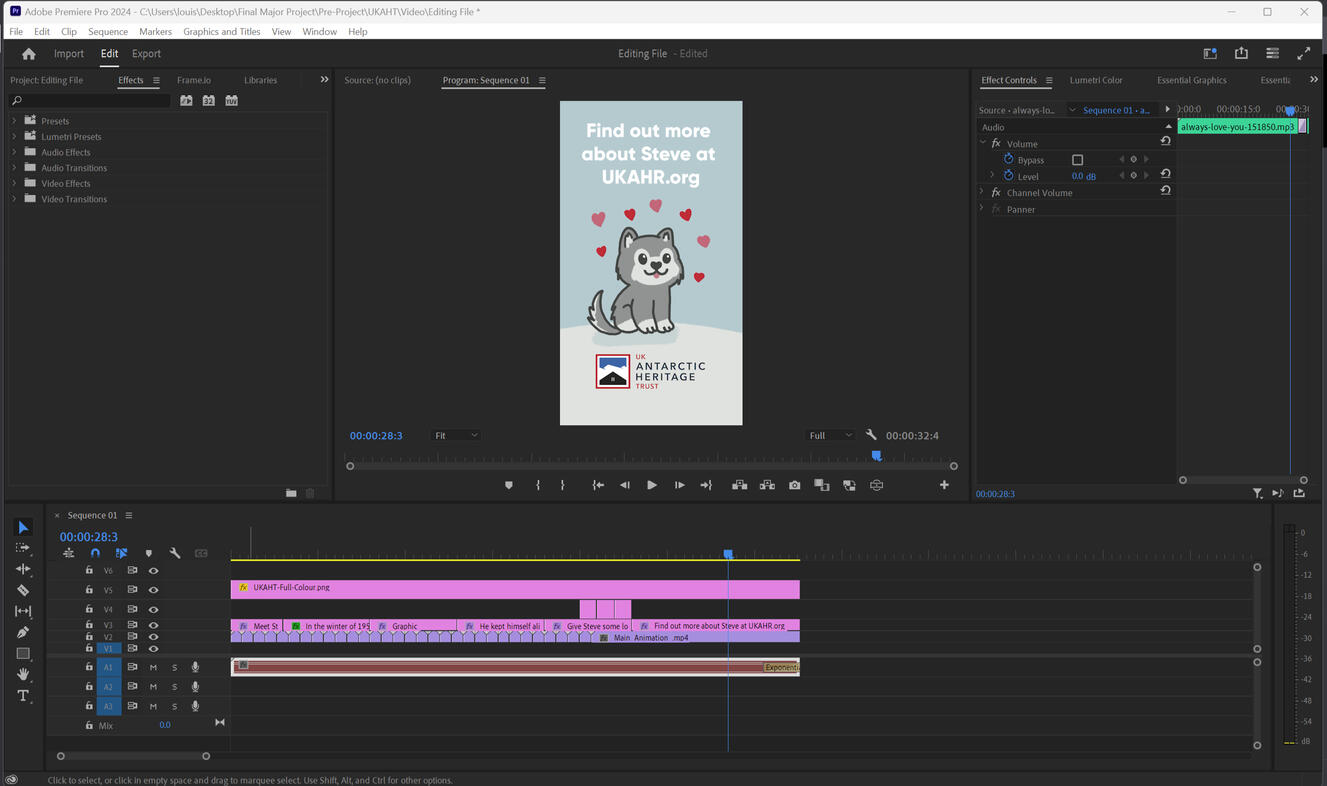
I used Premiere Pro to overlay the text onto the animation because the text needs to be vector based to ensure it is clear when exported, which is not possible in Procreate. This also made it easier to edit the text and change the timings as I went along.I added the UKAHT logo along the bottom to easily show connection to the organisation. I made sure to sit it high enough on the screen that it wouldn’t be covered by the profile and caption that would be seen when watched on a social media app.The final touch was to add some royalty free music in the background to bring it all together. It is important the music can be used on social media for free so UKAHT can post the content without an issue.
Final Video
Reflection
I really like my little animation and am pleased with how the social media video came out. The peer feedback was right to be concerned about if this was manageable in the time frame because even simple animations take time when they are hand drawn and even more so when of a living subject. One small animation doesn’t feel enough, and I possibly could have pushed myself more, animating the dog took a lot longer than I anticipated.If I were to produce this project on a larger scale, I would illustrate multiple different characters, but I would only use Procreate to create character sheets. I would then use Adobe After Effects to create the animations from the character sheets. This would speed up the animation process but at the cost of some of the characteristics of hand draw animation.
Continuing the Project
A few weeks after sending the animation to UKAHT, I got some feedback from Lesley, who works at the organisation. The feedback was comparable to what would need to be done in the first round of revisions in a professional setting, so I reached out to Lesley to see if I could continue working with them to get my content to the level of quality it needs to be in order to be posted on their social media.
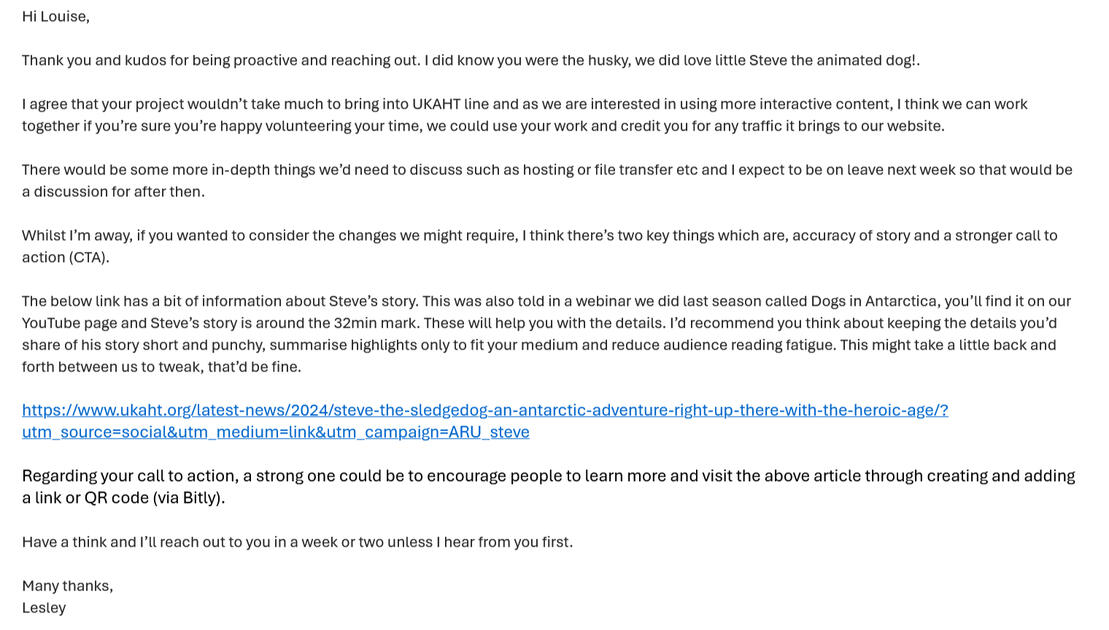
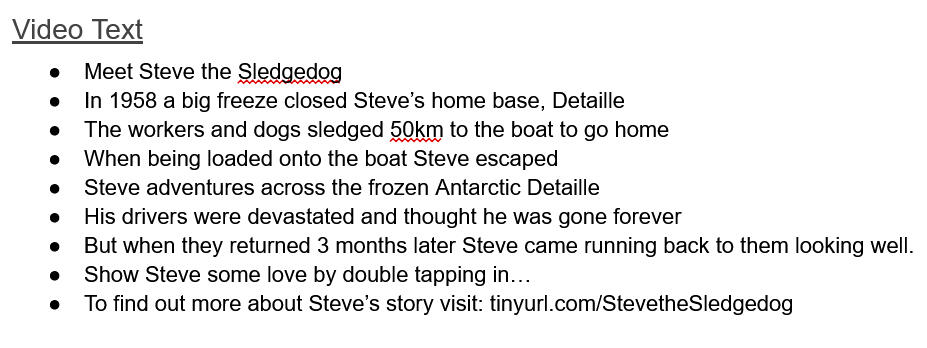
To ensure I understood exactly what needed to be changed, I had an online meeting to discuss the revisions. The main changes were editing the story, so all details were correct, and reducing reading fatigue by having less text on the screen. We also discussed adding a stronger and more direct call to action at the end to encourage more people to follow up on what they had just read. These edits felt manageable alongside my other commitments and Lesley was also flexible on the timeline and understanding of me having university projects to work on, so I committed to making the changes and sending a revised version.To make the edits, I first went back to the story I had based the story in my animation on and fixed the details I had got wrong. I also edited the story into shorter chunks of text, but this resulted in a couple of extra points and therefore a slightly longer video.
To create a more effective call to action, I created a Tiny Url to add to the last part of the video, and it can also be added to the caption. If I were in charge of uploading the content I would add a link element to the post or a working link in the caption depending on the constraint of the platforms because how links work is different across YouTube, Instagram and TikTok. I also didn’t add a QR code because the majority of people will be watching vertical, short-from content on their phones which is usually what they use to scan QR codes, so this would be very impractical.
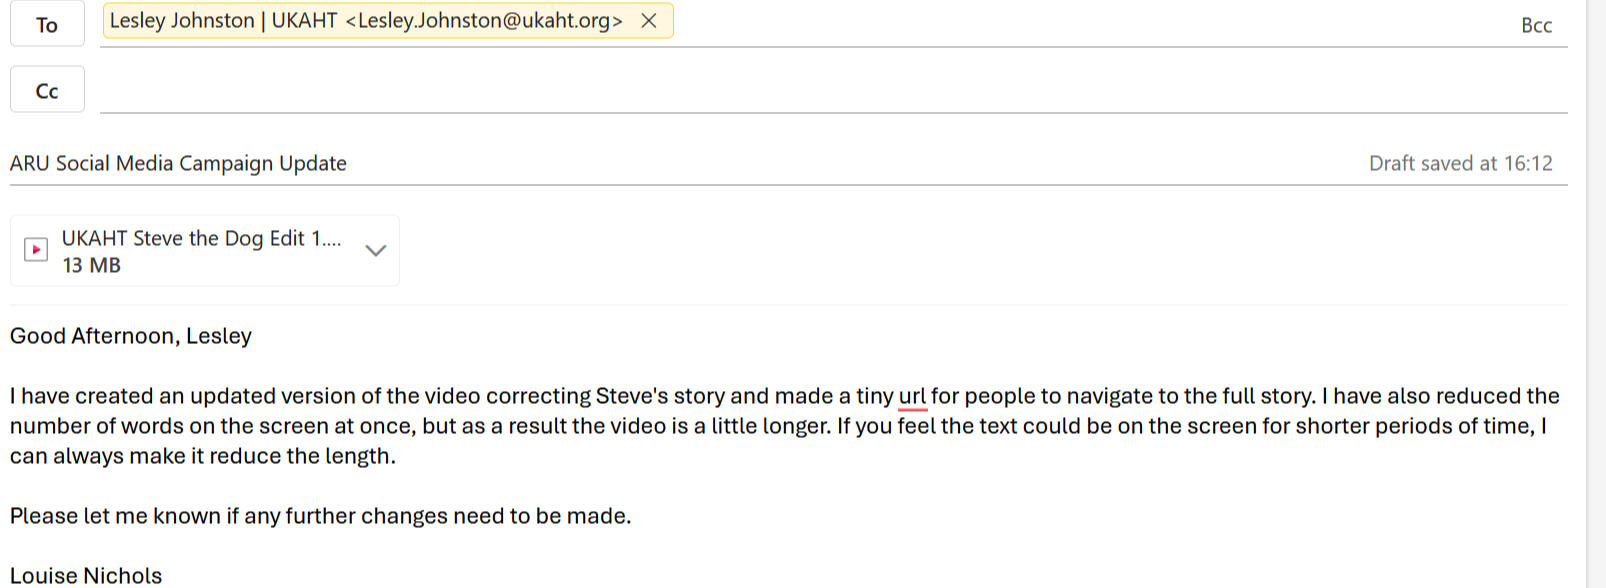
I then exported the video and sent it to Lesley, clarifying the changes I had made and the effects it had on the overall video. I am still waiting for a response to this email, as the initial response was an automated out-of-office email.
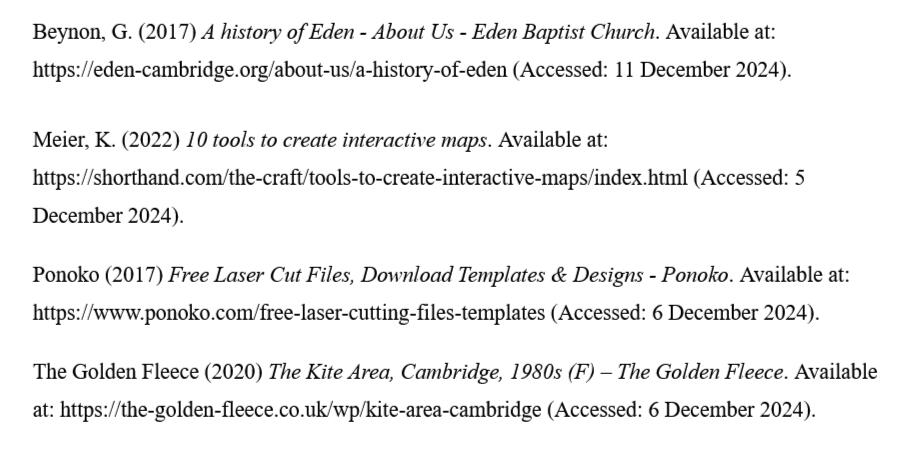
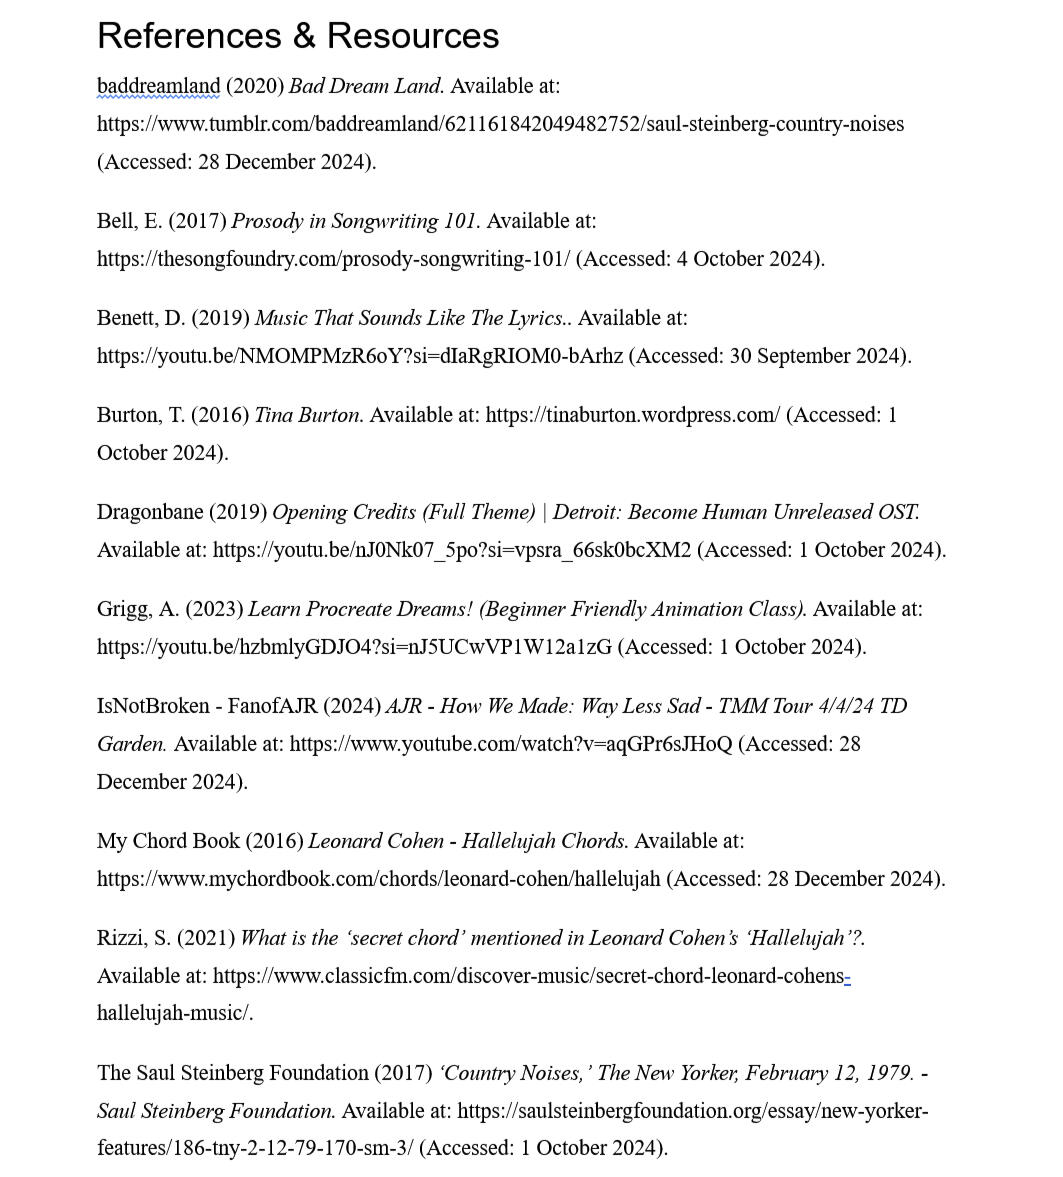
References
Pilot Project 1:
Rubik's's Cubes and helping with anxiety
Overview
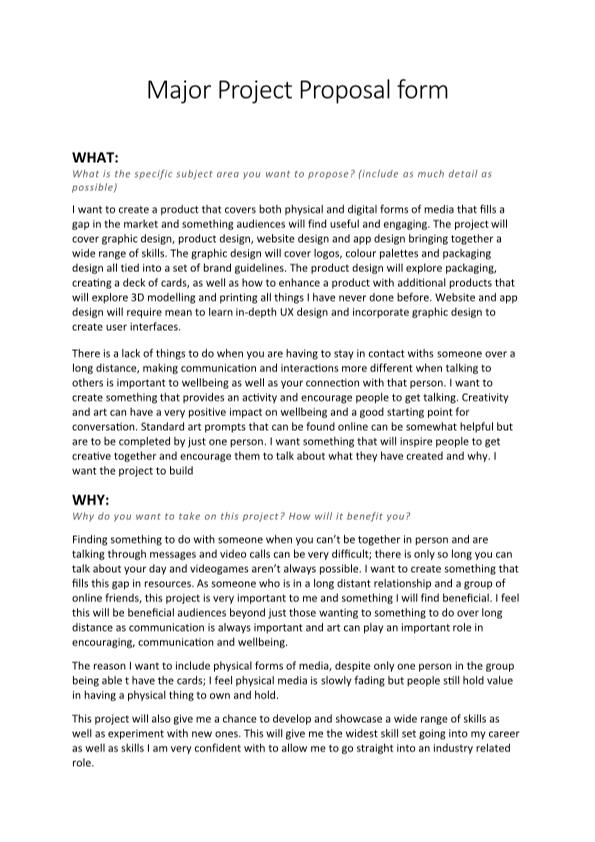
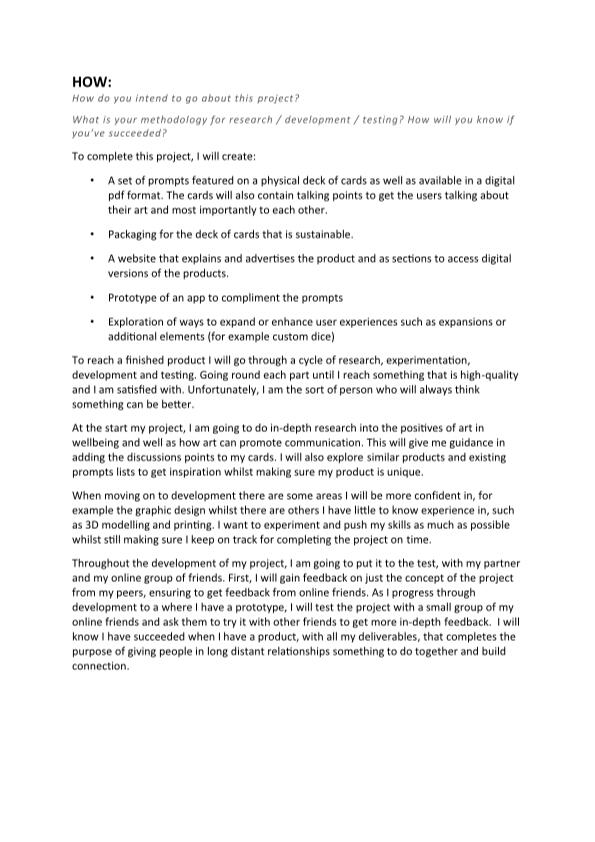
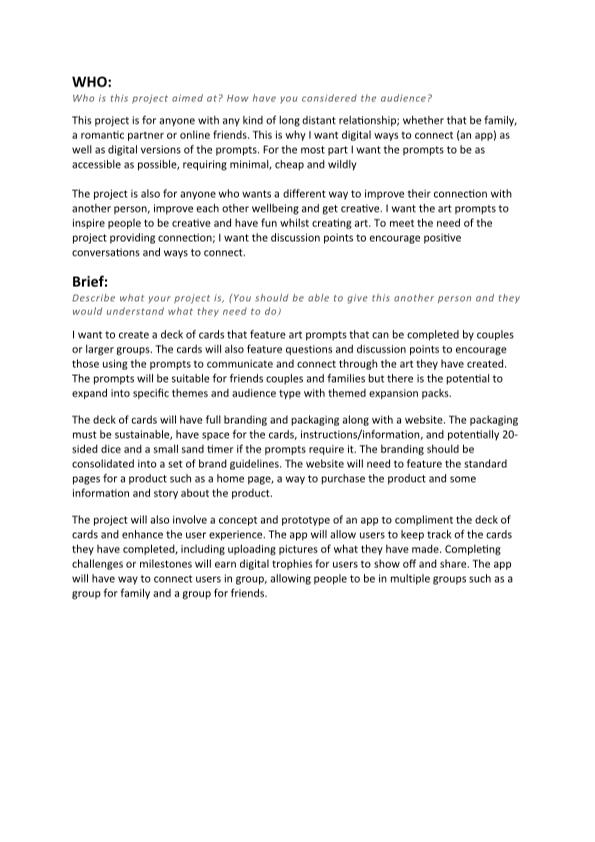
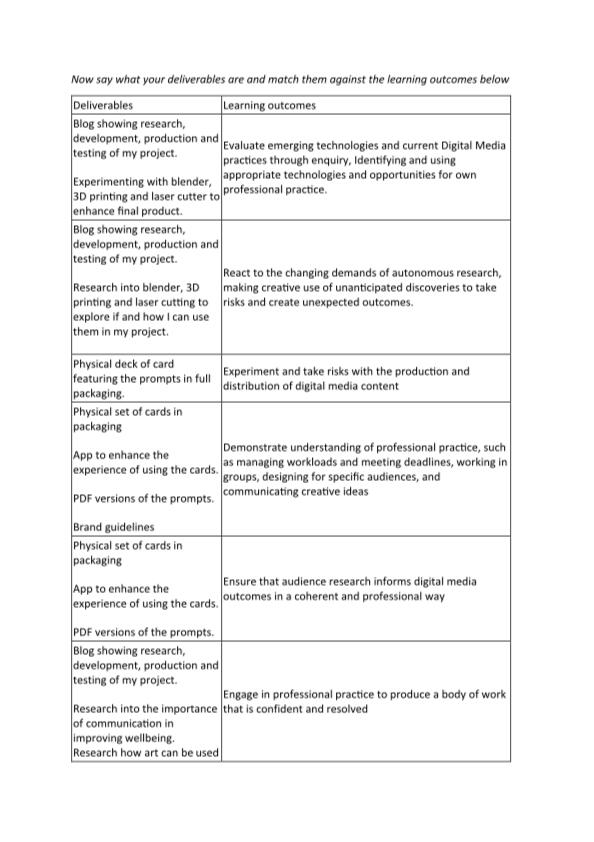
I want to create a piece of media that shows how a Rubik’s cube can be a useful tool for anxiety or dealing with overwhelming situations.
Why do I want to complete this project?
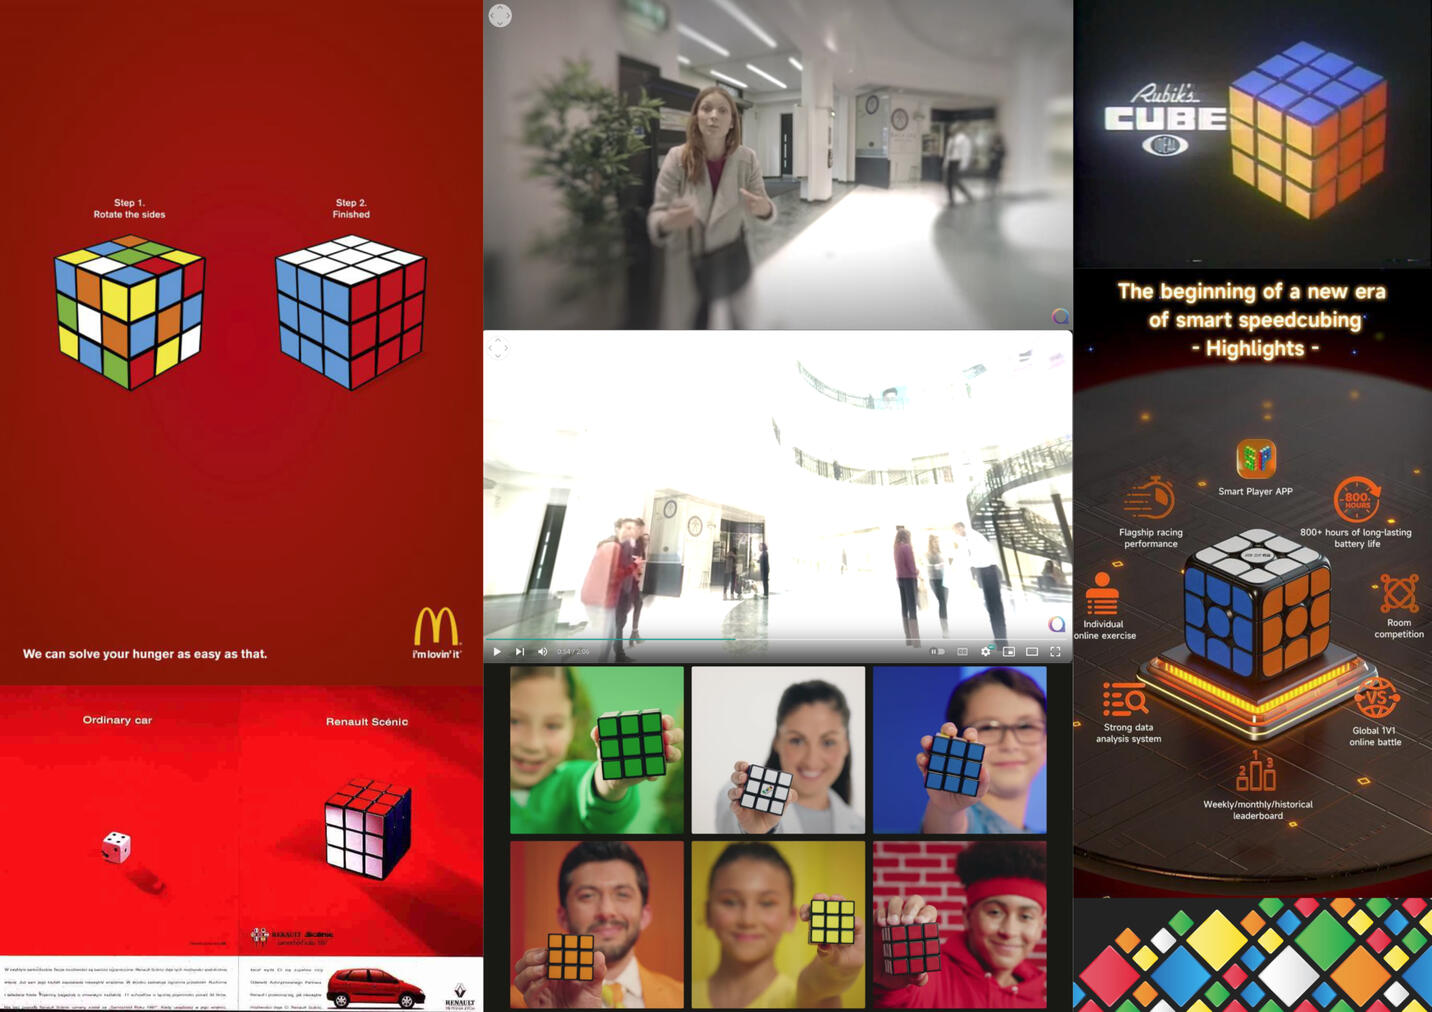
I have been solving the Rubik’s Cube for little over 2 years now and since I am able to solve it quickly and easily it has become a tool I use in my daily life.Rubik’s the brand is incredibly well known across a lot of the world, with a strong presence in the UK. Rubik’s is currently celebrating 50 years and over the past 5 decades have come out with a variety of different puzzles beyond the 3x3 cube. This has also evolved in the competition for the record of solving the cube the fastest and lead to brands outside of Rubik’s creating speed cubes with constant innovation to make cubes as fast as possible.This is the area I am interested in, although I am aiming to get faster at solving the cube, having a speed cube makes for a great tool I use in many situations. I take my cube almost everywhere and use it to keep me focused when I need to sit relatively still and listen by mindlessly turning the cube and running through algorithms through muscle memory. I also use it to ease anxiety or over-stimulation by focusing on solving the cube. The cube is quiet for the most part and feels more professional to have in most settings of the standard fidget tools.I would like to work on my video editing and graphic design skills within this project as they will be very useful within the industry.
What outcomes would I like from the project?
I would like to create a short video between 15 and 30 seconds using Premiere Pro that conveys the feeling of being overwhelmed and how the cube helps with that.I would also like to produce a poster to go alongside the video if I am able to do so in the two week time frame.
What skills does this project require?
Graphic Design
Layout Design
Affinity Suite - Photoshop and Publisher
Advertisement campaigns
Photo editing
Video editing
Motion graphics
Creative thinking
Idea generation
Communication of concept and ideas
Effective and efficient research
Development
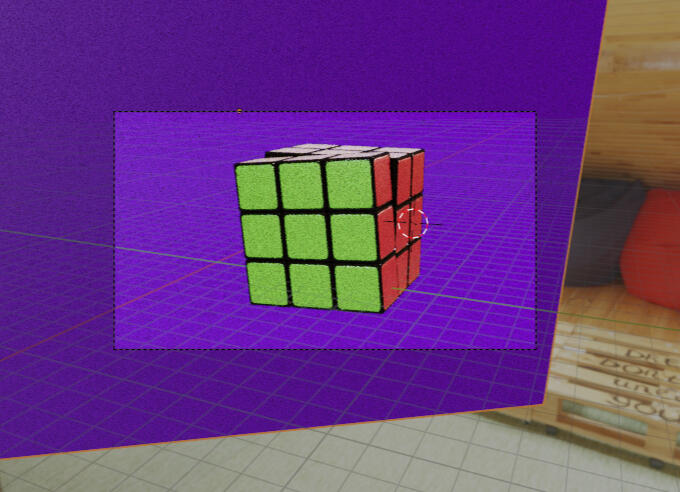
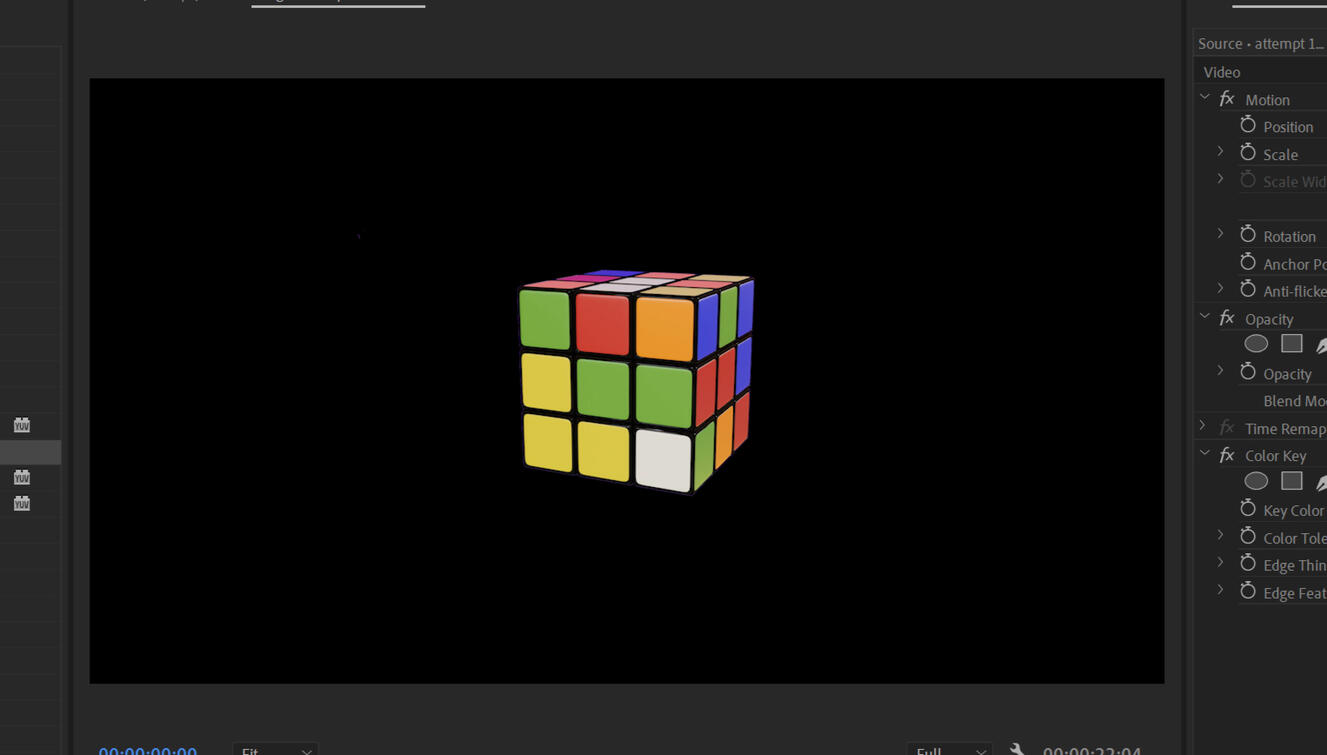
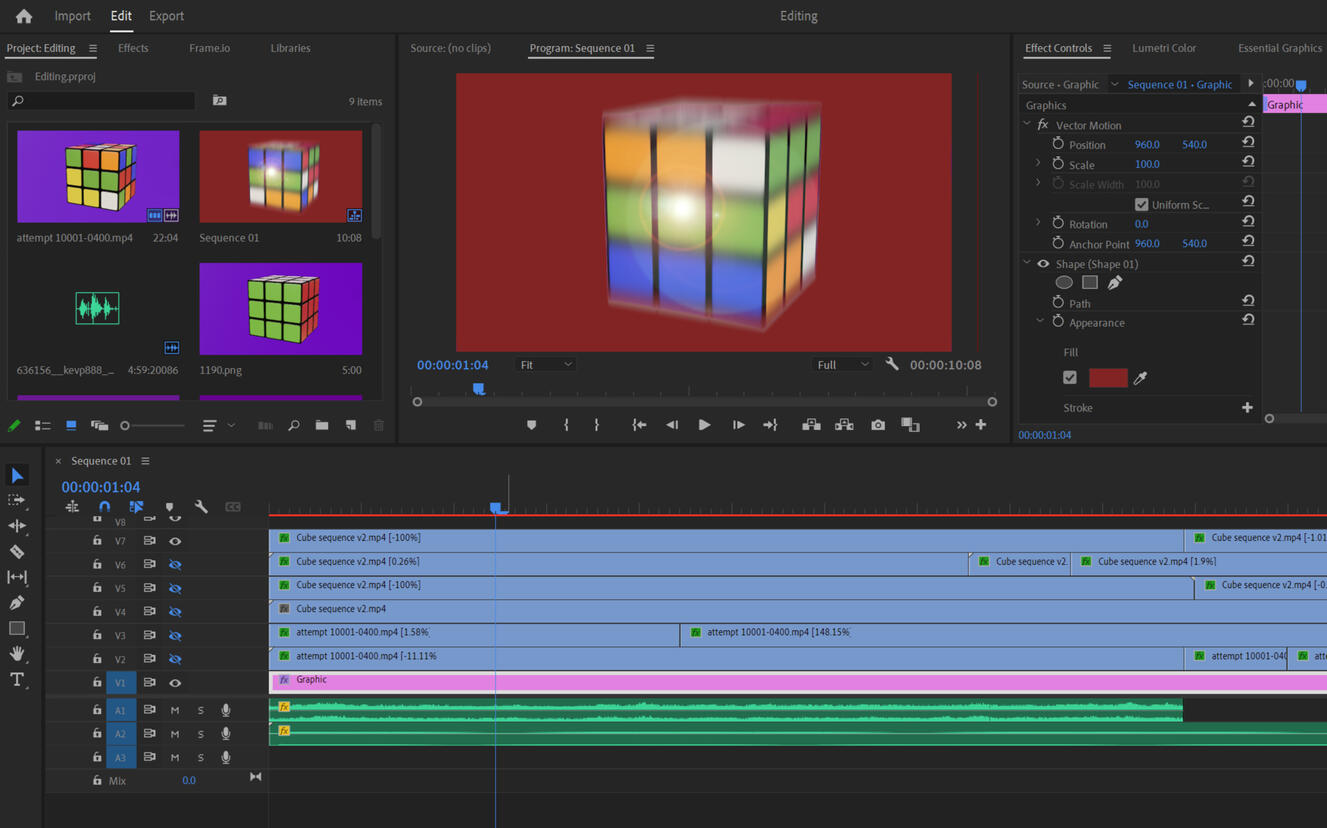
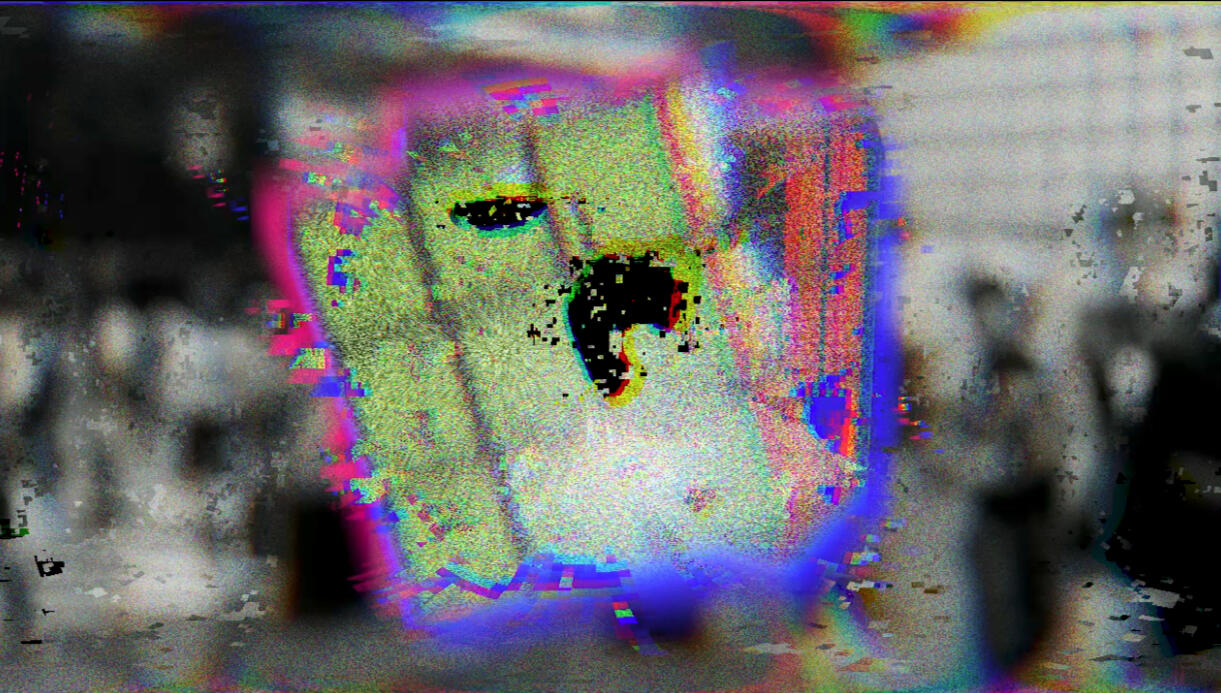
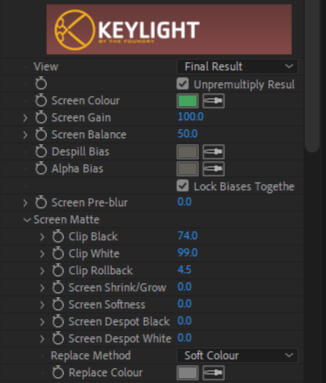
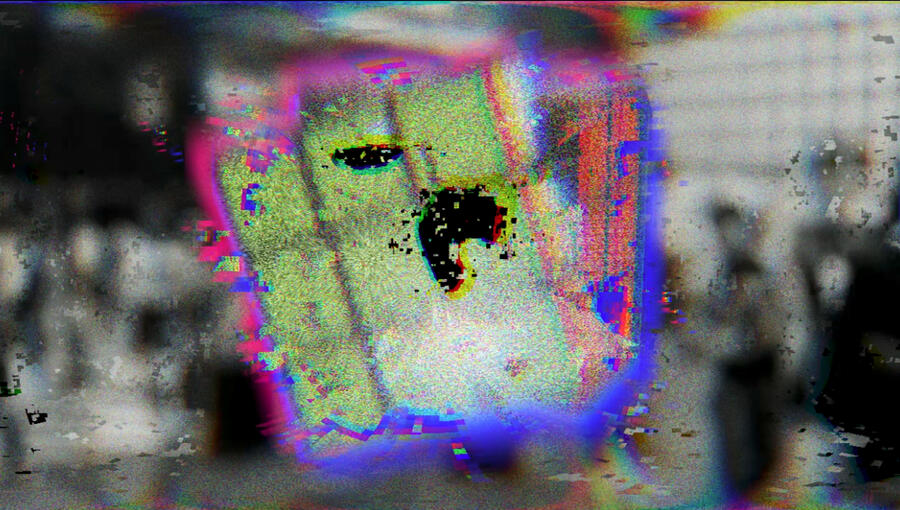
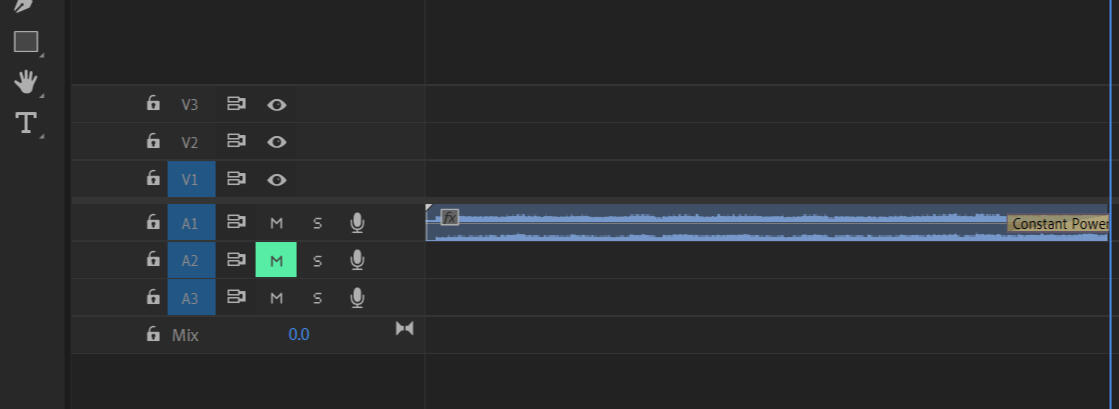
I took a model of a Rubik’s Cube I had previously made in blender and rendered out the frames with a plain purple background to act as a green screen.I then imported the frames back into blender as a sequence to export it as a video. From here I could import it into Premiere Pro and use keying to remove the background, giving me a cube in an empty space.My idea was to make the video as overstimulating as possible by making it bright and busy, so I started experimenting with as many of the effects in Premiere Pro as possible.I then found some footage of a busy street and some accounting sounds to put in the background of the video to show that the busy world was causing the overstimulation. To further emphasise the overstimulation, I also added effects to the video creating, including having a second layer of the video overlaying the first offset by a few seconds.As a final touch, I added a high pitch ringing sound.I did some experiments with the intensity of some of the effects and the timing of the overall video, going through a couple of full iterations before landing on a version I was happy with.
Final Video
Reflection
With the message in the video, the overall feel of the video comes across a little more ominous than I originally intended. However, I like the direction the video took, and I’m happy with the outcome. If I had more time to work on this project, I would experiment with the progression of the overstimulation and trial having solving the cube make the video get less and less overwhelming. I don’t want to continue developing this project beyond this pilot because I don’t see much potential growth. In the future I might return and do some more experimentation to improve the video and make the message clearer, but I cannot see it expanding much to be a bigger and more in depth project. Furthermore, I don't feel inspired to continue the project, which I feel is also an important aspect of taking on a self defined project.
Pilot Project 2:
Exploring connections between Music and Visual Art
Overview
I want to explore the relationship between music and visuals through abstract animation.
Why do I want to complete this project?
I’ve always been able to visualise music videos to music, both narrative like animations as well as abstract shapes and colours depending on the piece. I also find that sounds in general can have shape and colour. The relationship between two different senses interests me and I would like to explore, including synaesthesia which is when someone can receive stimulation through one of their senses and get an experience of another alongside it.I have worked on two previous projects that have involved exploring the relationship between music and visual art. Myself and a group of my peers ran an exhibition called the record shop project which had artists submitting pieces of artwork based on a song or piece of music in a square format as if it was the cover of a CD case or a vinyl cover. However, this mostly had people giving very literal visualisations of a piece rather than exploring feelings or abstract concepts. The graphics in motion module at university gave me the opportunity to produce an animation to a piece of music. This gave me a chance to create a narrative to the music that follows the emotion and meaning of the music without just being a visualisation of the lyrics. I would like to expand upon both of these projects and branch out into more abstract visualisations and explore how I experience music when it is an abstract visualisation more than a full animation with a narrative.I would like to produce the animation using Procreate Dreams because I would like to explore and learn a new piece of software. I have spent a lot of time animating in Adobe After Effects, so it would be good to add a new piece of software to my skill set.
What outcomes would I like from the project?
I would like to create a 20-30 second abstract animation using Procreate Dreams to an instrumental that visualises and shareable representation of what I experience when listening to the piece.
What skills does this project require?
Animation
Procreate Dreams
Conveying Ideas
Time Management
Planning
Research
Efficient Research
Inspiration & Research
Word Painting
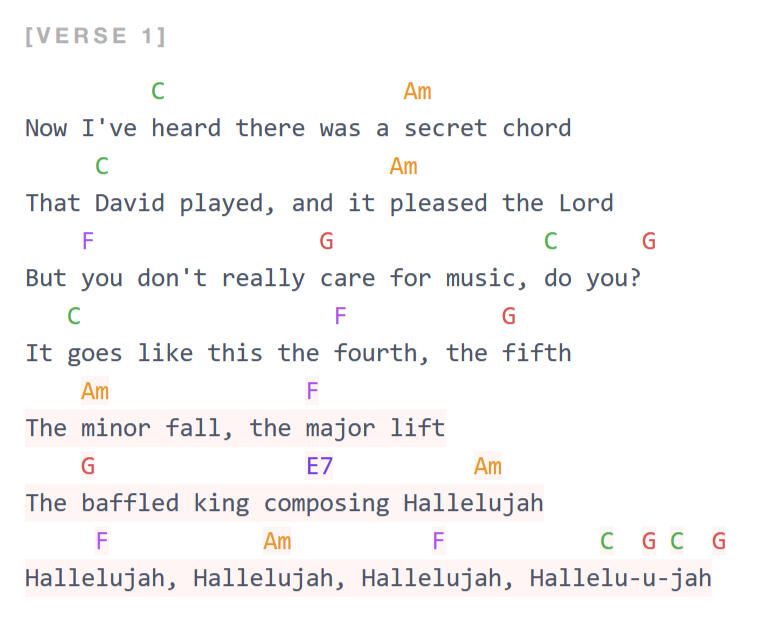
Word painting is a type of prosody. Prosody is when the lyrics and melody of a song work in unison to convey meaning, such as following the natural stressing of syllables or following a rhythm of a phrase.Word painting is when the music (melody, key etc.) illustrate the lyrics of the song. It is actually quite common and in many cases can be easy to spot within a song.A common and easy to spot use of word painting is when lyrics include the word “stop” and the music cuts out completely. Another well known example is Hallelujah by Leonard Cohen, the lyrics “the fourth, the fifth” reference which chord in the scale the phrase sits on, whilst the lyrics “The minor fall and the major lift” references the chord going from a minor chord to a major chord.
AJR Tour
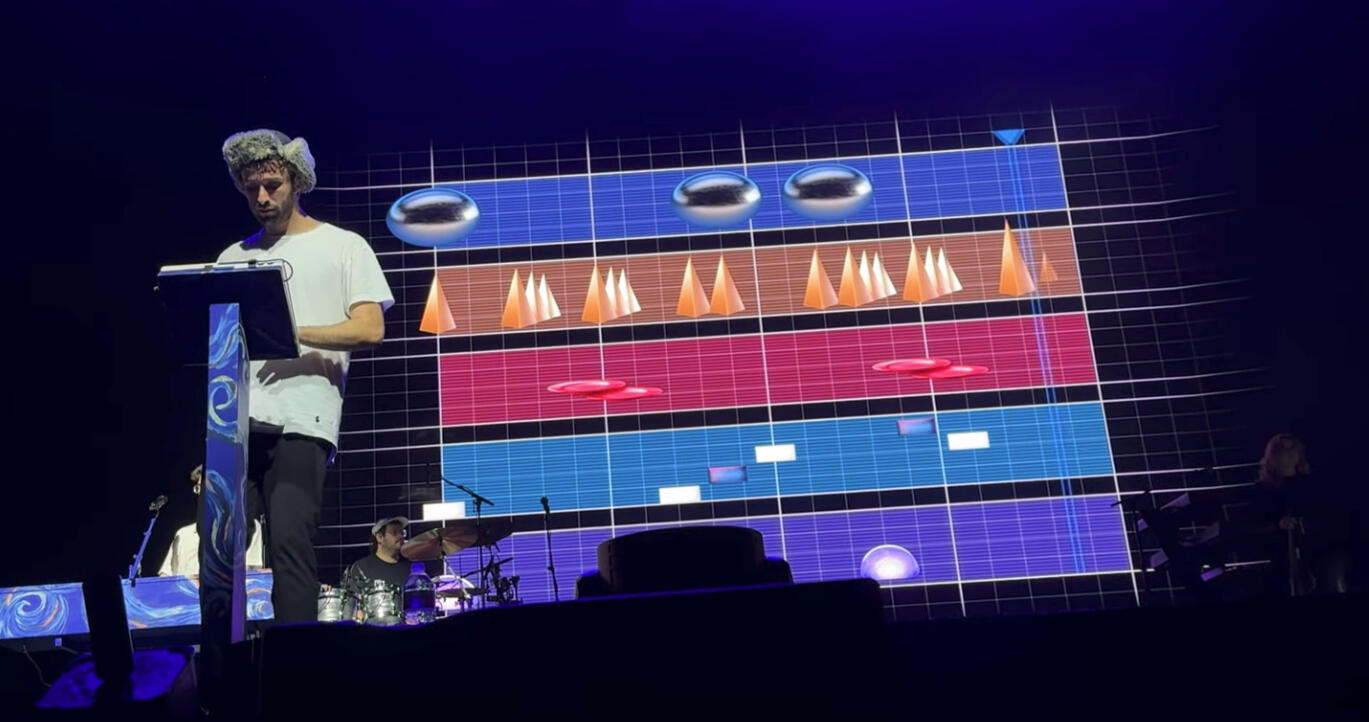
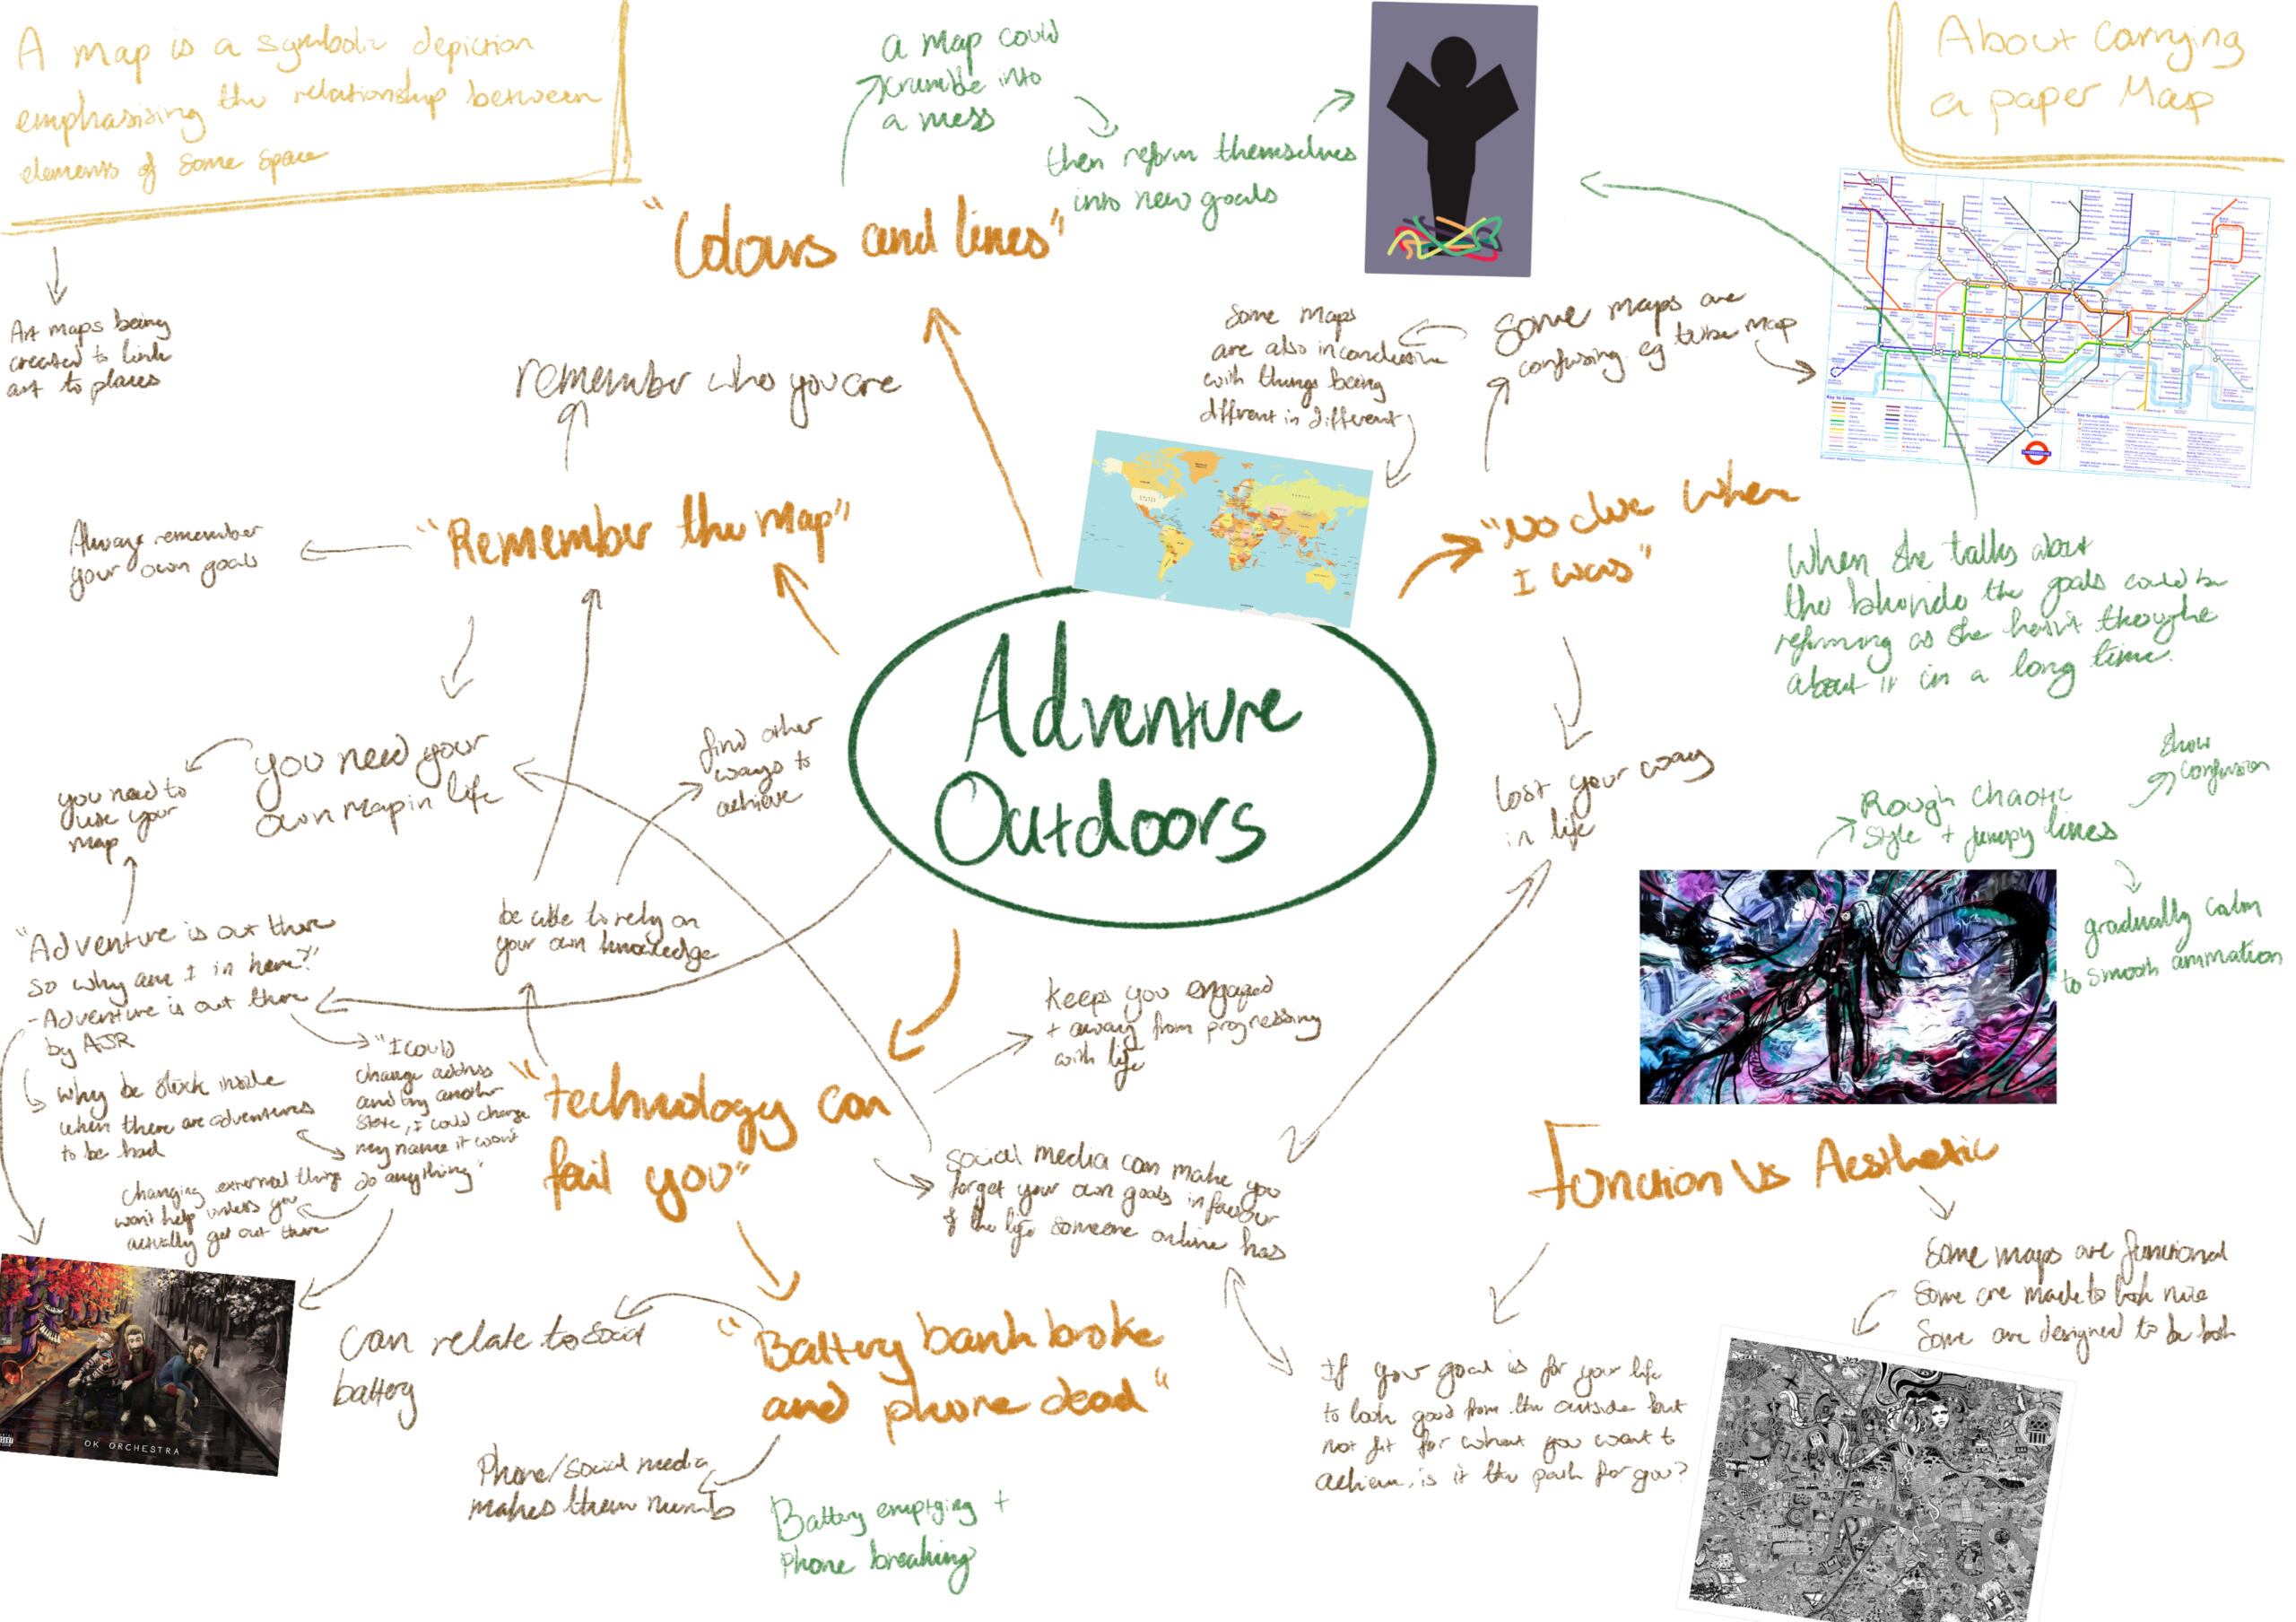
During their live performances, AJR has a segment where they explain how they made the music to their song. They show how they built from the spark of an idea, either a melody or a unique sound they heard, into the full song. As AJR concerts are much closer to immersive experiences than most concerts, they use visuals to add to the explanation, assigning shapes to each instrument of sound. Personally, I find the shapes to be very accurate to the “shape” of the sound, for example they use the pyramids as high hats, which is a very sharp, pointy sound.
Saul Steinberg
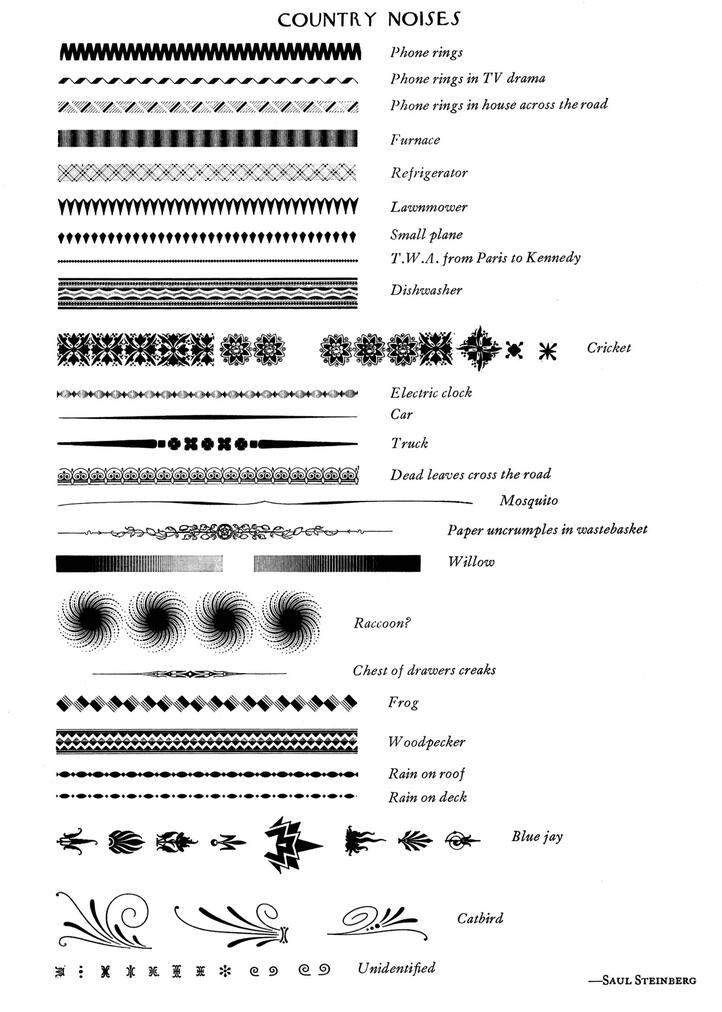
Saul Steinberg's Country Noises pieces was published in the New York Times in 1979 illustrates sounds that can be heard from a country house. The lines and shapes visualise how the different noises sounded to him and many people are able to imagine how the noises sound using these visualizations as seen when the illustration was posted on Tumblr (baddreamland, 2020).
My Work
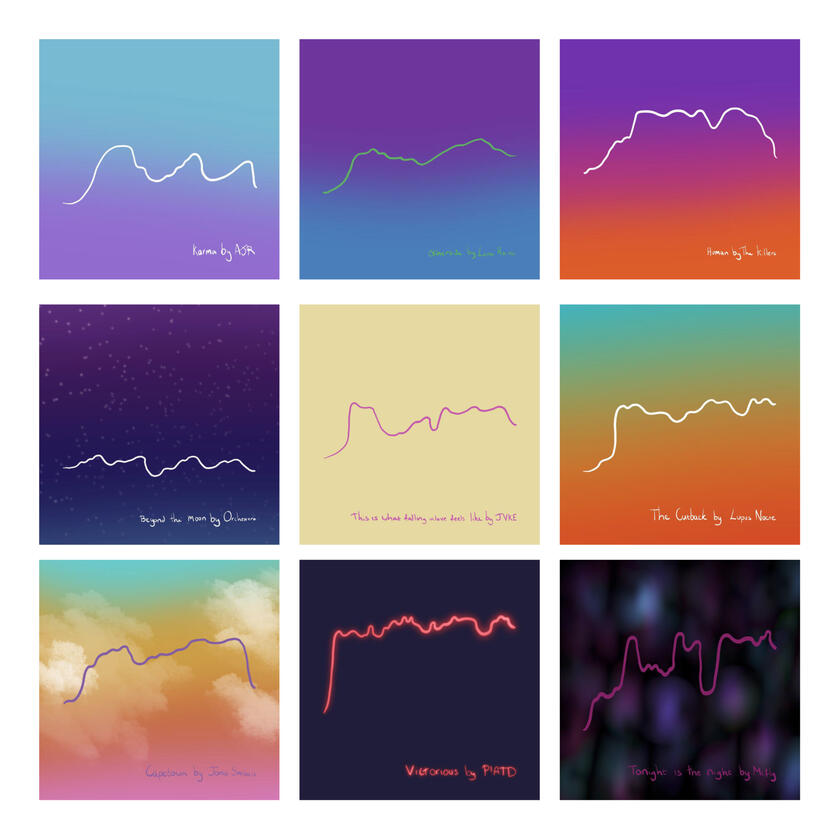
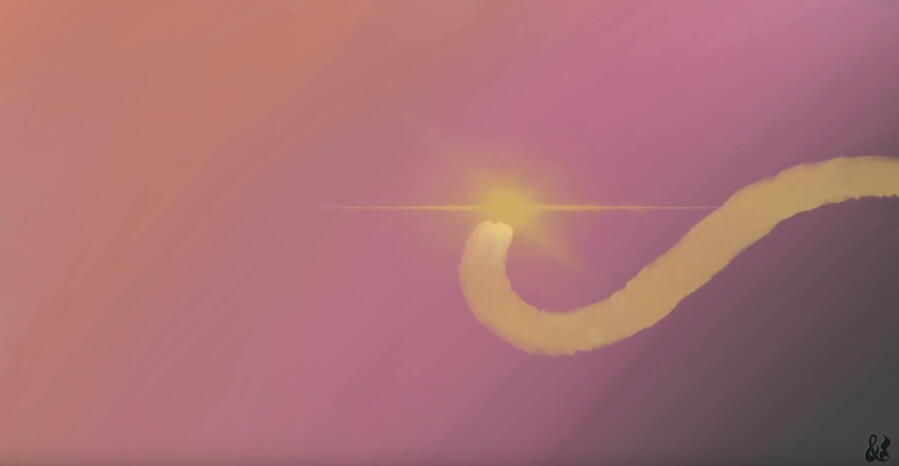
The initial inspiration into exploring my own personal experience with music and visuals was some digital art pieces created a couple of years ago.I have a playlist that my friends and I used as the background music during the Covid pandemic, where we would all sit in a Discord call whilst we worked. I had designed the playlist where the songs are ordered roughly in genre and then by artist in a specific way that the songs flow seamlessly together.One time I had to add some more songs after an artist released a new album, and I was explaining how hard it can be when songs have a similar feeling or sound, but the song ends big or high whilst the next begins very small or low or vice versa. This had nothing to do with the pitch and not always in a sense of volume, so it was a fairly difficult concept to explain. In the end, I found the best way was to picture the song as a single line and curved up and down. Songs however and straight up or down gradients, or even simple curves giving interesting lines. I saw this as an opportunity to create some art that represented several of my favourite songs, both in the flow of the song and aesthetic it creates.
Choosing a Piece of Music
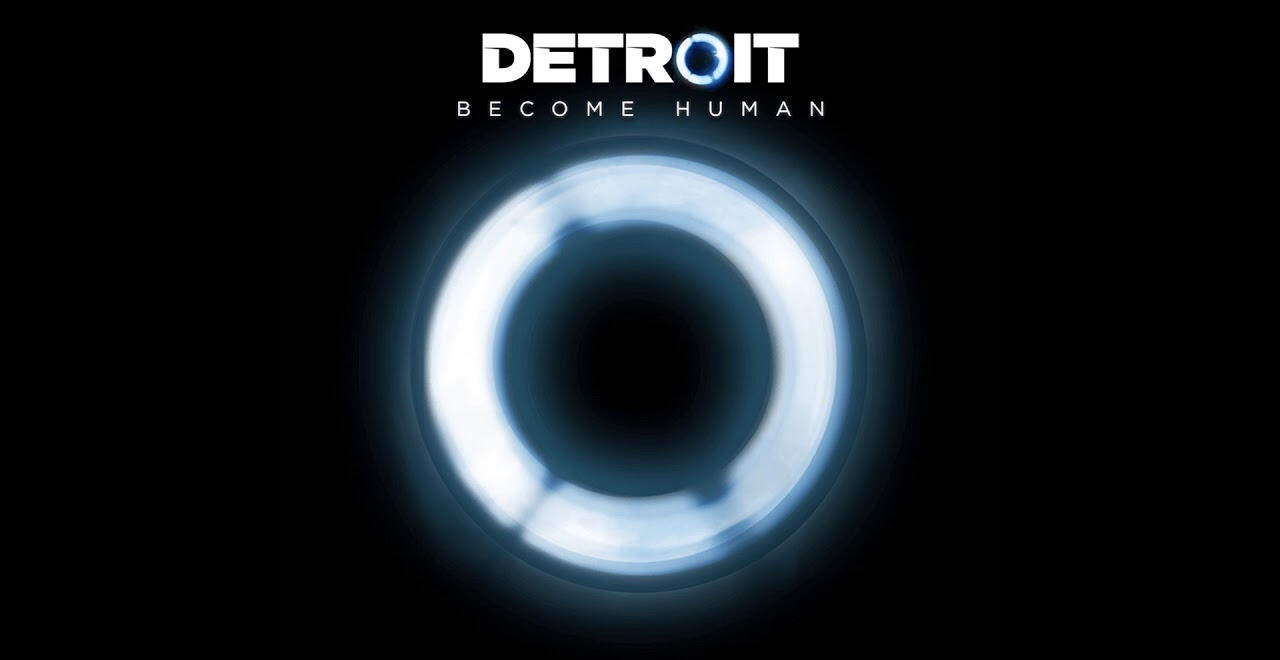
I want to choose a piece of music that is entirely an instrumental to ensure I do not rely on the lyrics to create visuals or a narrative within the animation. I narrowed it to the start of Detroit: Become Human opening theme and an instrumental snippet from Ok Overture by AJR. Both of these have interesting sounds and melodies that have clear visualisations that can be animated. In the end, I chose a snippet from the beginning of the Detroit: Become Human opening theme as it felt more thoughtful and the visuals are more achievable in the limited time frame.I still plan to use AJR as inspiration because they visualise their music within the tours for their albums and one of the members also has synaesthesia.
Production
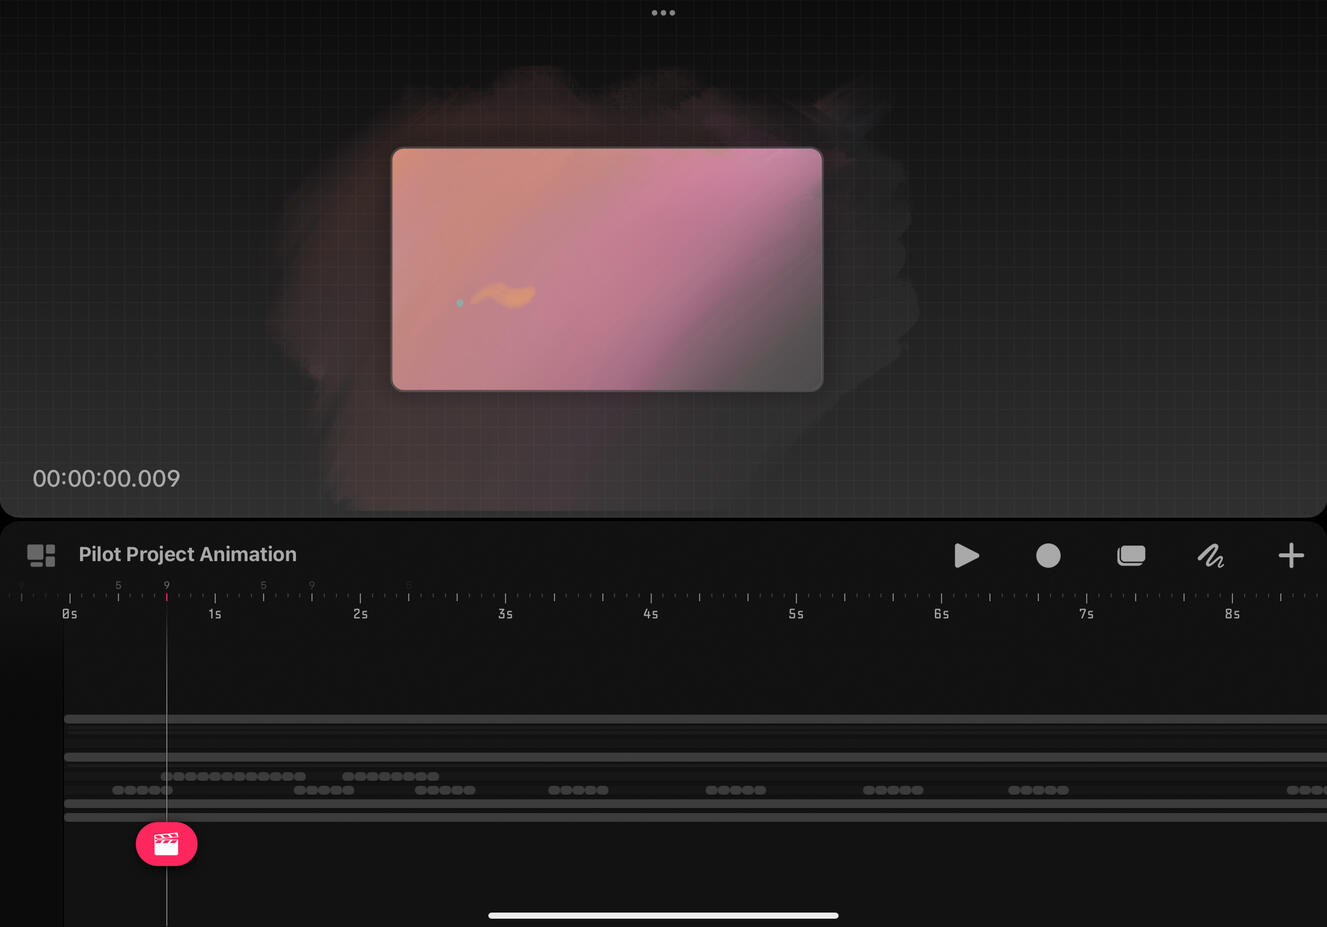
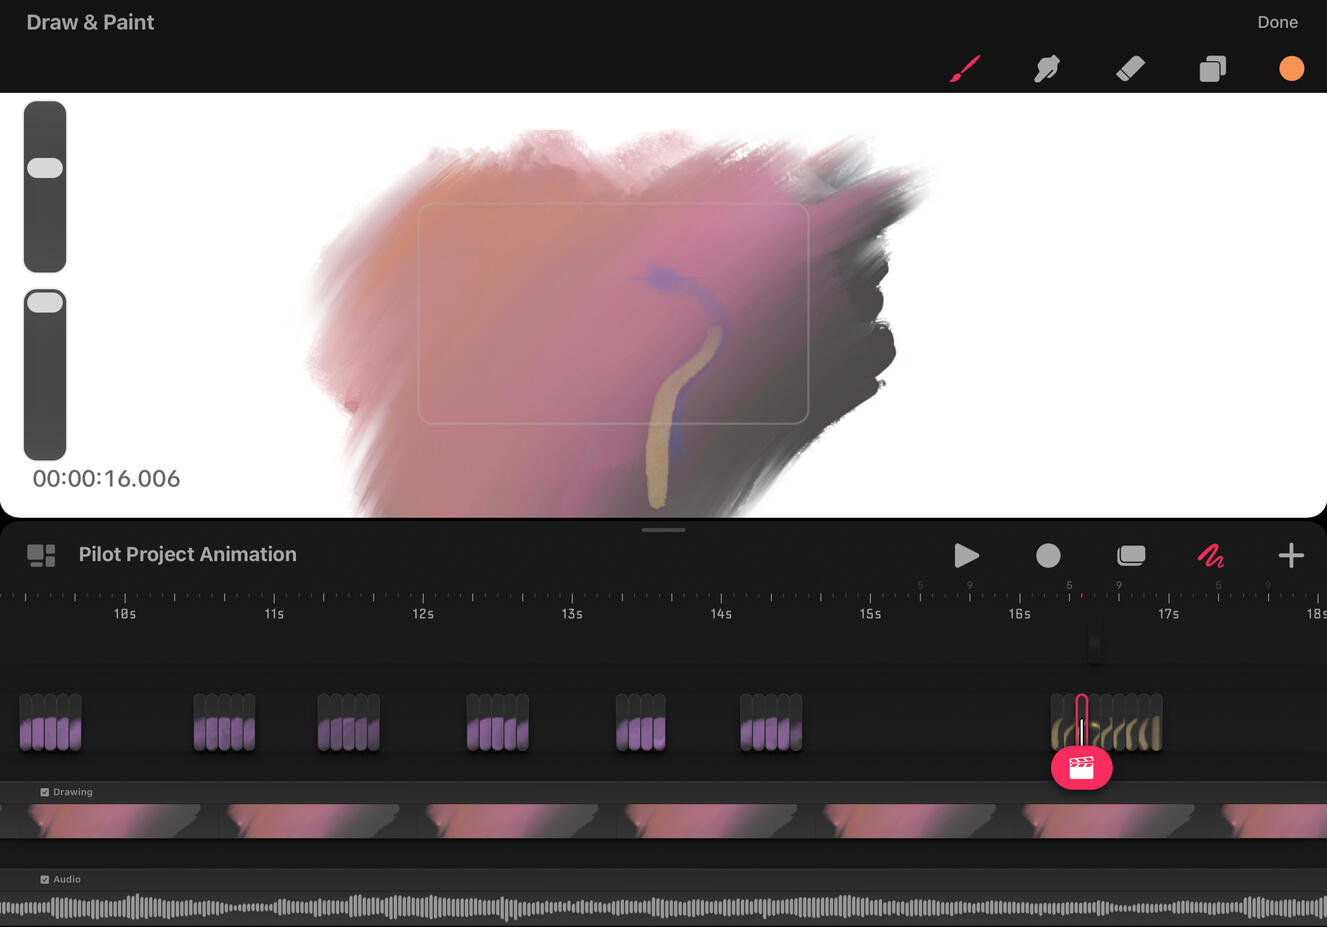
Working in Procreate Dreams
I have minimal experience using Procreate Dreams, despite spending countless hours animating in the standard Procreate app. I prefer figuring things out through trial and error, so after a quick tutorial on the very basics of the app I jumped into experimenting with my animation.Given Procreate Dreams is designed for animation purposes, it has a lot more tools designed specifically for animation. This meant I was able to import my music clip directly into Procreate Dreams to be able to animate alongside it. I was then able to animate frame by frame in Procreate Dreams, easily matching the frames to the correct moments in the music, using onion skinning to get the movements to flow correctly. This was a very time-consuming process, but for me personally I found it very engaging because I was making a visual presentation of what I see from the music.Once the animation was complete, I exported it easily from procreate as an MP4 file.
Final Video
Reflection
I really like my final animation and the way it feels. I also enjoyed making the animation as frame by frame animation is interesting to me especially in this style. I don’t want to expand this project into a bigger one, as I want to keep it as something I enjoy doing for fun and not feel pressured into creating these kinds of animations.
Immersive Storytelling Trimester 1
MOD007299
Year 2
Trimester 1
Lecture Diaries

Exploring Different Software
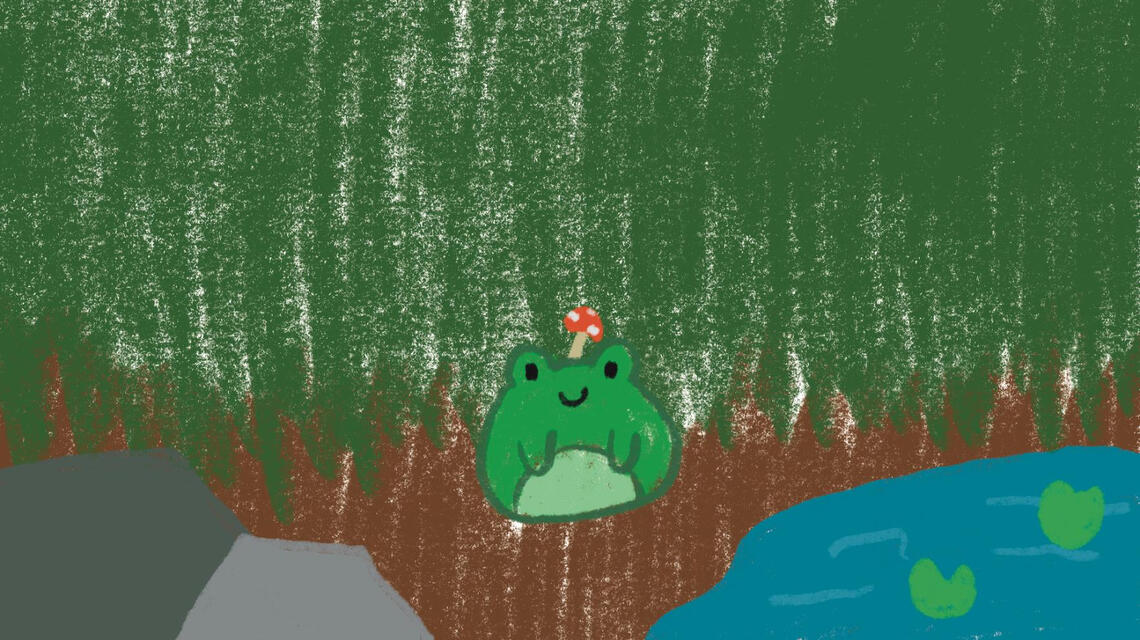
New Canterbury Tales
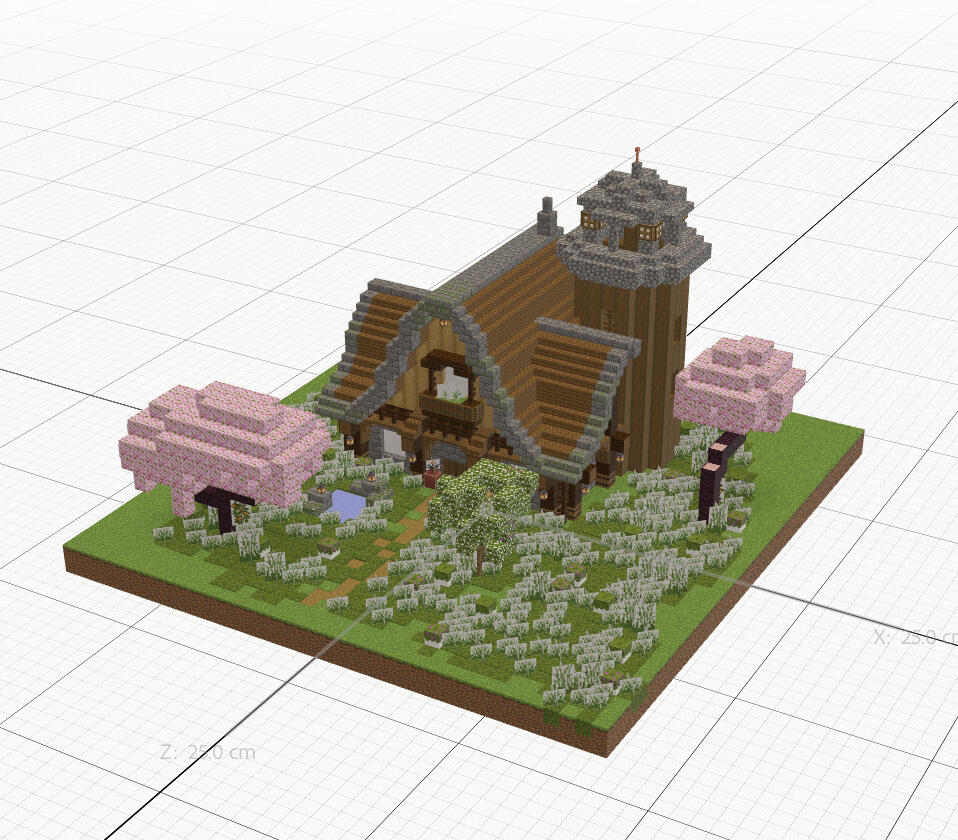
Live Brief
Short Film
Project Overview
This project is to create a short (under 15 minute) immersive film or experience. It needs to follow a narrative tell a strong story in an interesting or unique way. An important part of the project is to use different technologies, techniques and effects to make the audience immersed in the narrative. We will be working in groups to create the film and I worked with Leah Riza and Sophia Keaveney.
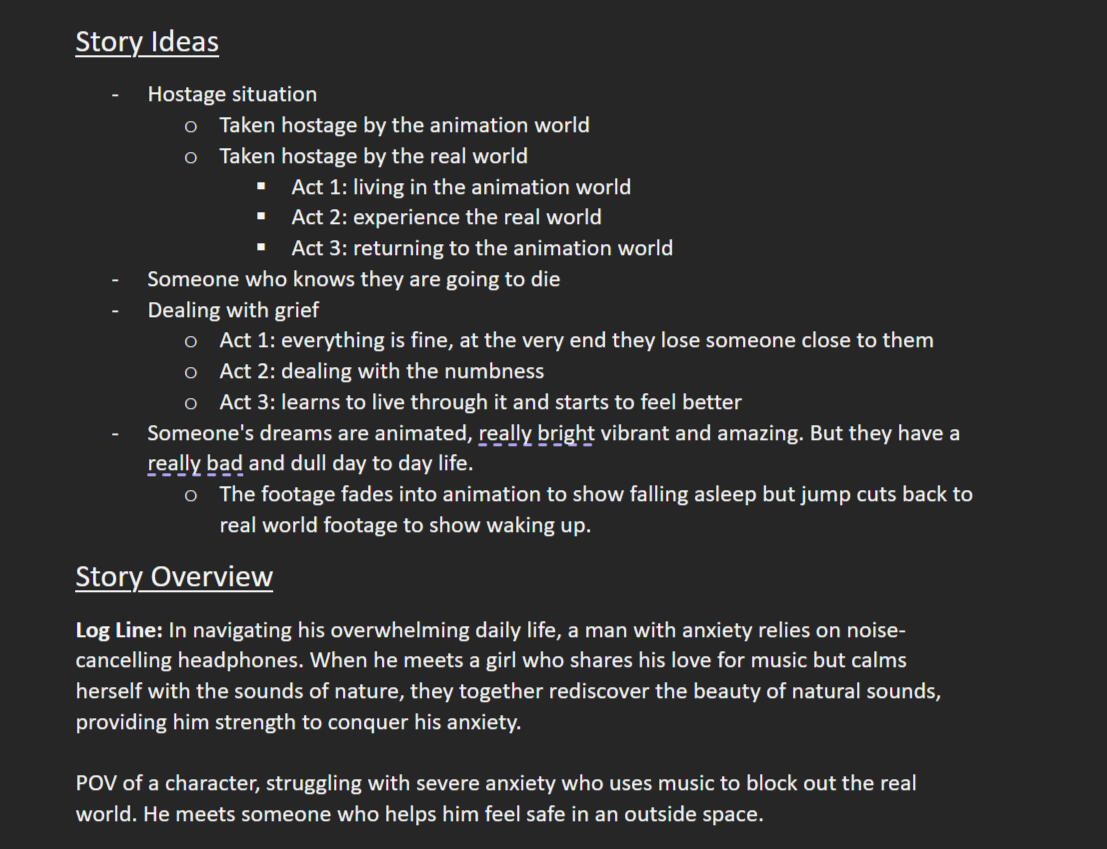
Refining the Story and Developing
We then began to refine our story into a single narrative and develop it into a full story that would work as a short film. The story then went through many stages of development and several iterations of the beat board before we decided on the final story.
Hero's Journey
A hero's journey is a way to descript the journey through a narrative that the main character goes on. The three main stages can be defined as departure, initiation and return, which are usually the three acts within a narrative.A narrative can also be described as the 5C’s. Circumstances describes the situation the character is in and can set the world building scene. Curiosity which is what motivates the character to move forward in the story, what drives them and what makes the audience interested in the narrative. Characters is all about what makes the characters interesting making them a have depth and something that will engage audiences to want to follow their journey. Conversations is all about the dialogue, the words being said between characters. The words being said need to have a purpose, too much dialogue and you are telling instead of showing, too little dialogue can result in too slow pacing and the audience left struggling to understand what it is going on. Conflicts is the problems the characters face throughout the narrative, what stops them reaching there goal or what they need to overcome.
Characters
Characters are a really important part of a narrative, especially the main characters who the story is about. A good character creates a connection with the audience and creates a response out of them at different points throughout a narrative. If an audience doesn’t connect with a character or understand a character they won’t be connected with the narrative.
Our Characters
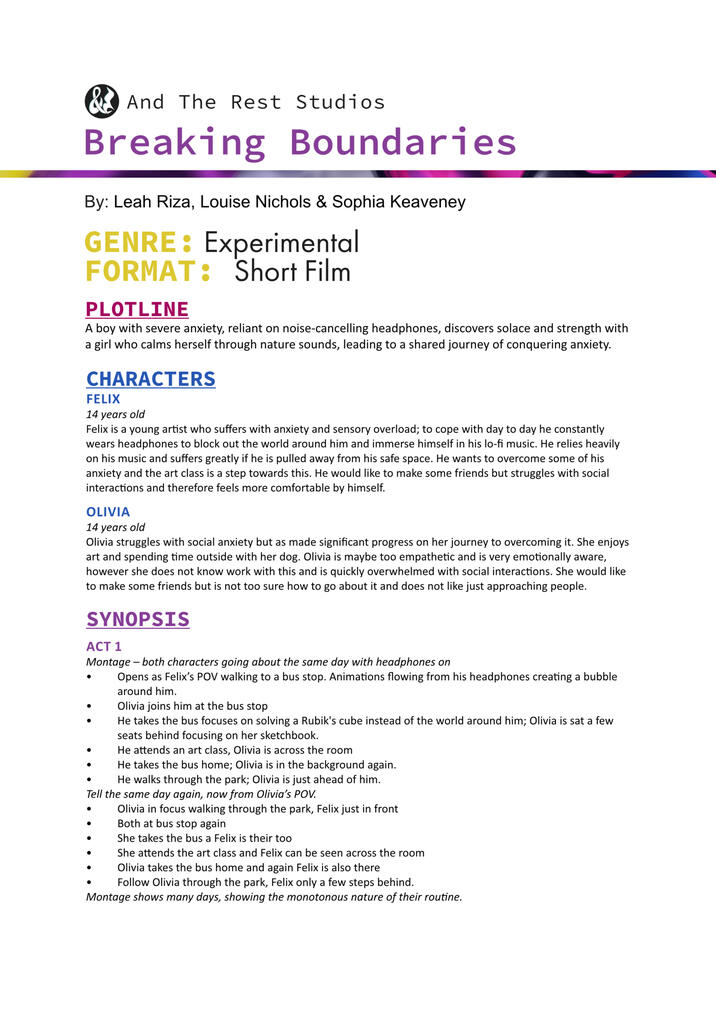
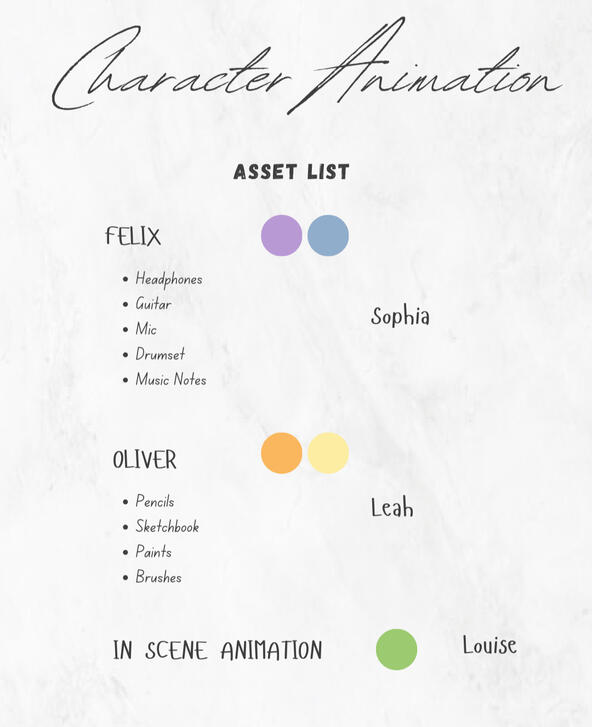
Felix:
14 years old.
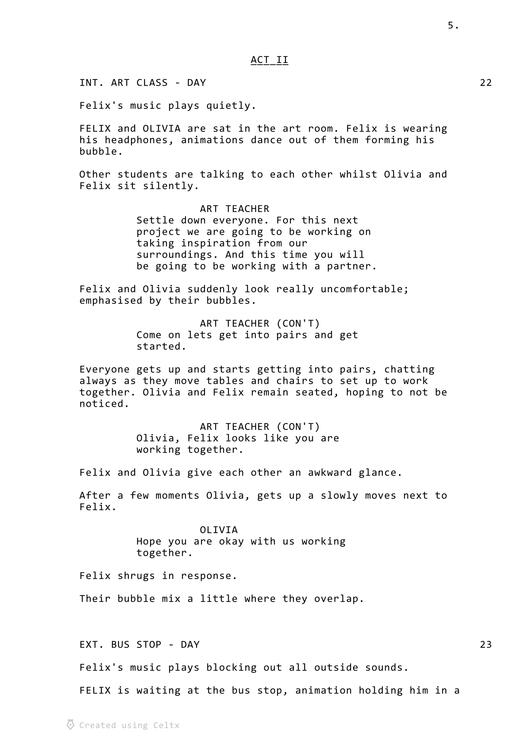
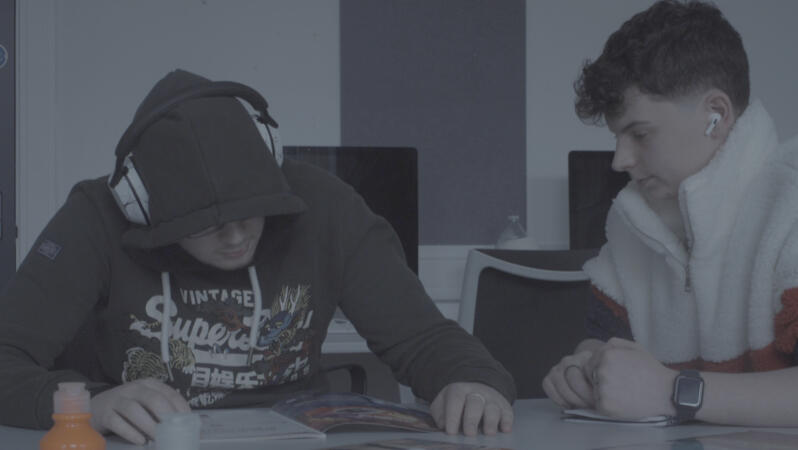
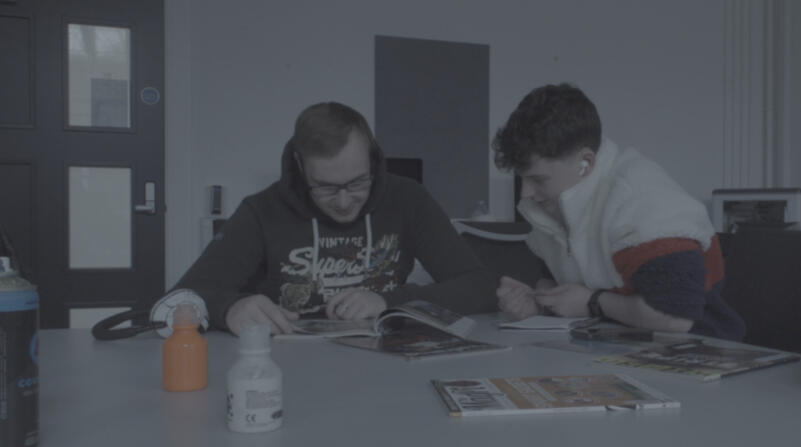
Felix is a young artist who suffers with anxiety and sensory overload; to cope with day to day he constantly wears headphones to block out the world around him and immerse himself in his lo-fi music. He relies heavily on his music and suffers greatly if he is pulled away from his safe space. He wants to overcome some of his anxiety and the art class is a step towards this. He would like to make some friends but struggles with social interactions and therefore feels more comfortable by himself.Olivia:
14 years old
Olivia struggles with social anxiety but as made significant progress on her journey to overcoming it. She enjoys art and spending time outside with her dog. Olivia is maybe too empathetic and is very emotionally aware, however she does not know work with this and is quickly overwhelmed with social interactions. She would like to make some friends but is not too sure how to go about it and does not like just approaching people.
Final BeatSheet
Act I
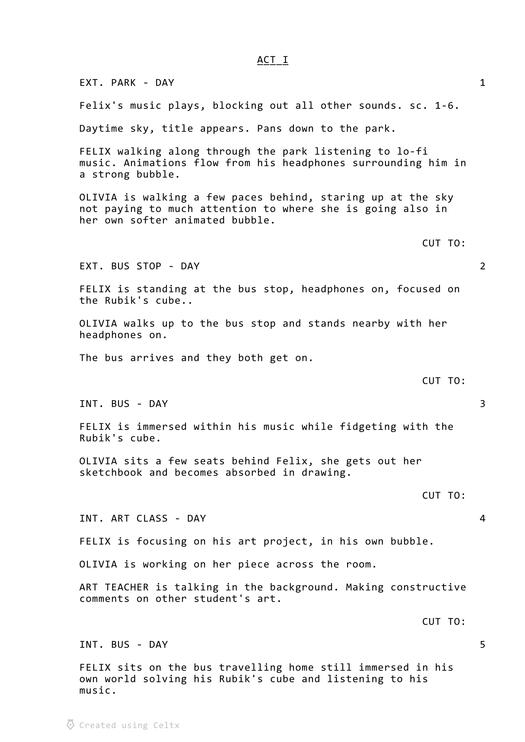
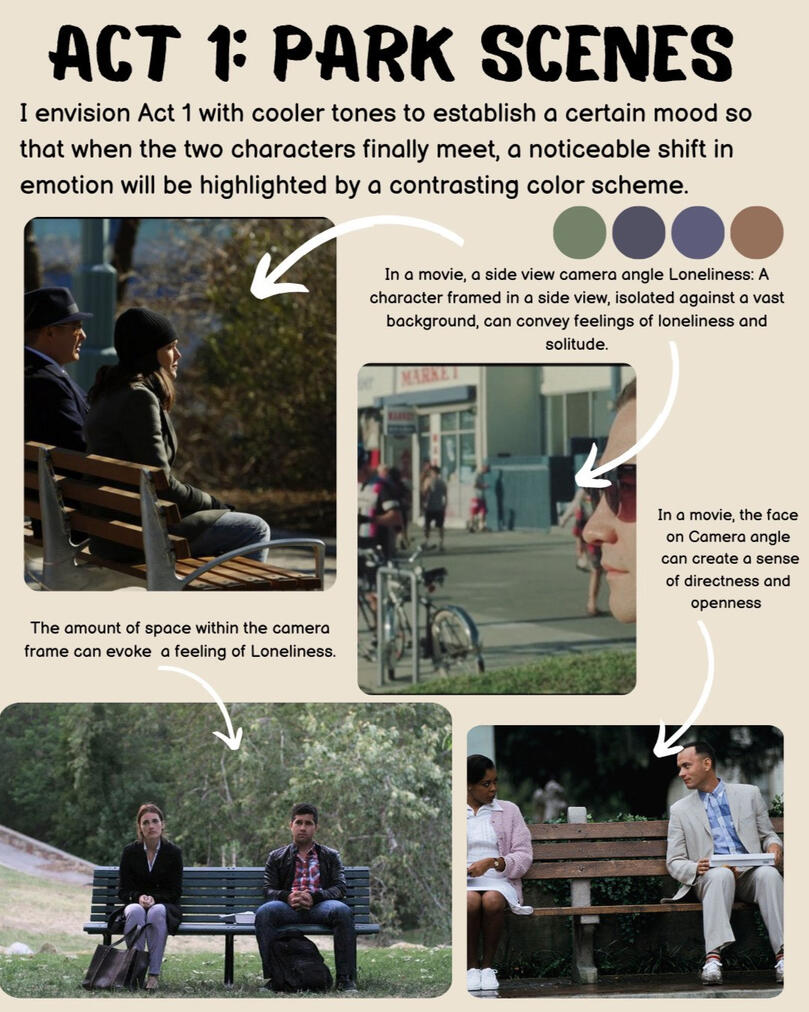
Montage – both characters going about the same day with headphones on
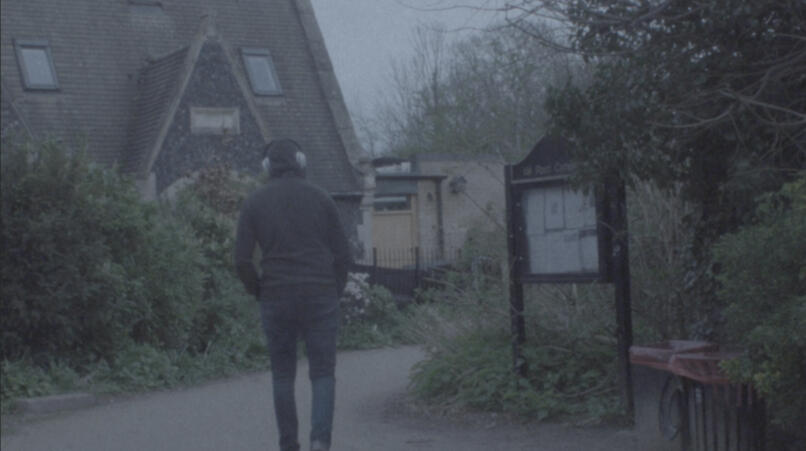
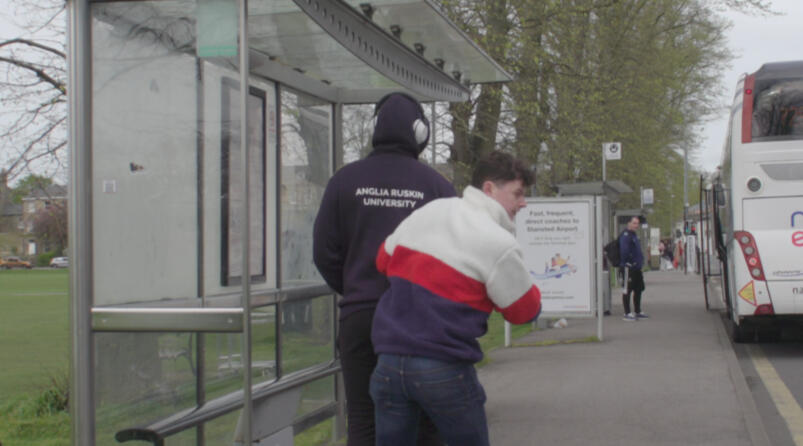
Opens as Felix’s POV walking to a bus stop. Animations flowing from his headphones creating a bubble around him.
Olivia joins him at the bus stop
He takes the bus focuses on solving a Rubik's cube instead of the world around him; Olivia is sat a few seats behind focusing on her sketchbook.
He attends an art class, Olivia is across the room
He takes the bus home; Olivia is in the background again.
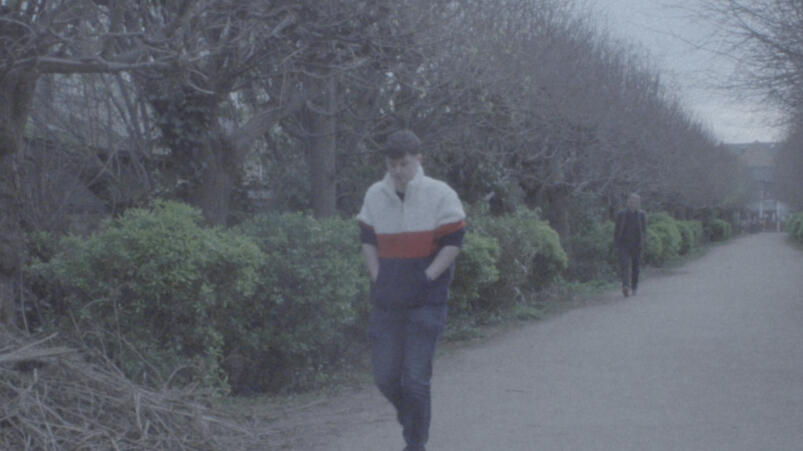
He walks through the park; Olivia is just ahead of him.
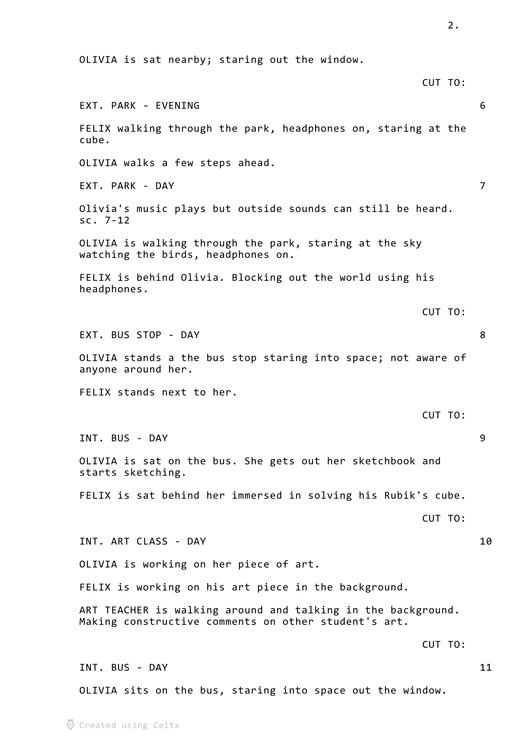
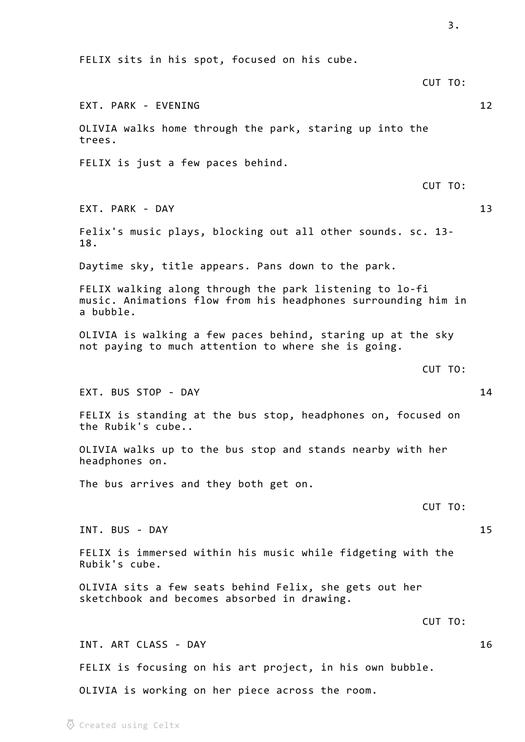
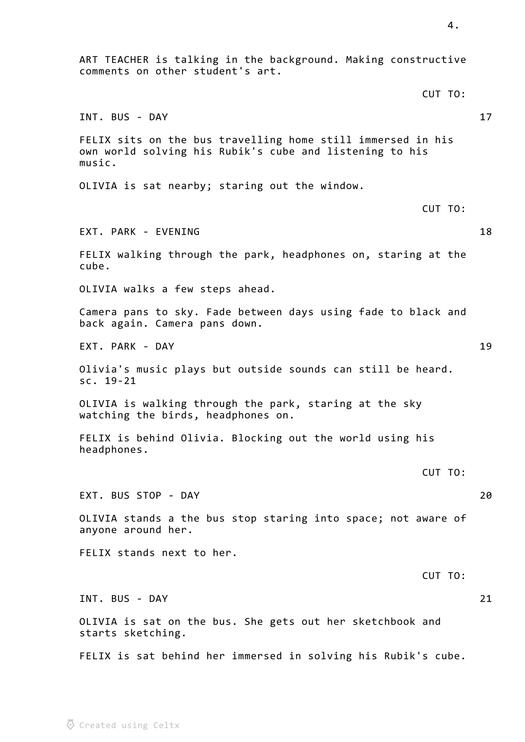
Tell the same day again, now from Olivia’s POV. She takes the bus a Felix is their too.
She attends the art class and Felix can be seen across the room
Olivia takes the bus home and again Felix is also there
Follow Olivia through the park, Felix only a few steps behind.
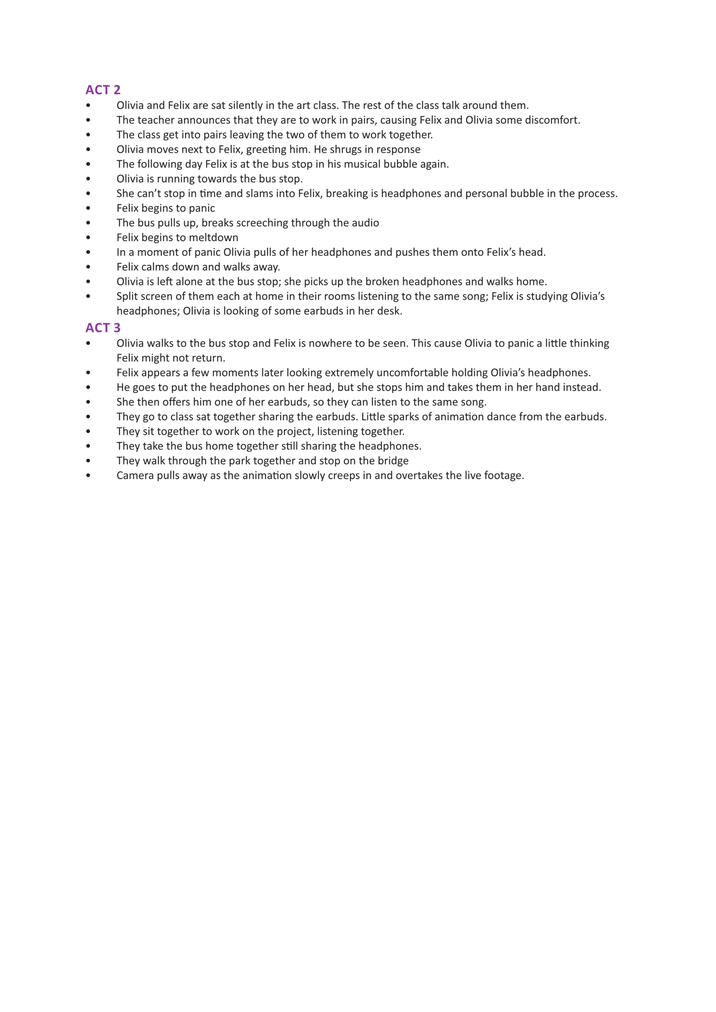
Act II
Olivia and Felix are sat silently in the art class. The rest of the class talk around them.
The teacher announces that they are to work in pairs, causing Felix and Olivia some discomfort.
The class get into pairs leaving the two of them to work together.
Olivia moves next to Felix, greeting him. He shrugs in response
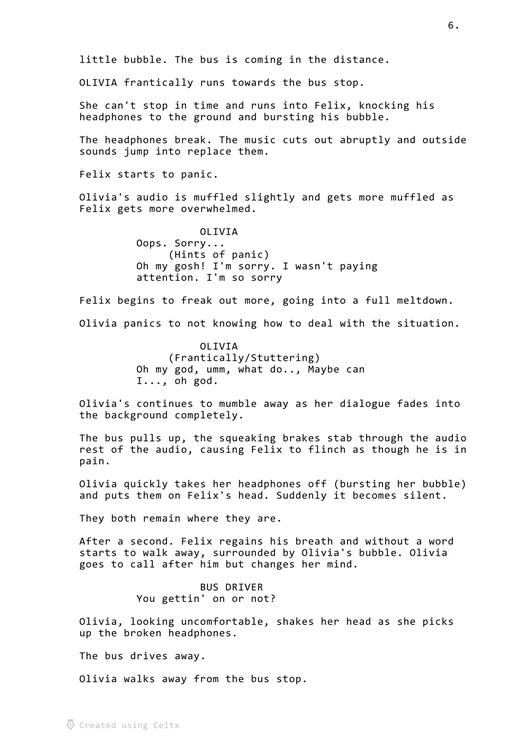
The following day Felix is at the bus stop in his musical bubble again.
Olivia is running towards the bus stop.
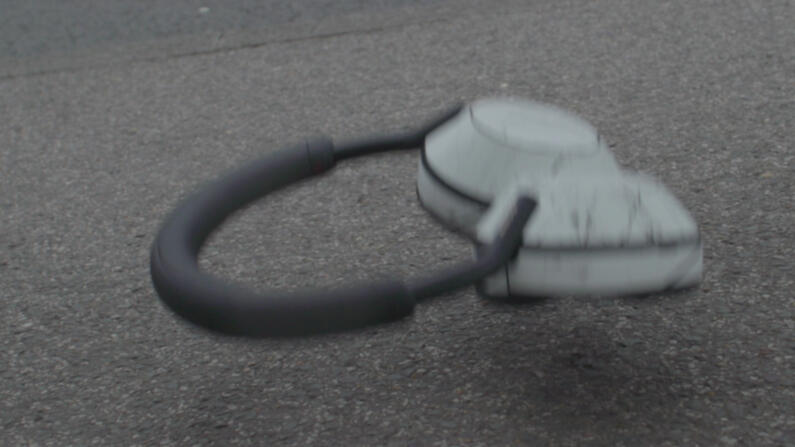
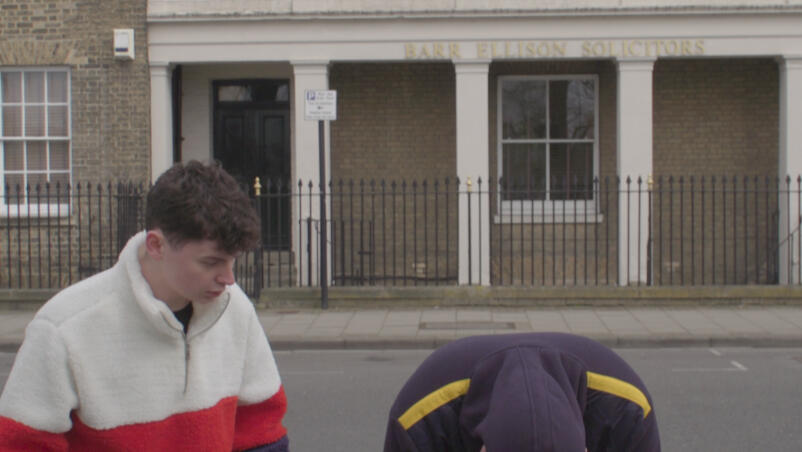
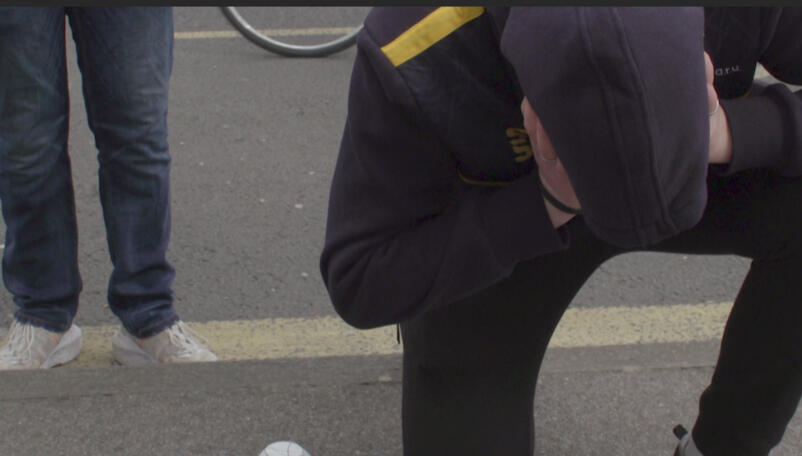
She can’t stop in time and slams into Felix, breaking is headphones and personal bubble in the process.
Felix begins to panic
The bus pulls up, breaks screeching through the audio
Felix begins to meltdown
In a moment of panic Olivia pulls of her headphones and pushes them onto Felix’s head.
Felix calms down and walks away.
Olivia is left alone at the bus stop; she picks up the broken headphones and walks home.
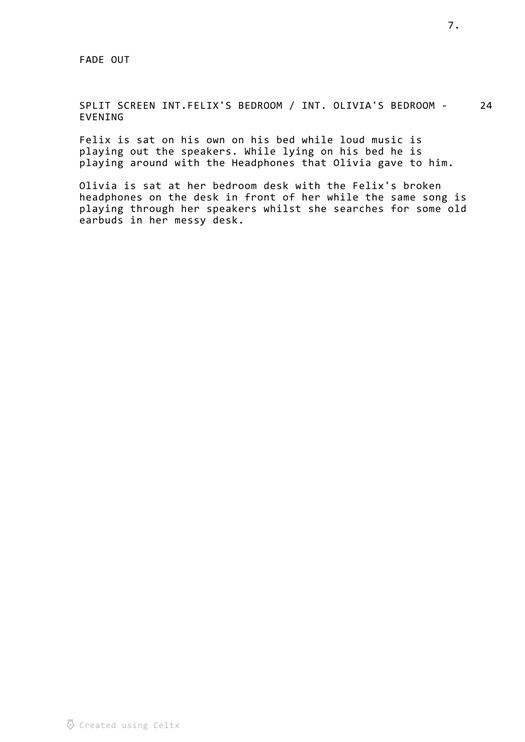
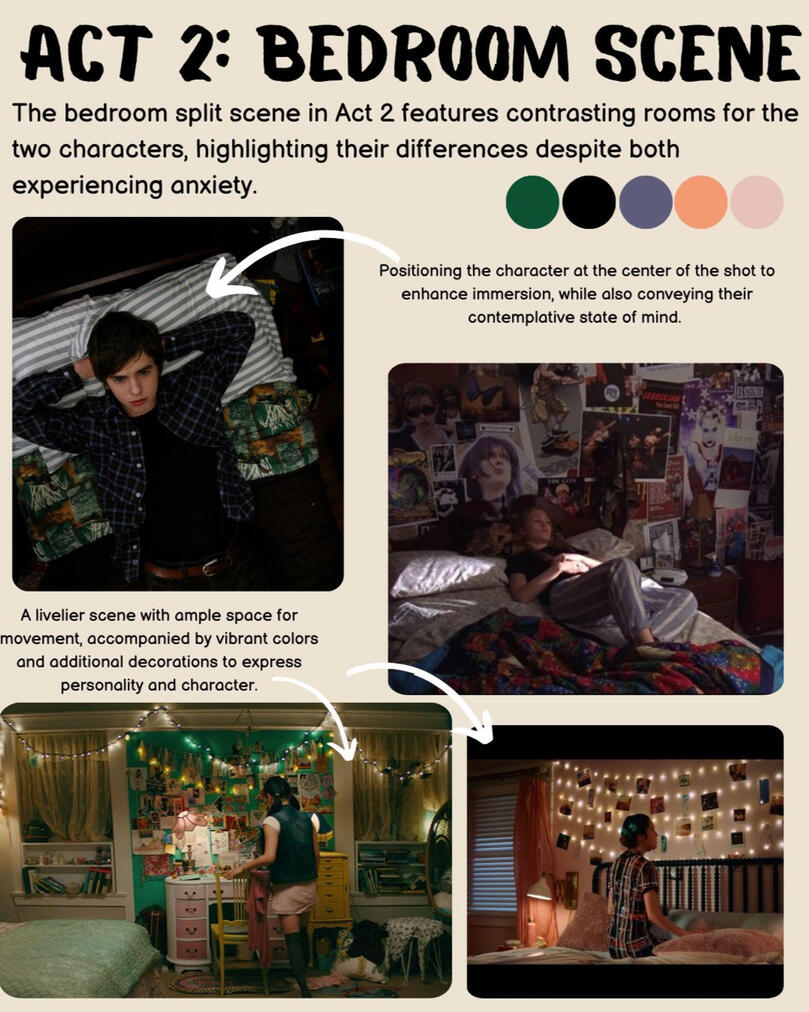
Split screen of them each at home in their rooms listening to the same song; Felix is studying Olivia’s headphones; Olivia is looking of some earbuds in her desk.
Act III
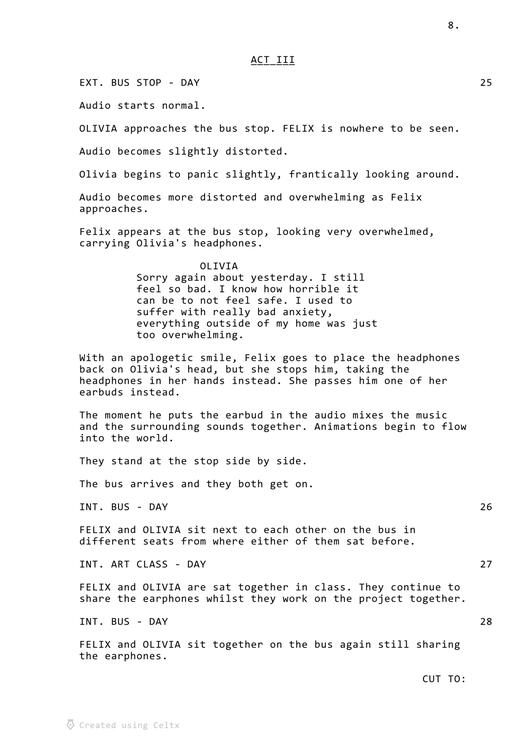
Olivia walks to the bus stop and Felix is nowhere to be seen. This cause Olivia to panic a little thinking Felix might not return.
Felix appears a few moments later looking extremely uncomfortable holding Olivia’s headphones.
He goes to put the headphones on her head, but she stops him and takes them in her hand instead.
She then offers him one of her earbuds, so they can listen to the same song.
They go to class sat together sharing the earbuds. Little sparks of animation dance from the earbuds.
They sit together to work on the project, listening together.
They take the bus home together still sharing the headphones.
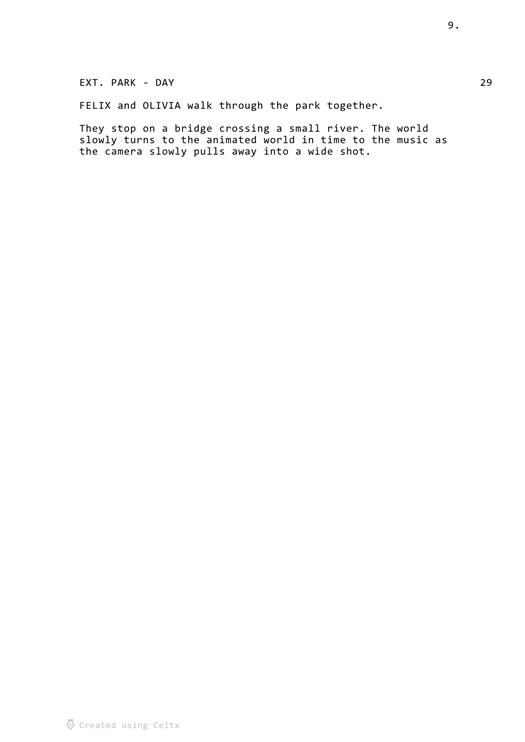
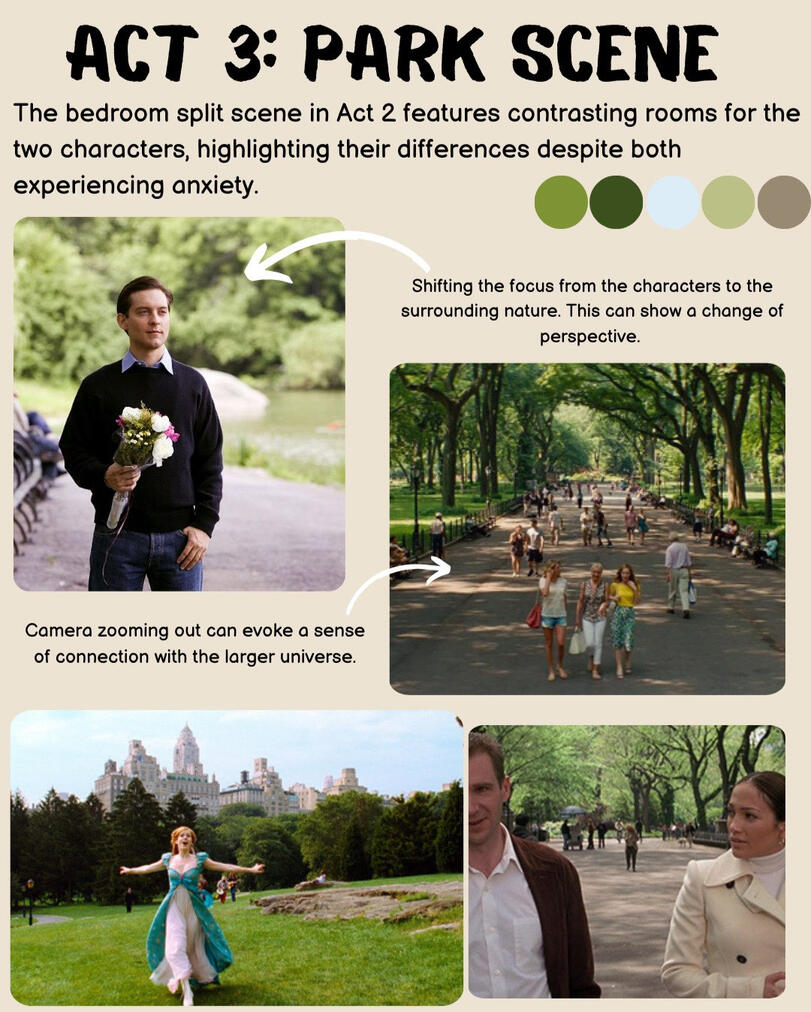
They walk through the park together and stop on the bridge
Camera pulls away as the animation slowly creeps in and overtakes the live footage.
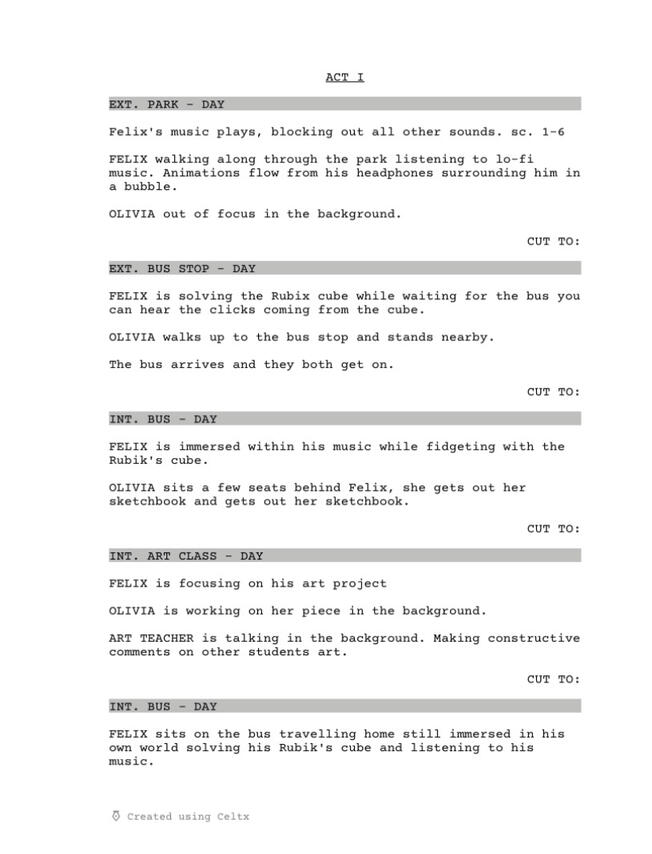
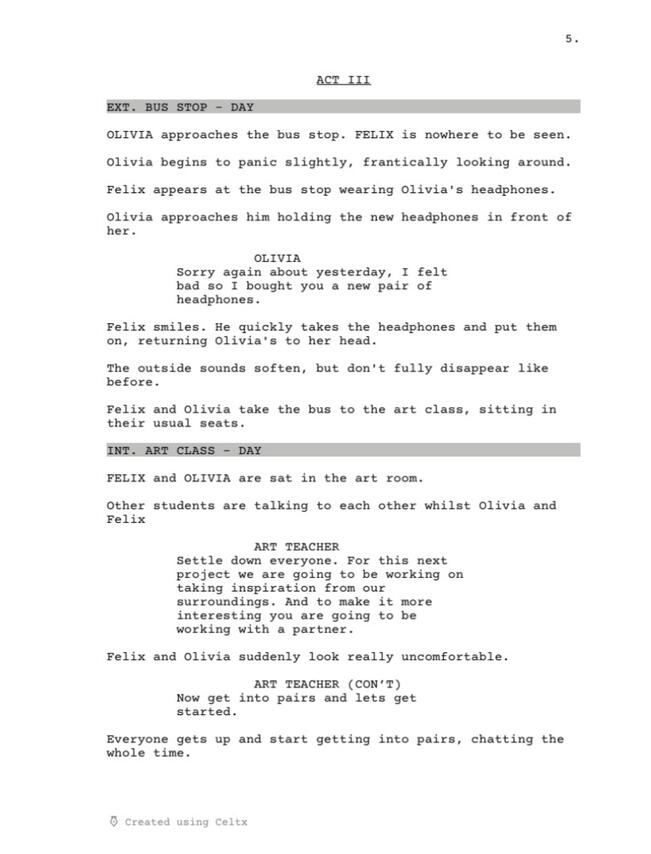
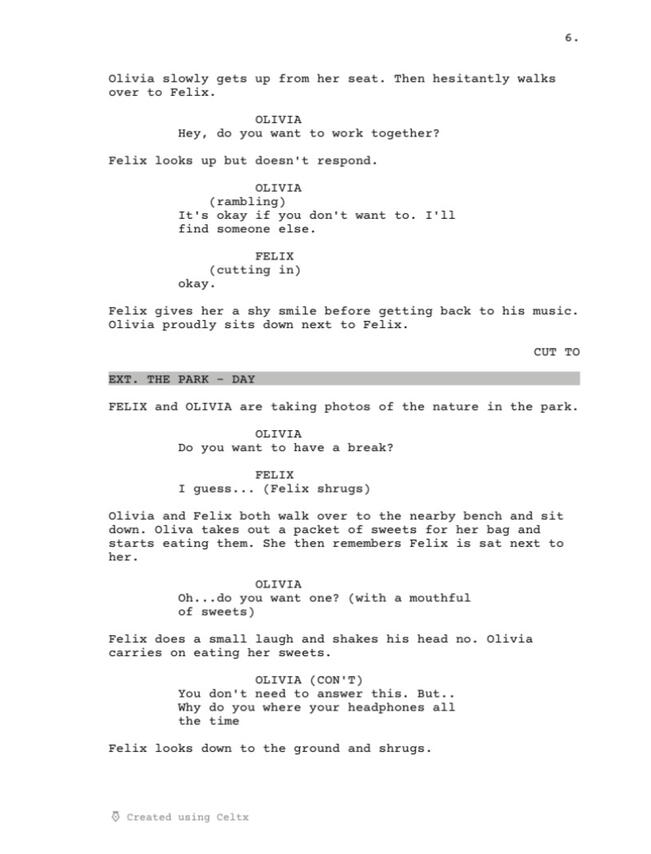
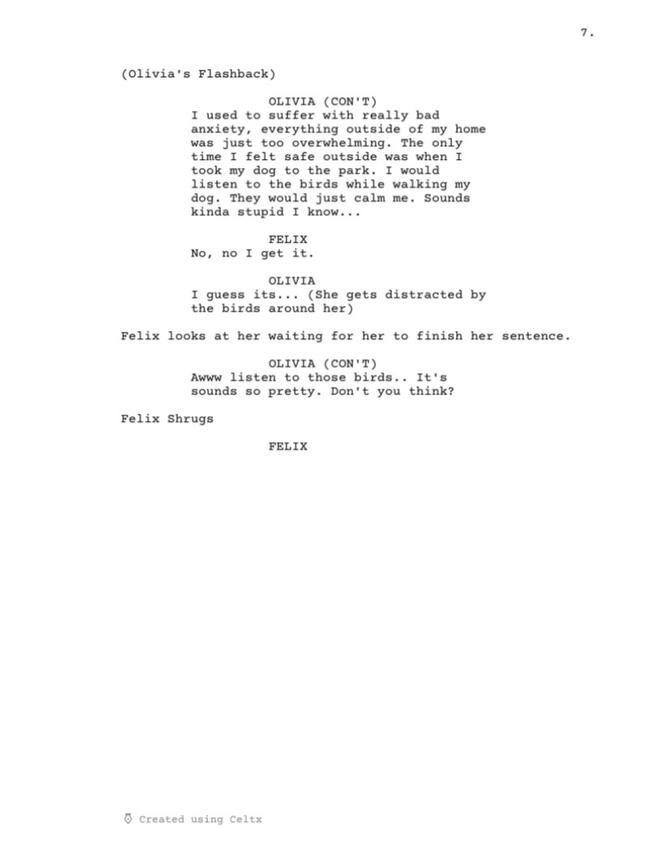
Scriptwriting
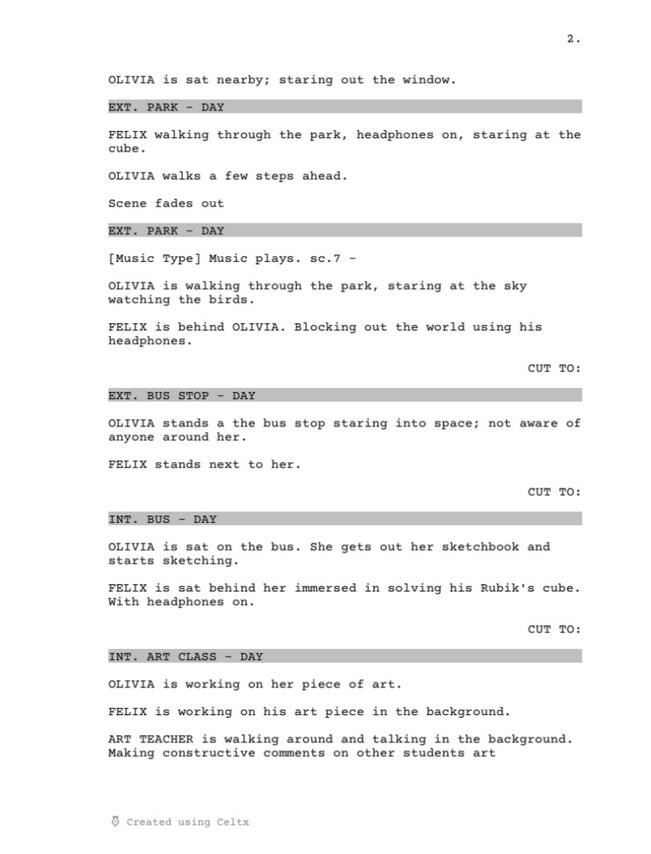
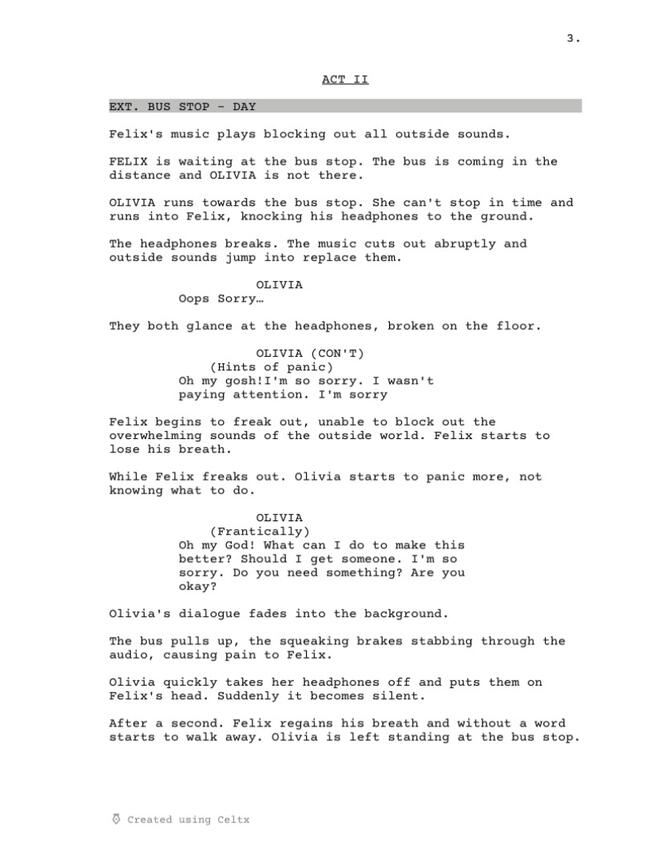
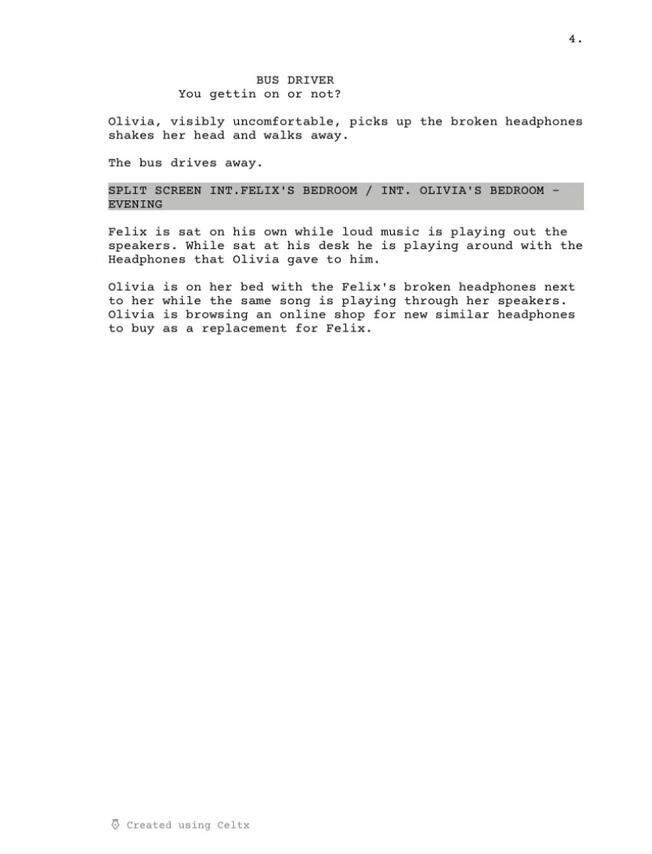
A good script is important in making a good film it helps outline the flow of the narrative, outlines the action and defines the dialogue.To get an understanding on how a script is to be laid out has well as how a script is transformed into a final film or show I looked up script of tv shows and films I am familiar with. The BBC has a number of its scripts available to view on the writer's segment of their website, which I referenced when writing our script to understand how it should be formatted.
Our Script
Version 1
We started out by writing a script out straight through, getting the full story down in a script, not worrying about plot holes, ad dialogue or the pacing. Sophia and I created the first draft and Leah reviewed it as a fresh set of eyes makes all the difference. We printed out the script and handmade revisions as it was quick to mark out what needing changing.
Version 2
We then went through and created a second version of the script using the edited version to fill out any plot holes and adjust some of the dialogue and overall make sure the story flowed properly and we understood what all the scenes were.
Composition
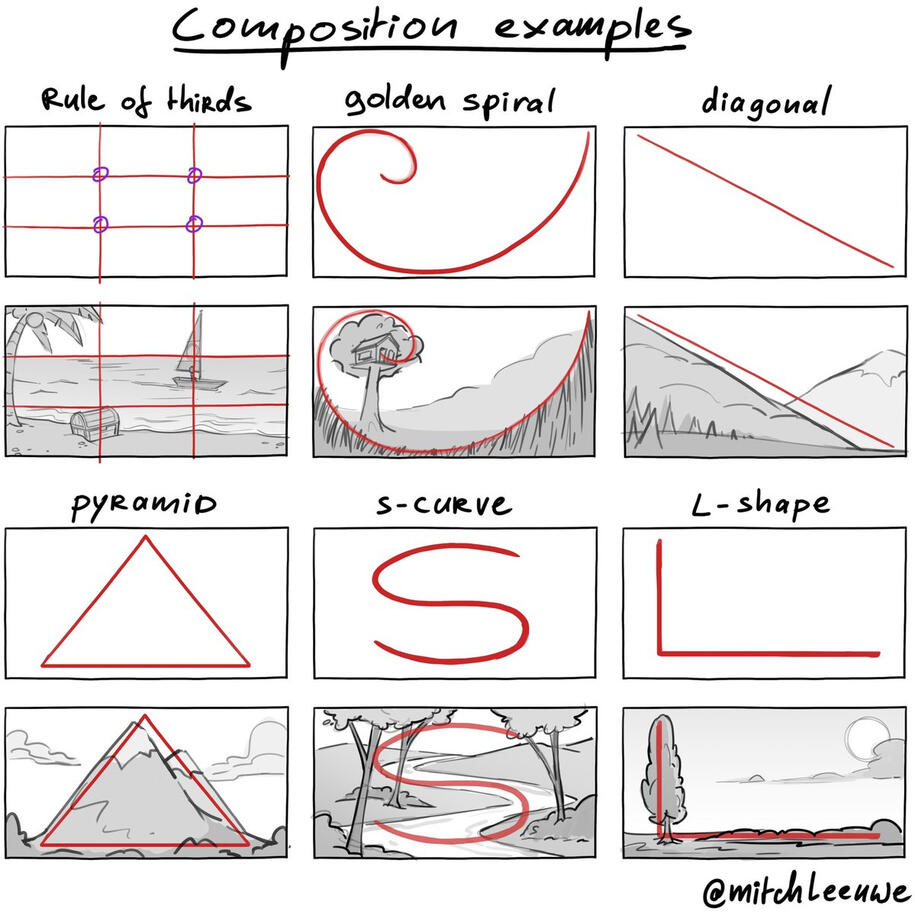
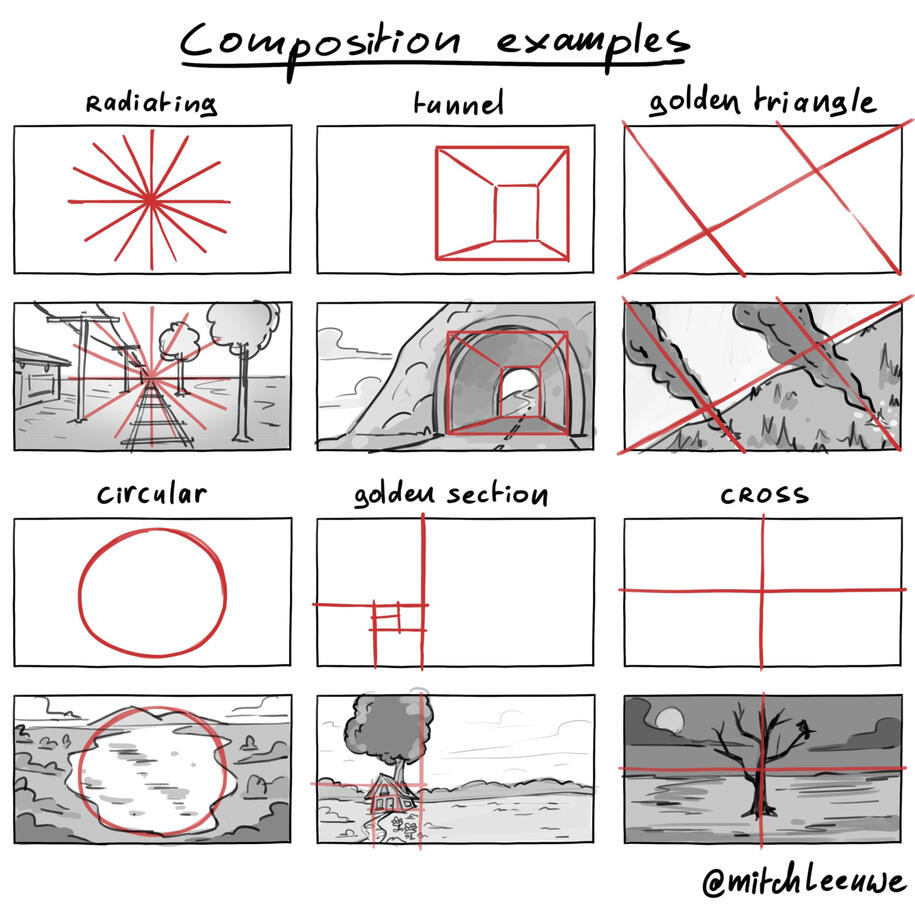
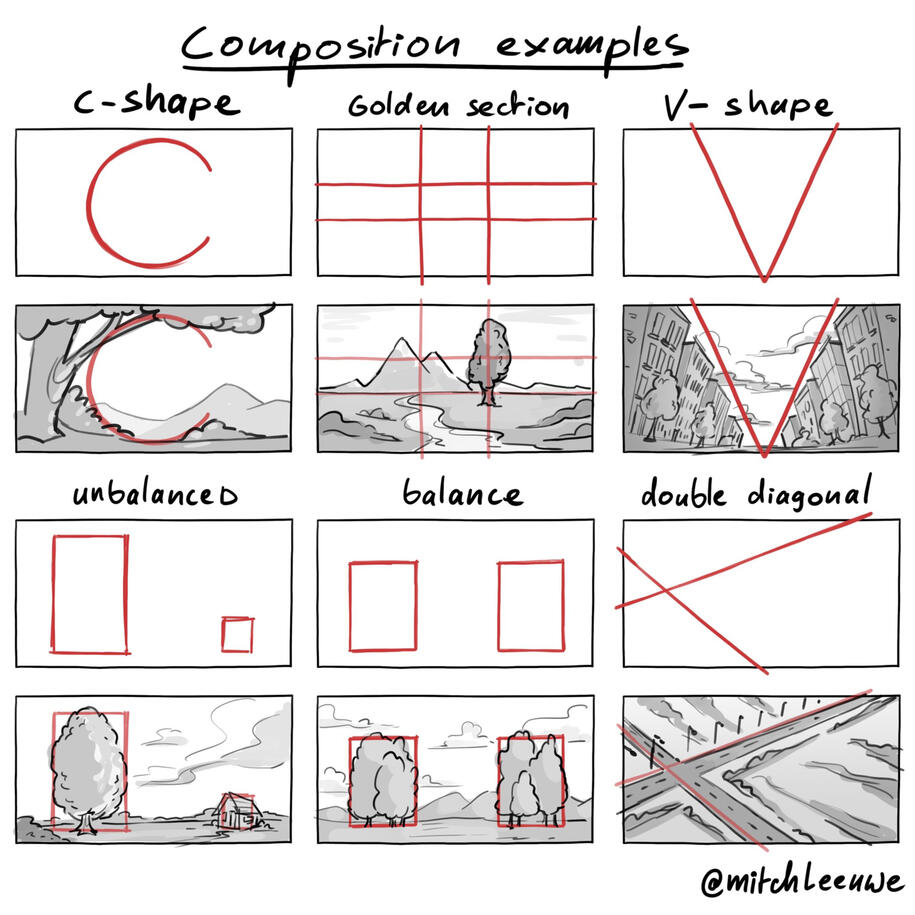
Composition is how the objects are set out or arranged in a scene. Within a scene the elements create lines that lead the eye of the viewer and/or frame the subject. Although there is no rigid rule, following a certain guidelines to set-up the composition of a scene will allow the audience to properly view a scene as it can shape the story or force viewers to pay attention to particular actions or characters in a scene.
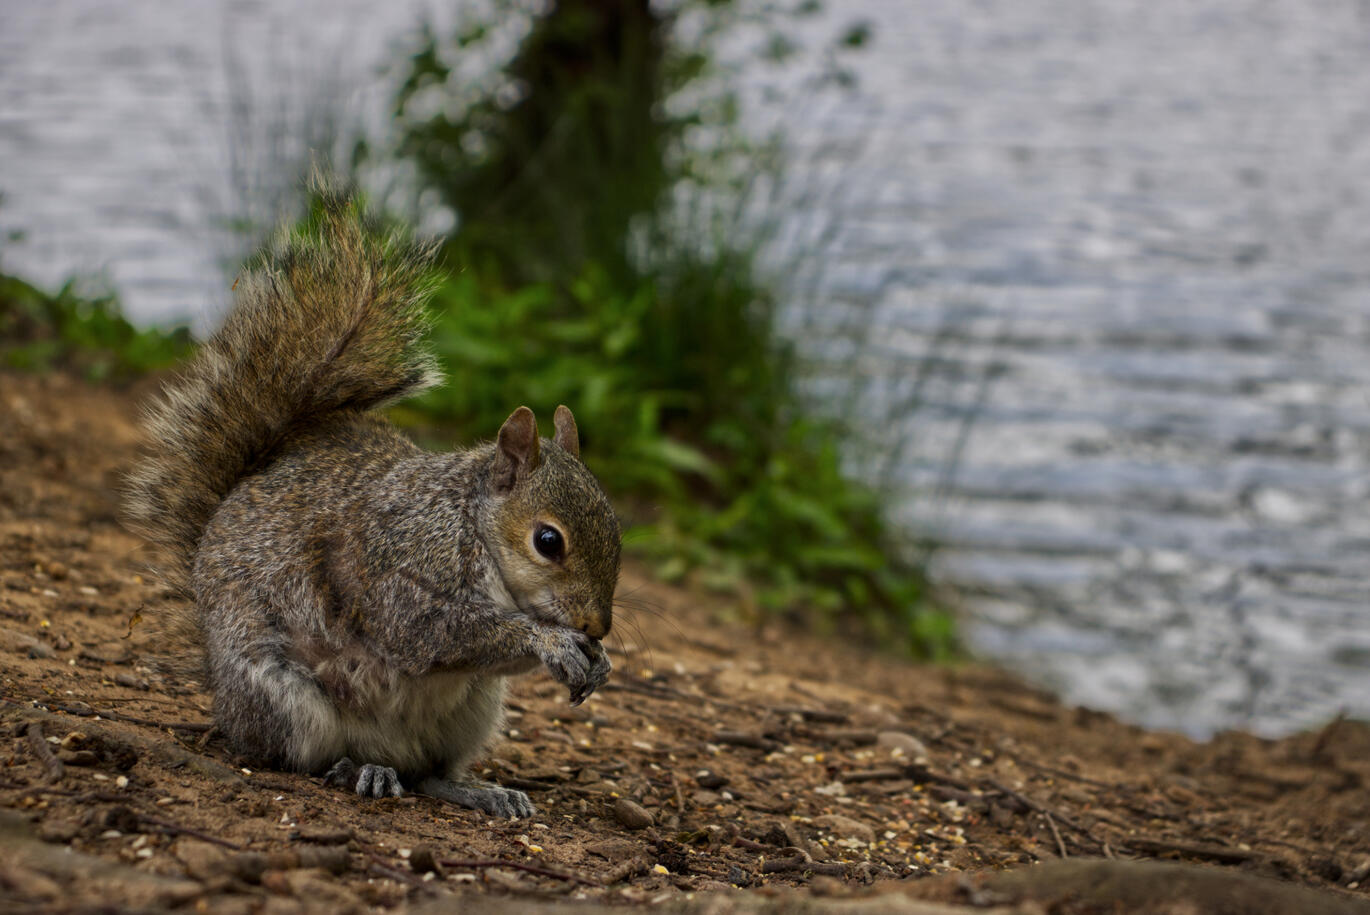
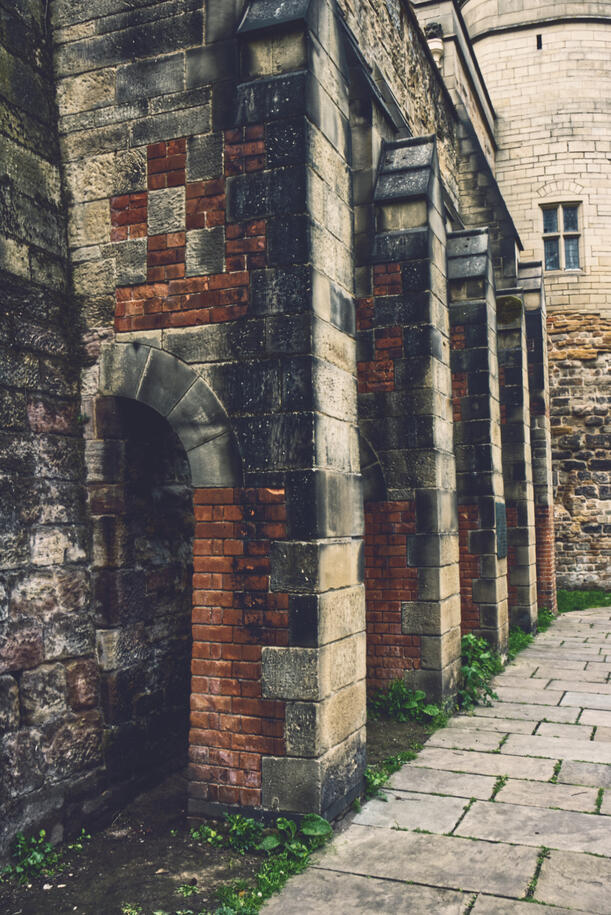
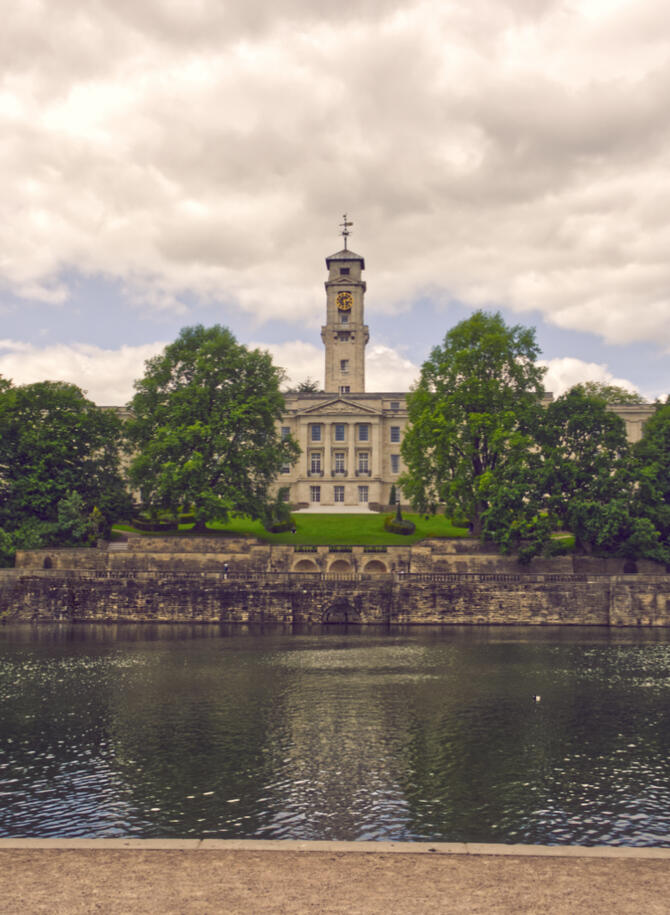
Examples in my photography
Exposure
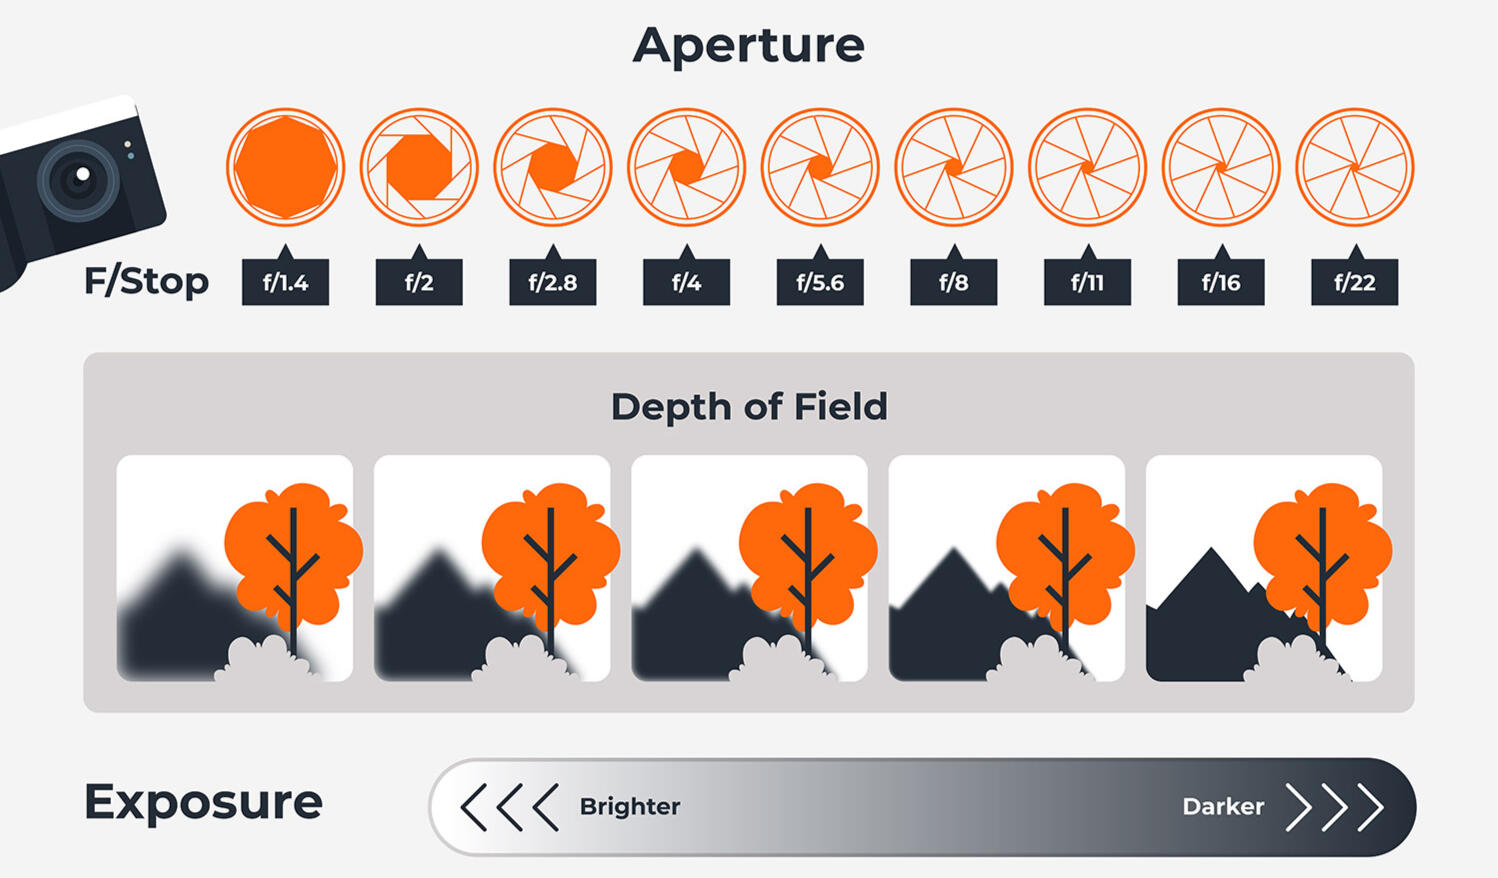
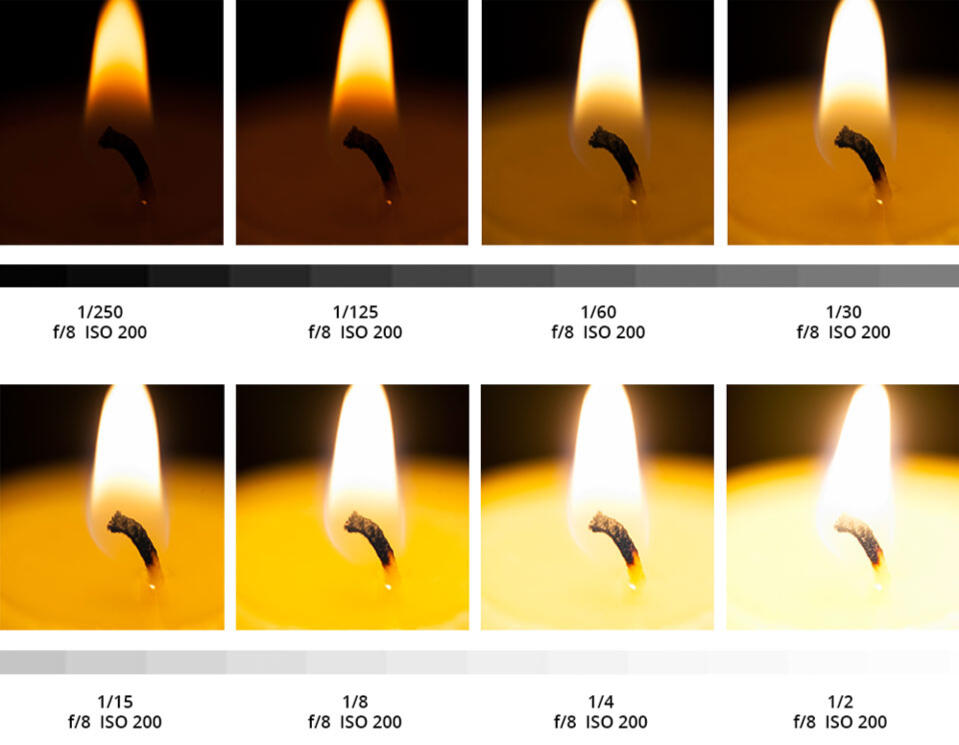
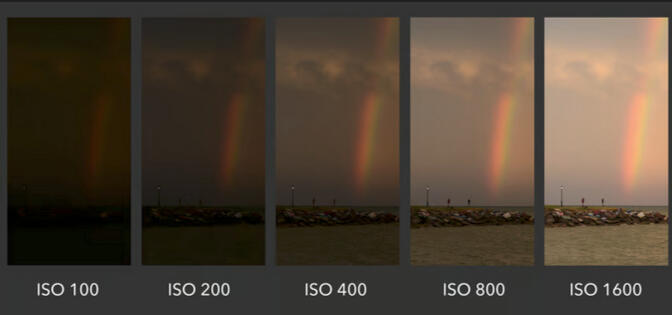
Exposure is how much light is being let into the lens of the camera dictating how “bright” the image is going to turn out.The exposure is decided by three things; aperture, shutter speed and ISO, which make up the exposure triangle.ISO
ISO is how sensitive the cameras sensor or film is to light. A higher sensitivity can be used in lower light however it will likely result in a grainy image.
Aperture
This is how much light is able to reach the lens. The lower number is wider and lets in more light but creates a shallower depth of field whilst a higher number lets in less light but has a deeper depth of field.
Shutter Speed
Shutter speed is how long a sensor is exposed to light. If the shutter is open longer more light will reach the sensor making the image brighter. However, shutter speed is also important when capturing things in motion, if something is moving, a slow shutter speed results in a blurry image.
Different Camera Lenses
The lens of a camera can be changed out for different ones that have focal lengths and functions.14mm to 35mm are wide angle lenses used for wide and establishing shots35mm to 85mm lenses are standard lenes. Commonly, 35mm is used for full shots, 50mm for medium to closer shot and 85mm for closeups.There are also telephoto and macro lenses that are used for specific things that we won’t be needing in this film.
Visual Concepts
Shot List
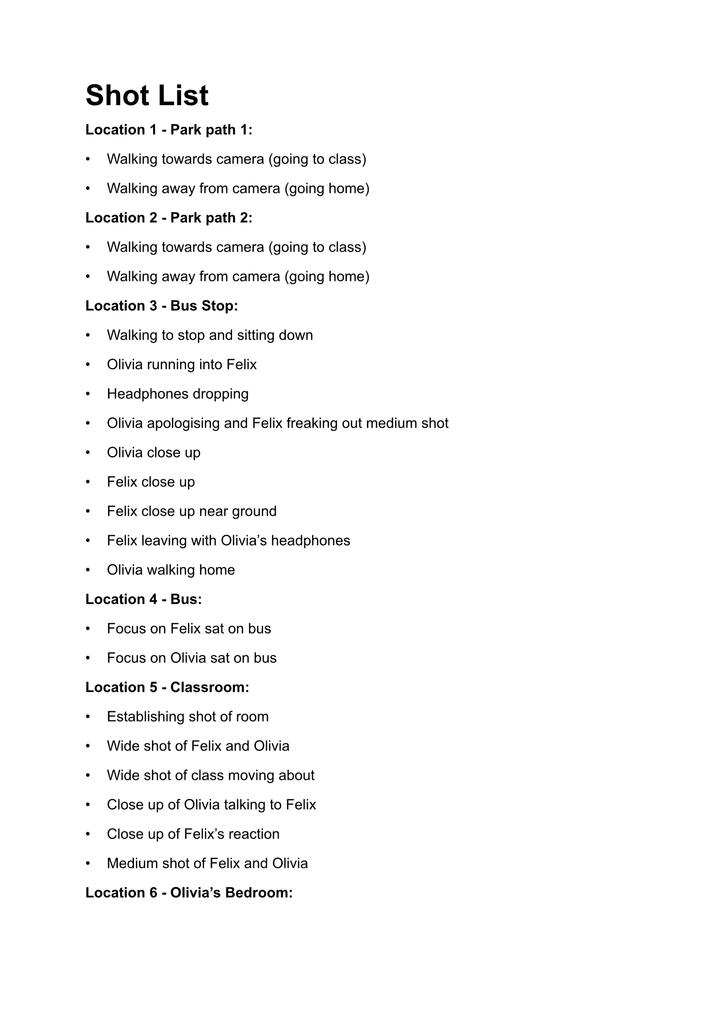
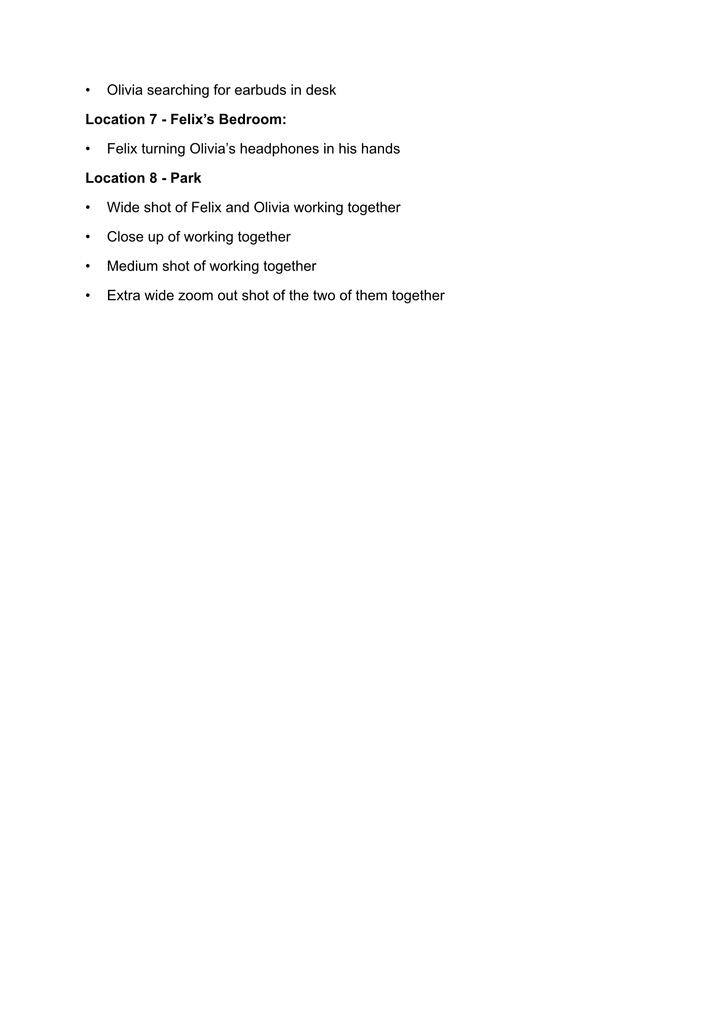
I created a shot list setting out all the angles we wanted to capture for the scenes set out by location. This was so we knew what we had to film at each location because filming in order of the narrative timeline is inefficient if there are multiple scenes at the same location. We also aimed to get extra angles and shot on the day with any extra time to give us extra footage to work with and more creative freedom when editing.
Visual Style
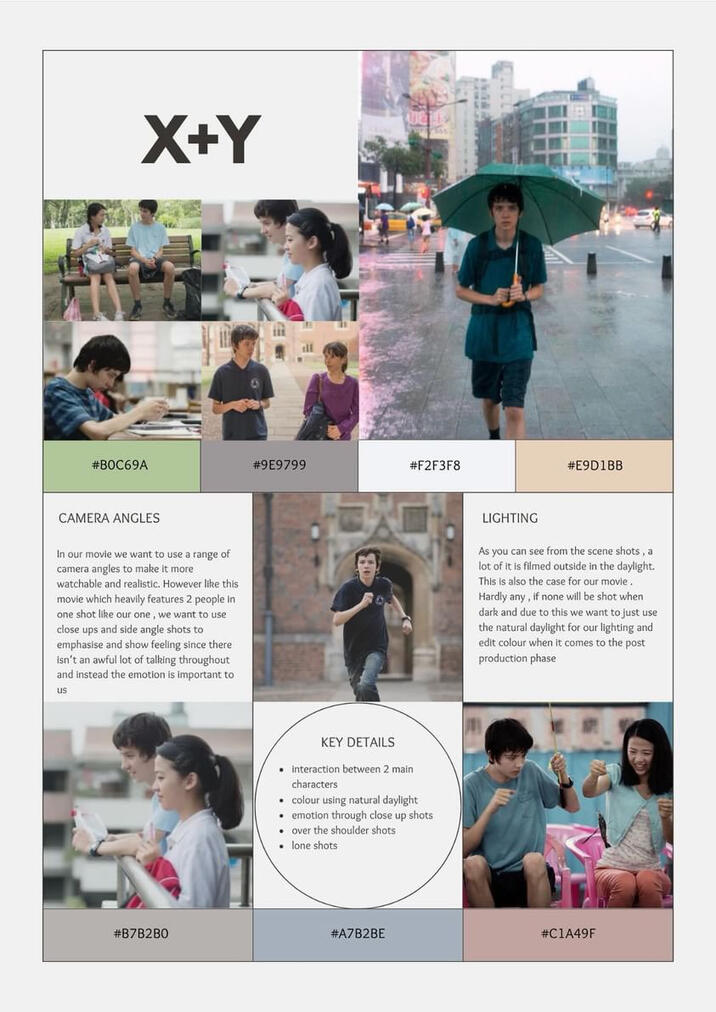
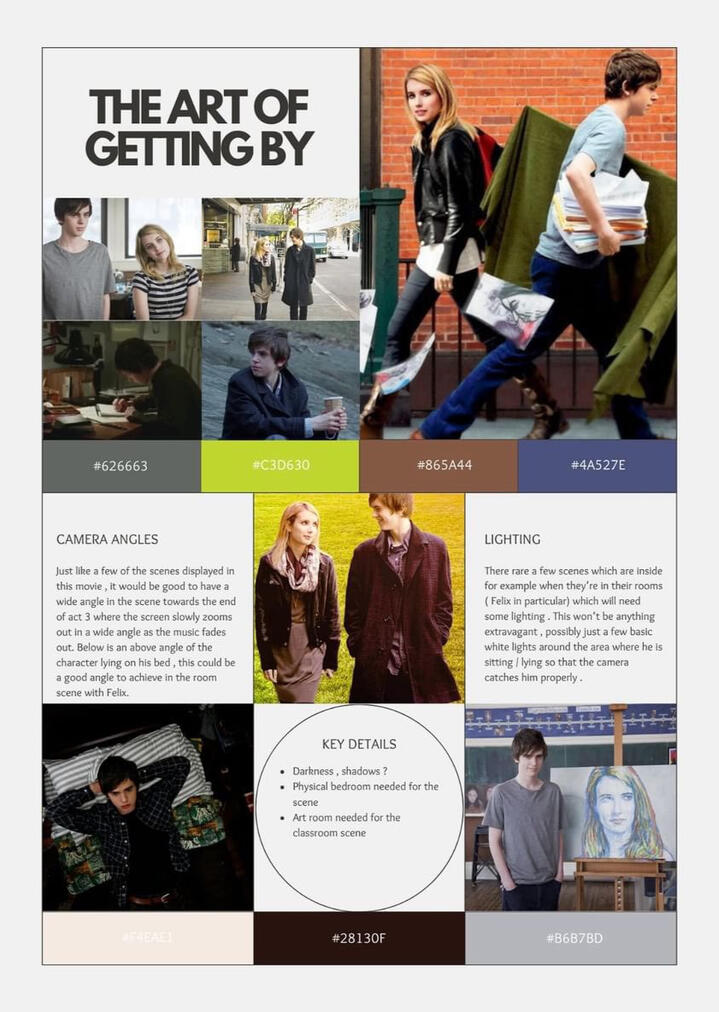
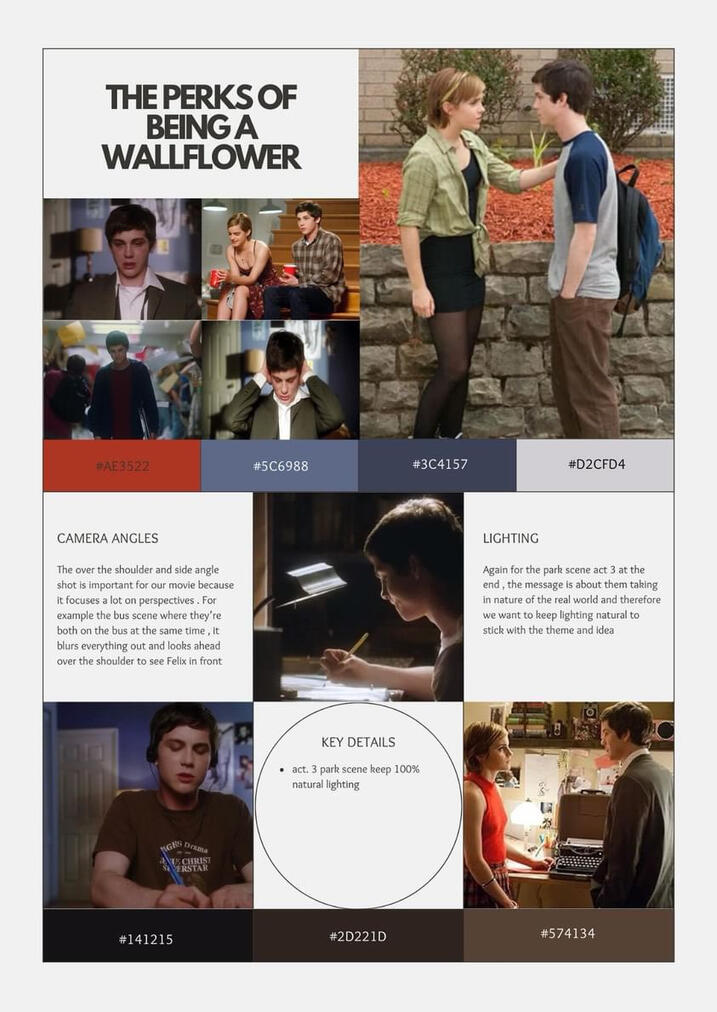
To visualise the way we wanted out short film to look like we looked at some movies that had a similar theme to our narrative or aesthetic we were imagining. We looked at three films; X+Y, Perks of being a Wallflower and the Art of getting by.
We then took shots from these movies that match what we want to capture when shooting to give is a bases for setting up the scenes.
Colour Pallettes
Using the visual style as inspiration and our plans for the narrative we decided on a colour palette. We knew we wanted the film to have a warm feel, but we also needed to choose some colours for the animations elements; assigning colours to the characters. We decided on blue with purple and yellow with orange because the blue and yellow can mix to green.
Production Roles
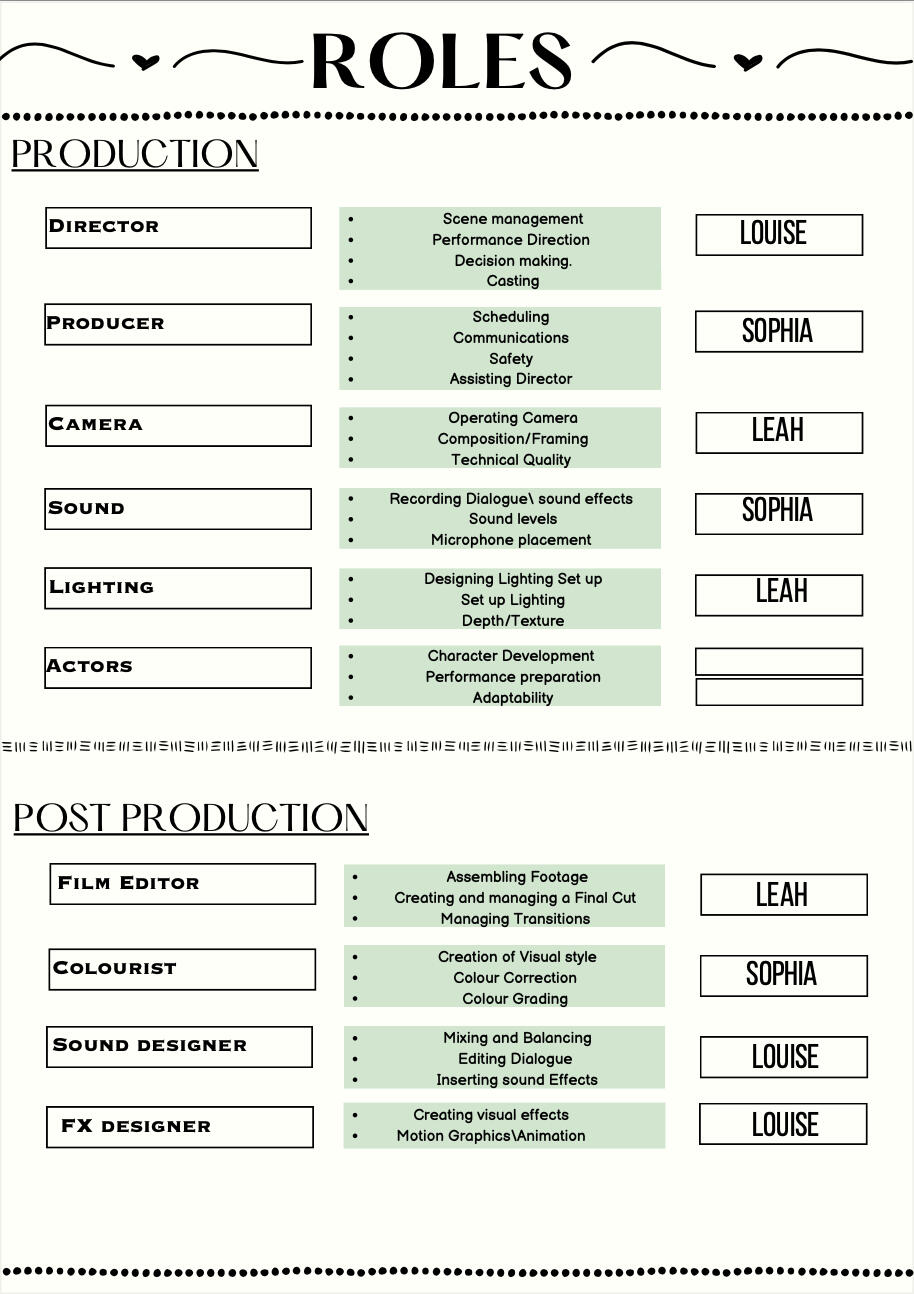
We divided up the production and post production roles between the three of us based on our skills, expereince as what we wanted to work on. These roles were not the only tasks we would take on but more who was in charge of what area to ensure everything got done and there was a chance they would change throughout production.When it came to production I was given the role of director as we had based the story of my idea and I had the clearest vision of the final product. I was happy to attempt this role but it was a struggle as a shyer, moreintroverted person as it meant I was in charge of a lot and
Recording Equipment
Camera - Sony FS5 with Sony 18-105mm f4 Kit Lens and Feelworld Small DSLR Monitor KitAudio - Rode NTG-2 Rifle Mic Kit (boom mic), Tascam DR-70D Audio Recorder Kit, RodeLink Radio Mic Kit (Lav mic)Other: Heavy weight video camera tripod, Boompole, Clapper board, Equipment cart
Sony FS5 allows us to be able to shoot in LOG which allows us to have a high dynamic range. As a RAW file the footage will seem more colourless but will allow for us to have more freedom and control when it comes to colour correction and colour grading. The camera however does suffer in low light, resulting in grainy footage if the ISO is set two high.
Testing
We hired the camera and tripod for a short testing session we could get a better understanding of how the camera worked before the scheduled filming days.During this testing it became clear I was more suited to the technical aspects of using the camera and adjusting the exposure, so we switched to me also being the cameraman and share some of the director tasks with Leah whilst on set.
Getting Actors - Cast Call
We set up a casting call on Starnow to recruit actors to be in our short film. However, due to time restraints we realised finding an outside actor was going to be difficult as we did not have time to narrow down the applications we got and speak to people. We also presented a pitch to the first-year digital media students to see if any of them were interested in being part of the film and getting an insight into second year projects.Due to scheduling we decided to work with one of the first years to play Felix and Leah volunteered to play Olivia. This meant a slight adjustment to removing the names said in one line of the script but did not change the overall narrative of the film.
Production - Filming Day 1
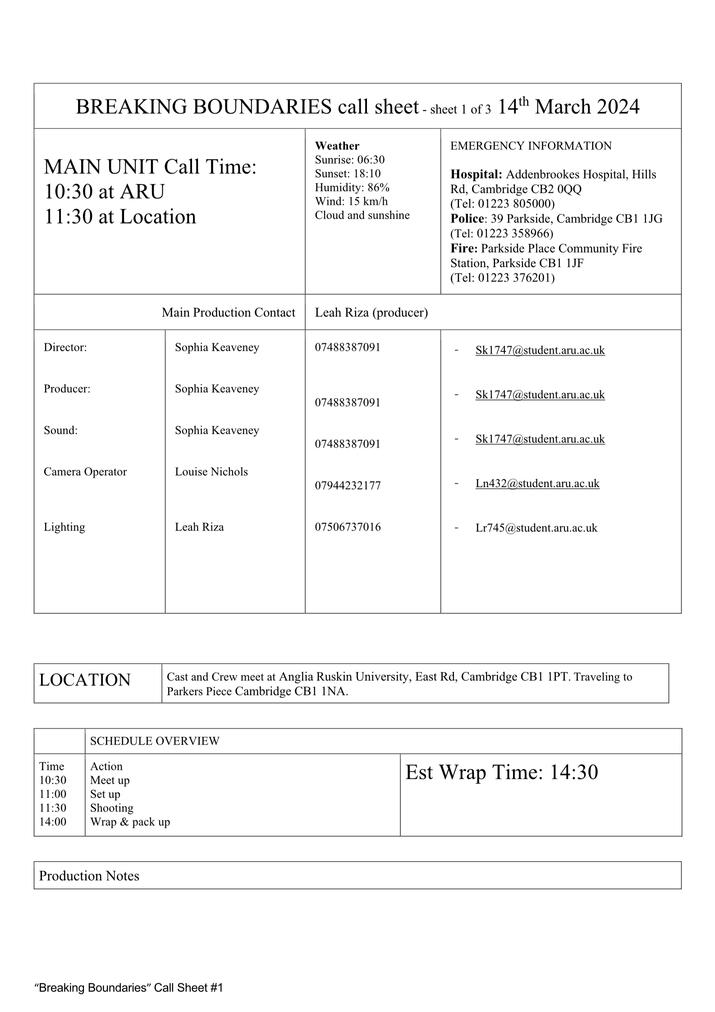
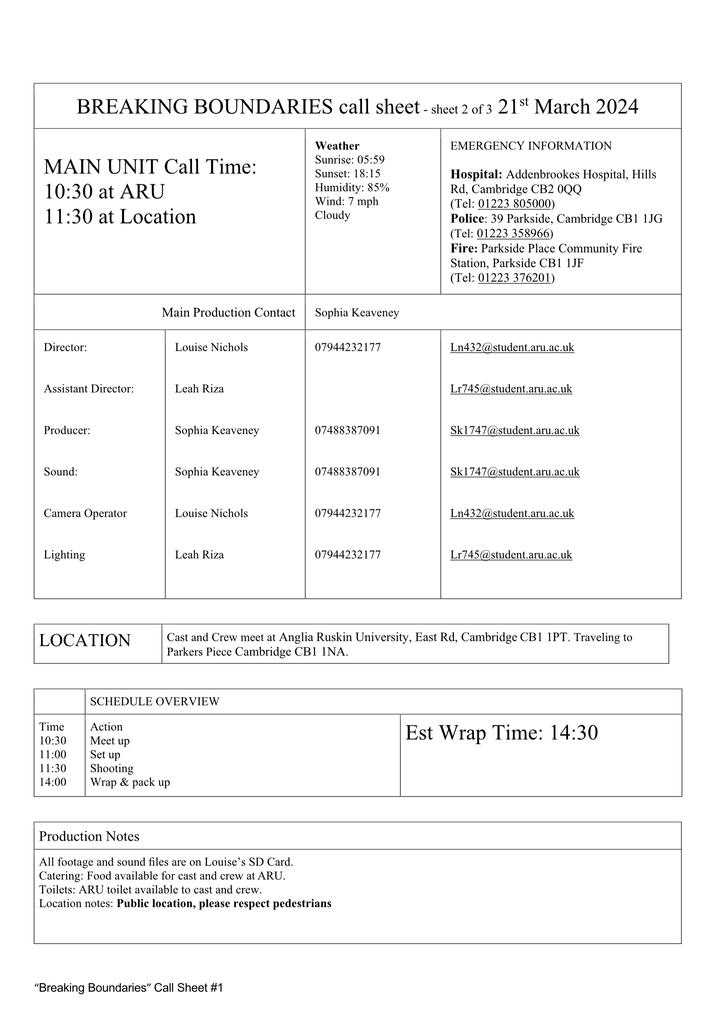
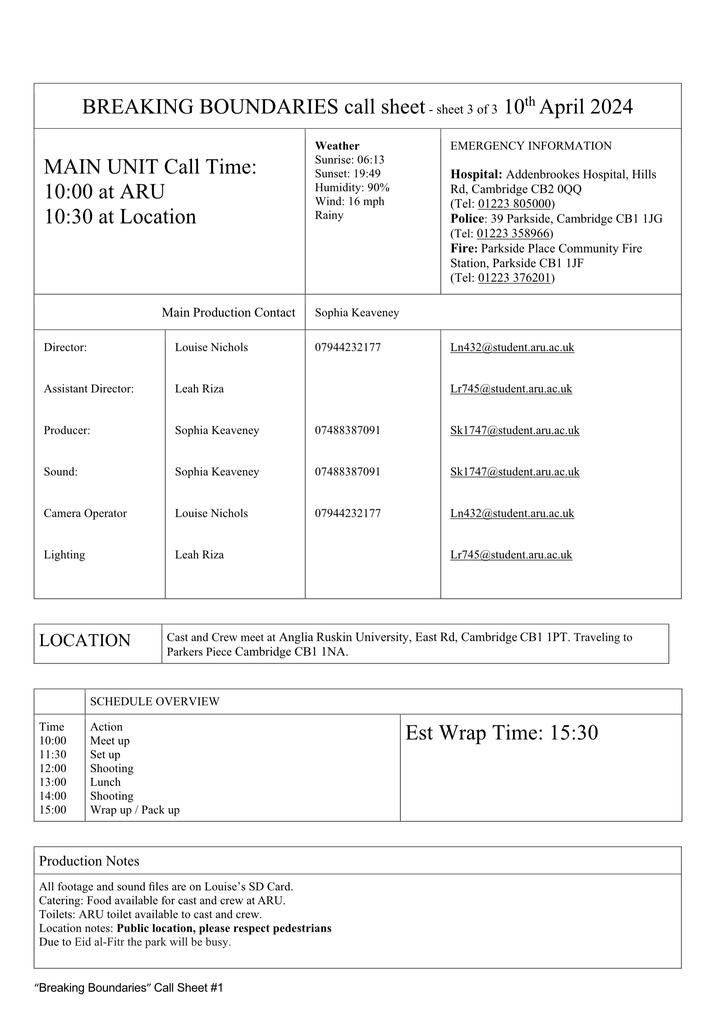
Call Sheet
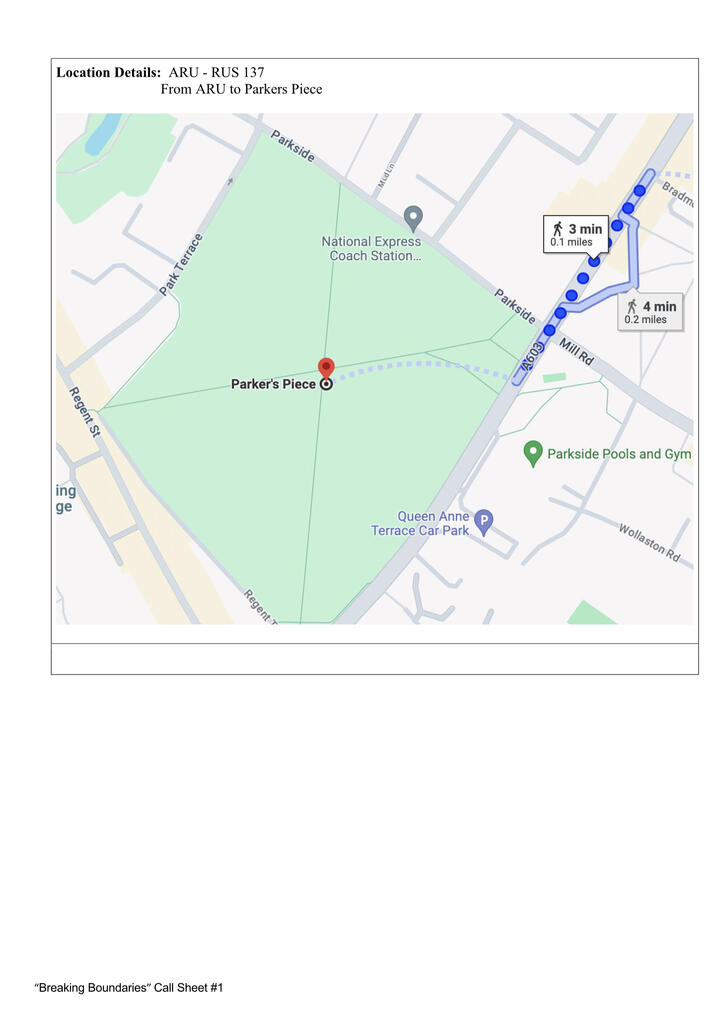
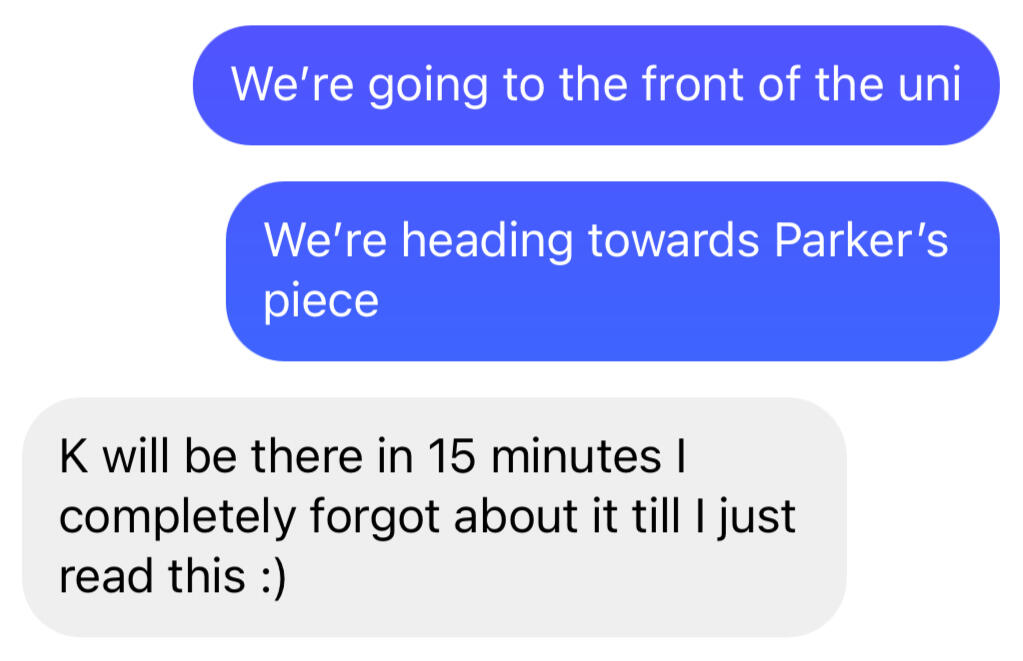
We had been communicating with Leela via email, however, we never got conformation that she was going to meet us. Fortunately, I was in contact with another first year and was able to figure out who she was on the Discord server and communicate with her that way, even if it was less professional.
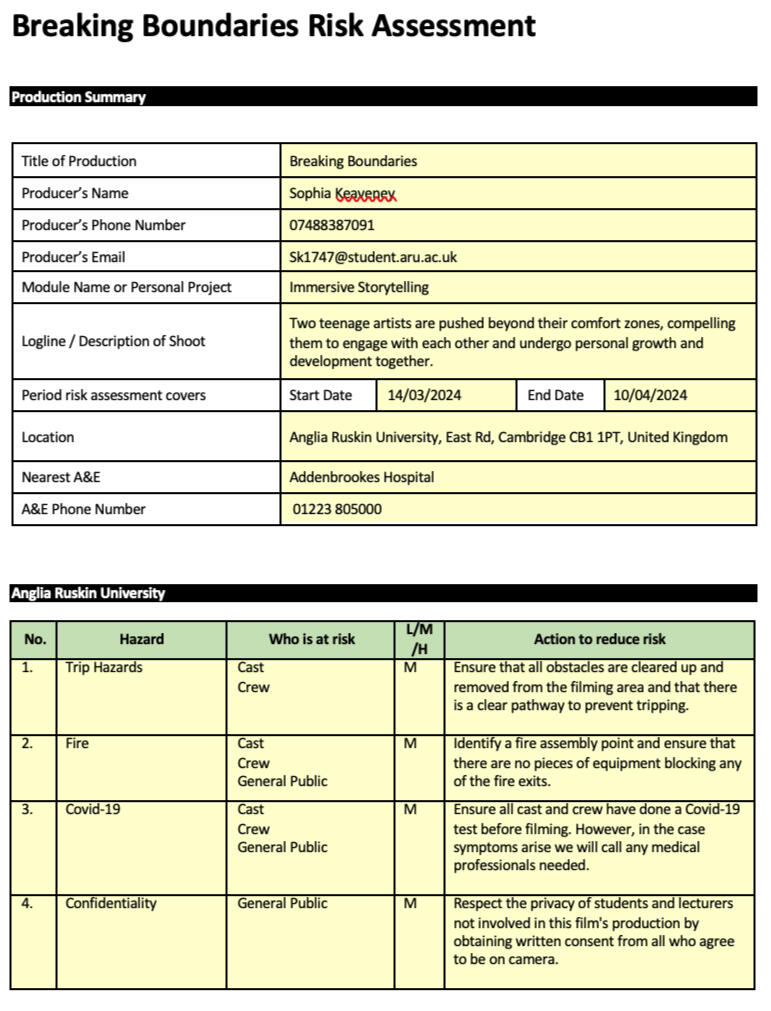
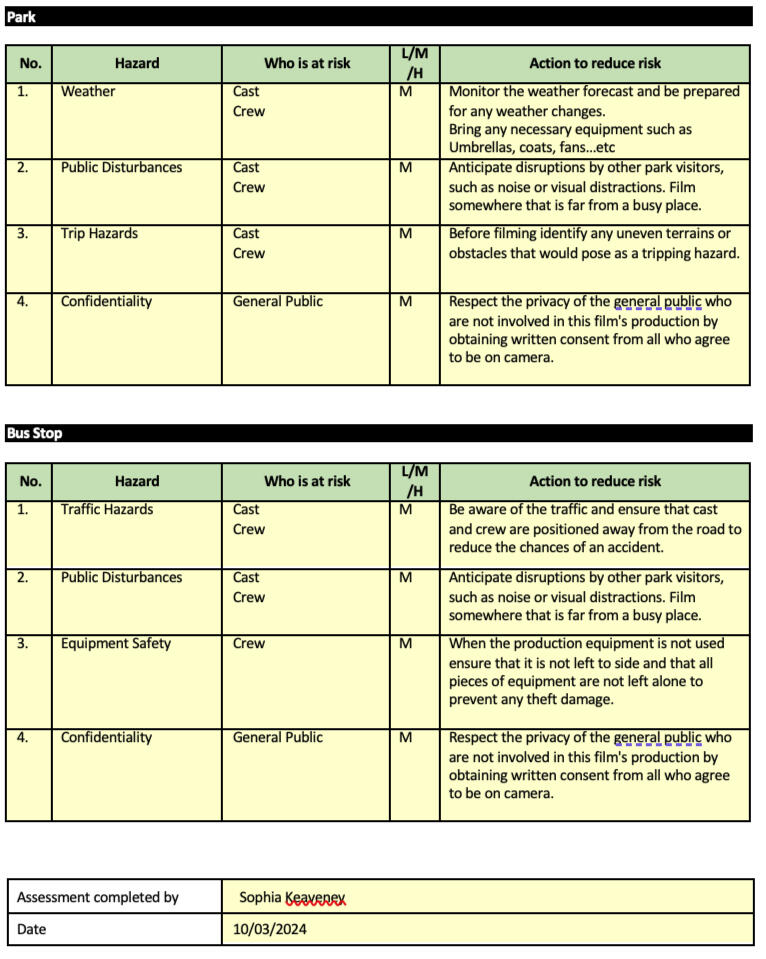
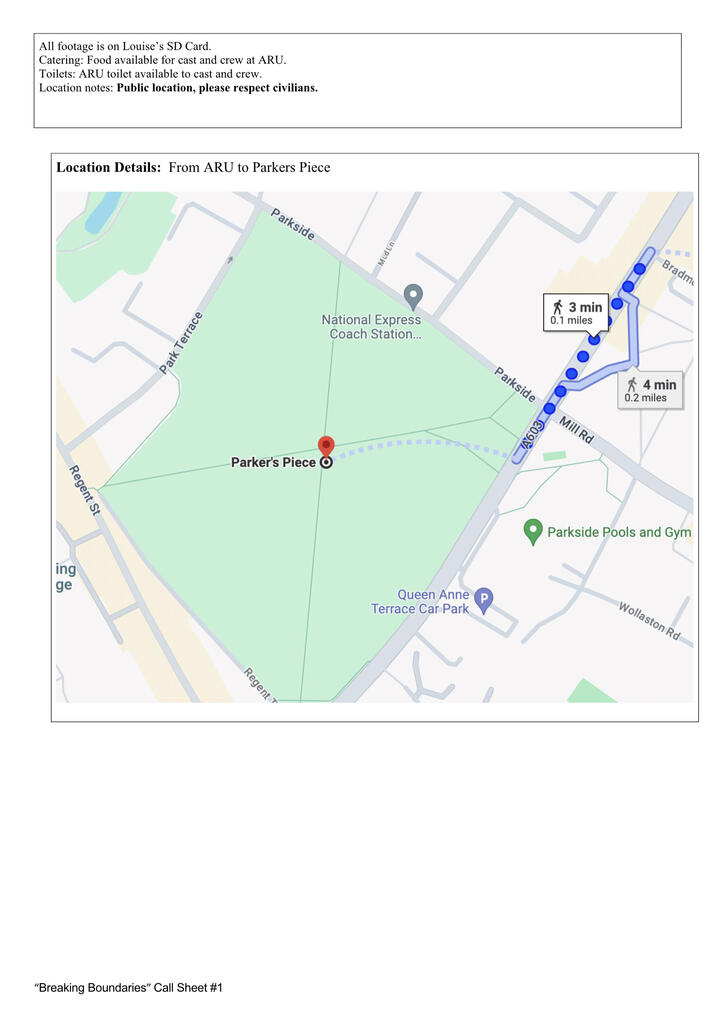
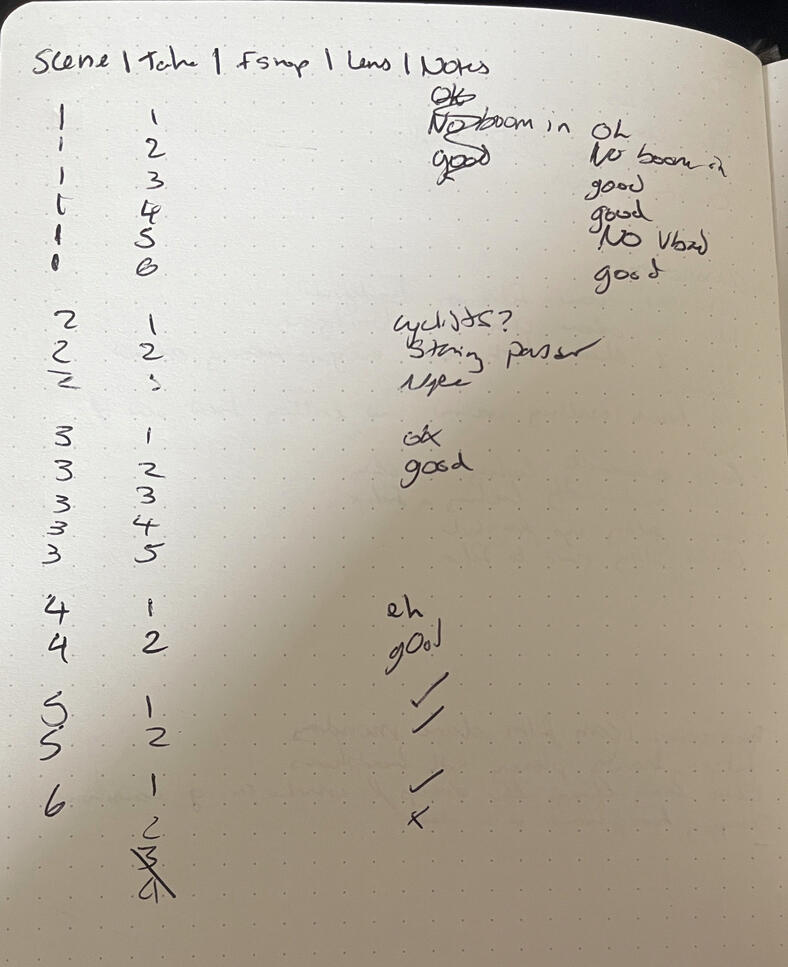
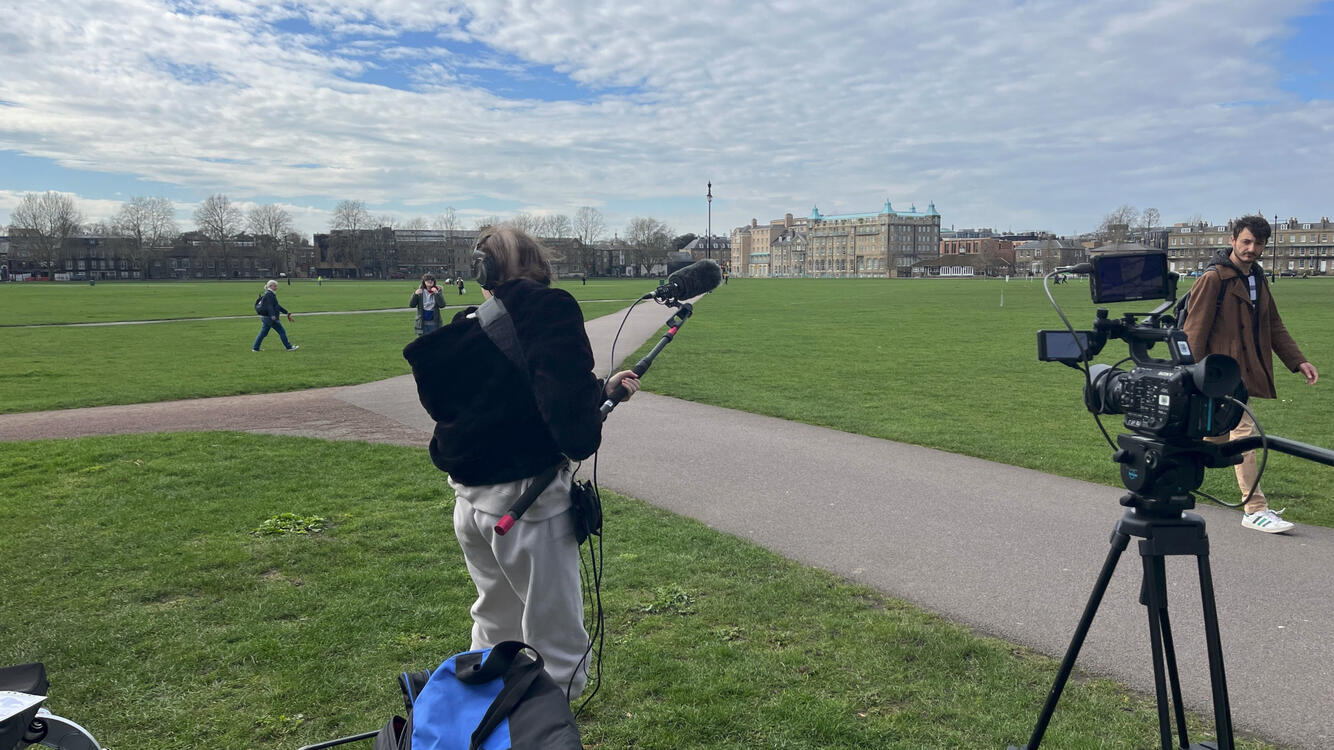
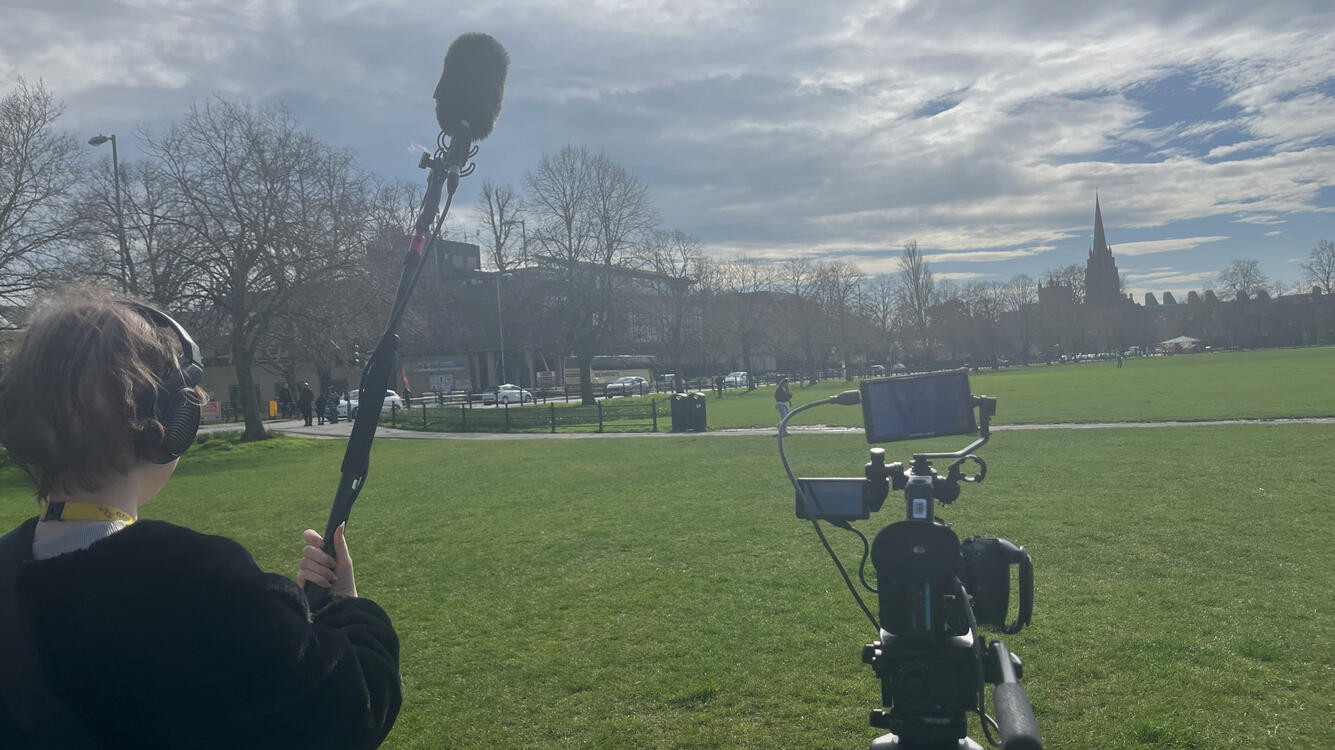
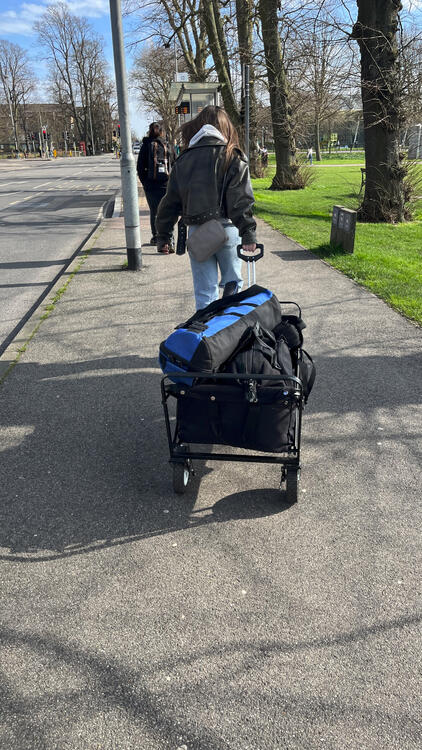
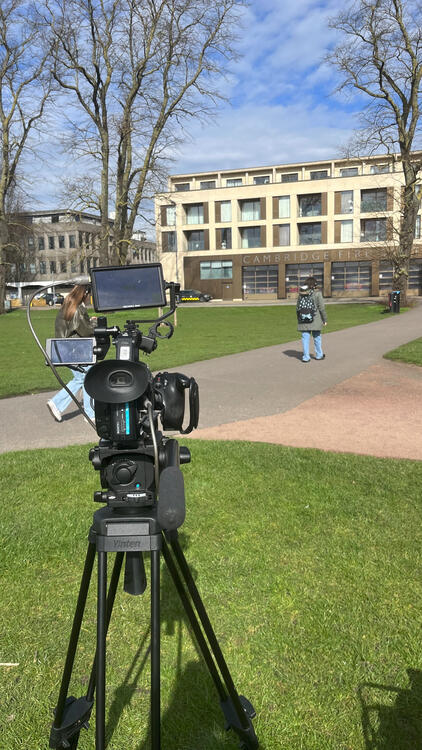
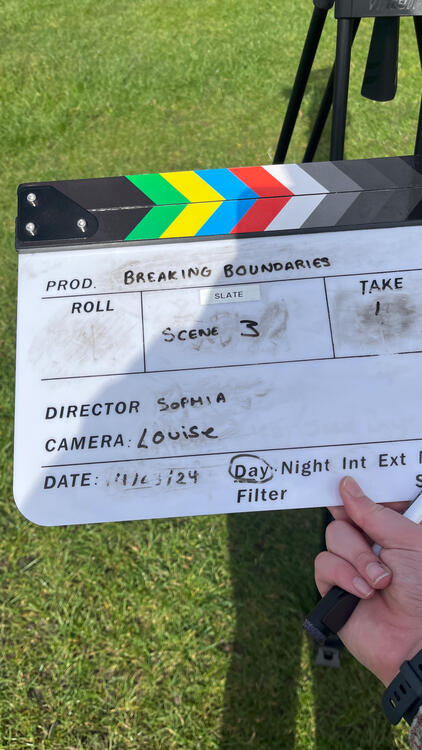
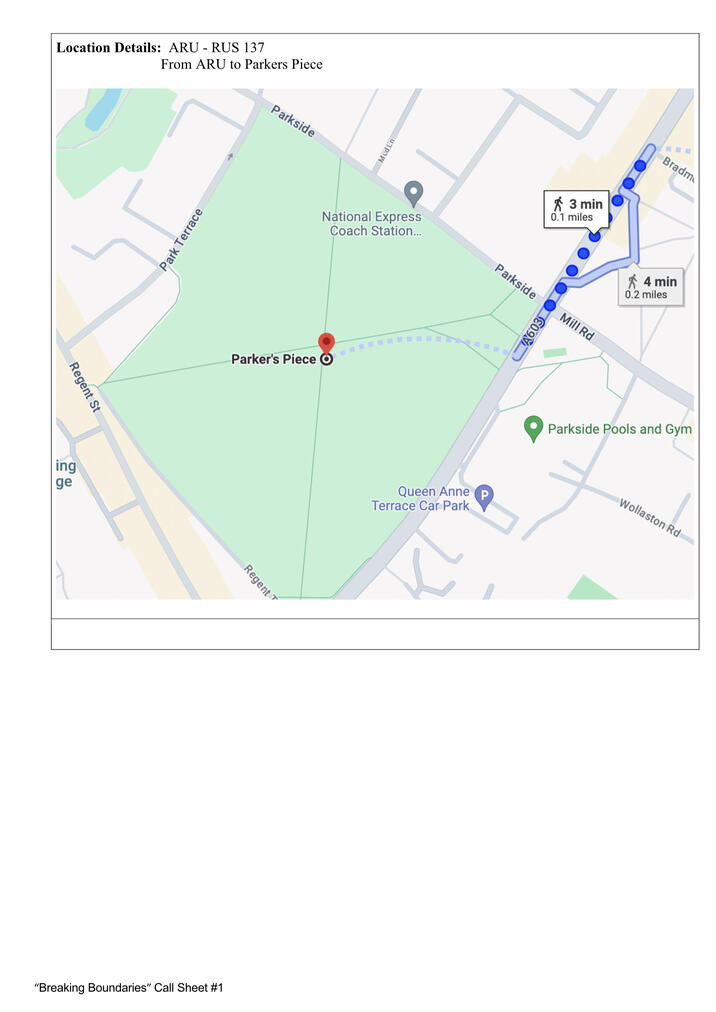
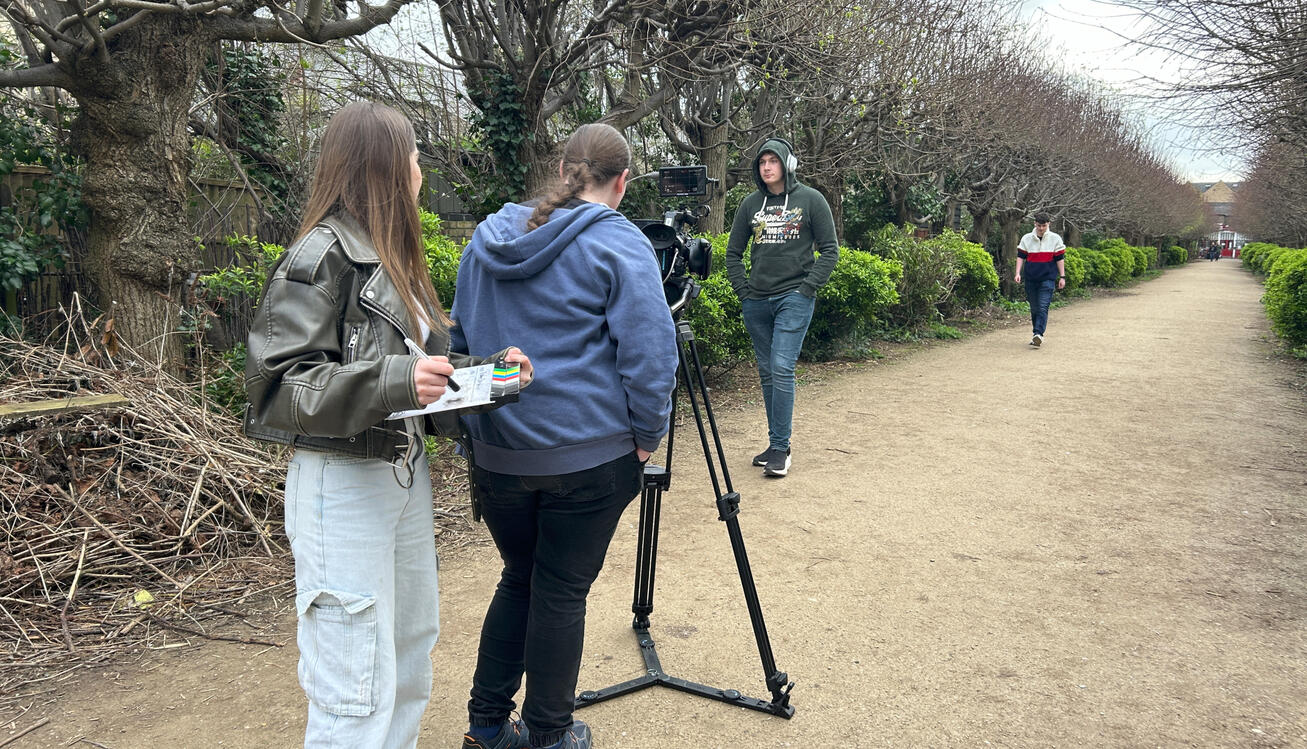
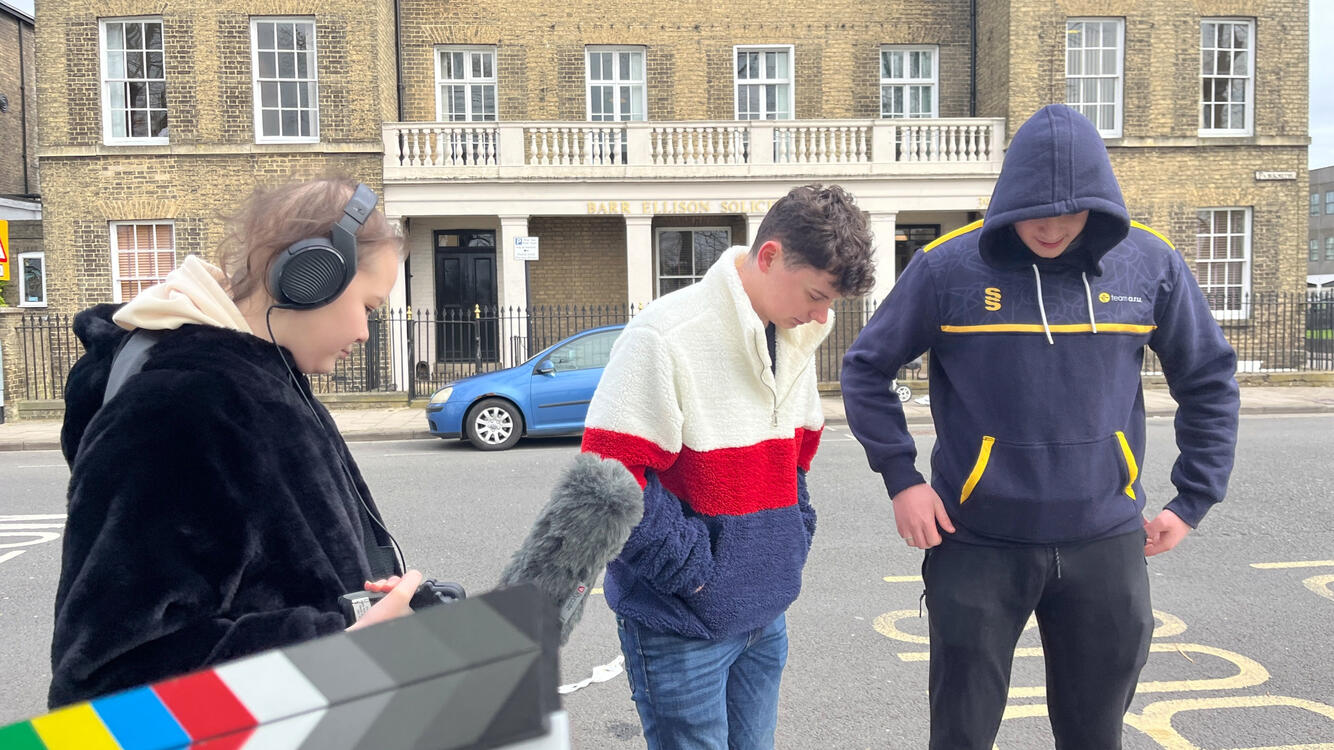
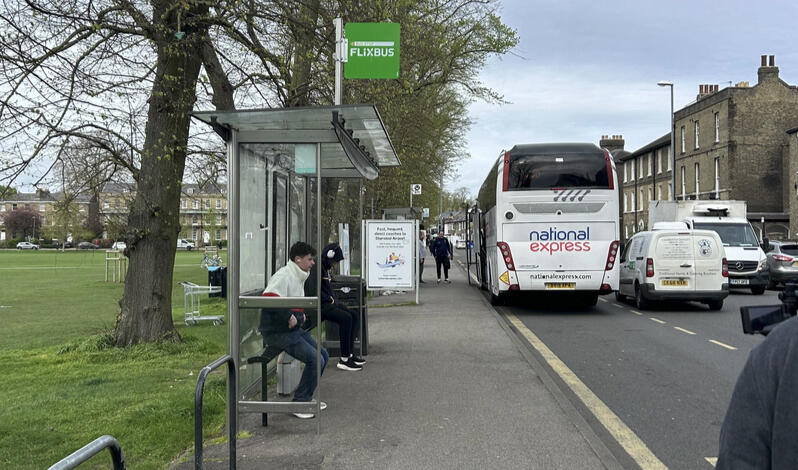
Once our Leela had arrived and we got the equipment we headed to Parkers Piece. I played a big role in getting set as I remembered how to set up both the camera and the audio equipment. I started by setting up the black balance on the camera as this needs to be done with the lens cap on and then made sure the camera was set to record in 4K and filming in LOG. Then set the ISO, white balance and aperture. Other than some trial and error on finding some setting the camera was easy to set up. However, we struggled to get the Tascam set up as it took a while to get it to stay on and get the input level set correctly because it was hard to figure out if the sound was from the surroundings or coming through the headphones. We used the mic on the boom pole to record the sound of the general surroundings as we did not require lines to be recorded in these scenes.Once we got set up, we were able shoot two scenes with multiple takes; filming the characters walking in the park and waiting at the bust stop. With Leah acting, I had to also direct making calling shots using the clapper board more difficult. The general public did make some shots require more shots because they were looking into the camera or generally in the way. This was something just had to work with, especially as we still needed people in the background of shots. As it was only Sophia and myself being crew, I found it very hard to keep on top of everything and I struggled to maintain a list of which takes were good and bad. Filming was also cut slightly short as the bus stop we used was one for long distance buses meaning once one arrived it waited at the stop for a while and the stop got busy making it impossible for us to film and by the time it left it was time for us to pack up for the day.
Behind the Scenes
Production - Filming Day 2, Part 1
Call Sheet
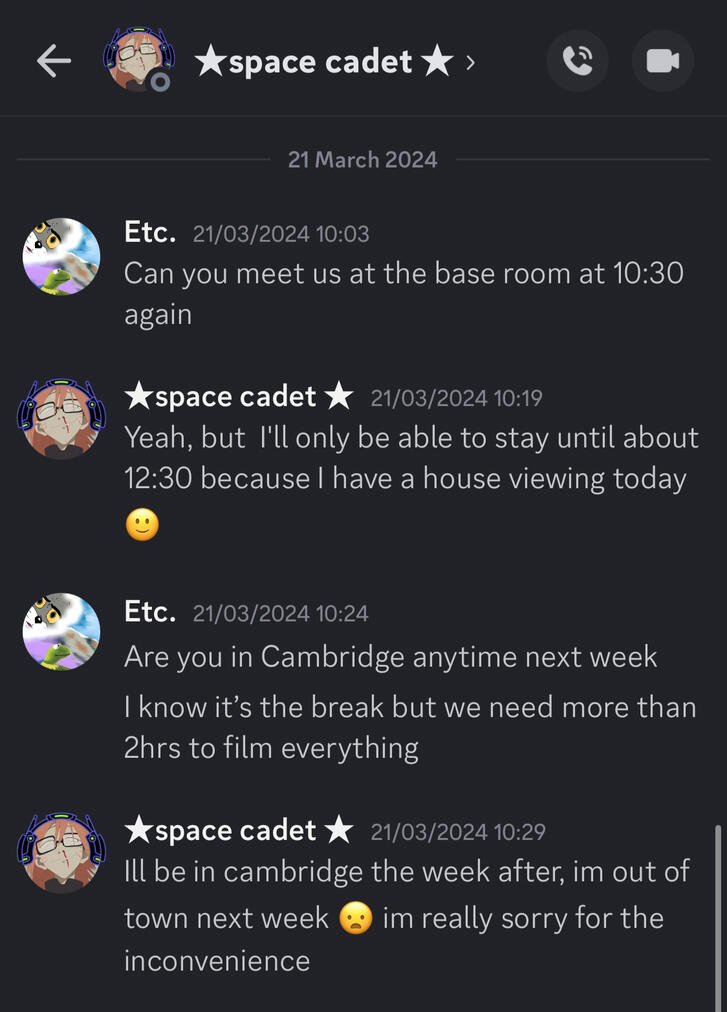
We arranged to meet in the Digital Media Base room again and I was able to confirm with Leela that she could meet us at 10:30. However, she said she was only able to stay until 12:30 due to a house viewing and then also arrived late.We attempted to get some scenes filmed but it was cut short even more by Leela saying she needed to leave before 12:30. At this point we were struggling to see how we could finish the film because we had less than half the scenes done and was finding it very hard to arrange another day to film the remaining scene.
Production - Filming Day 2, Part 2
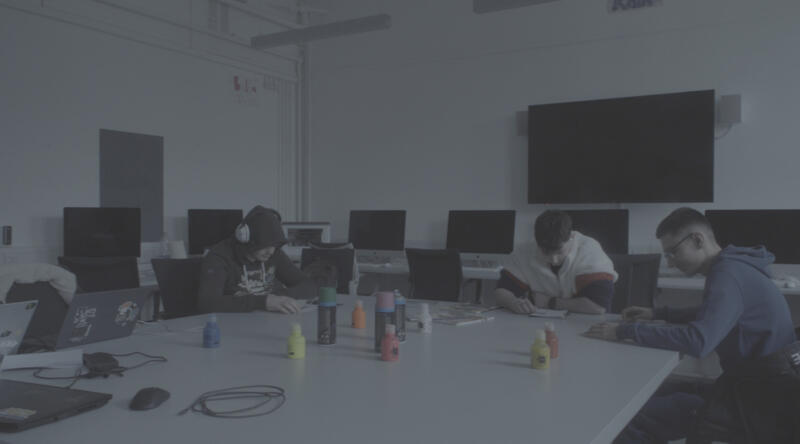
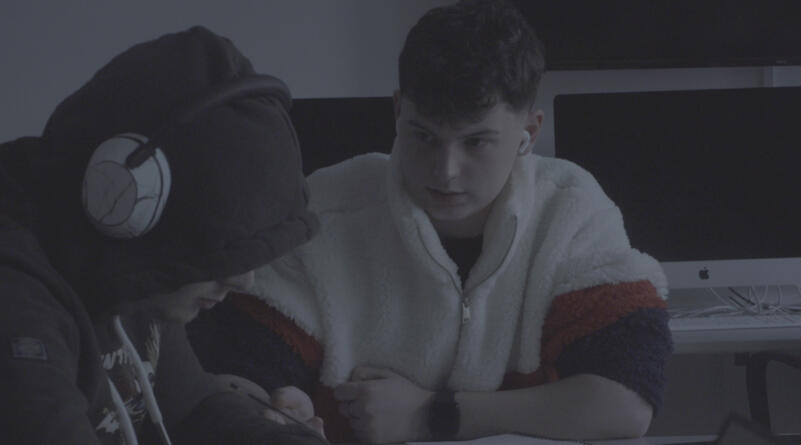
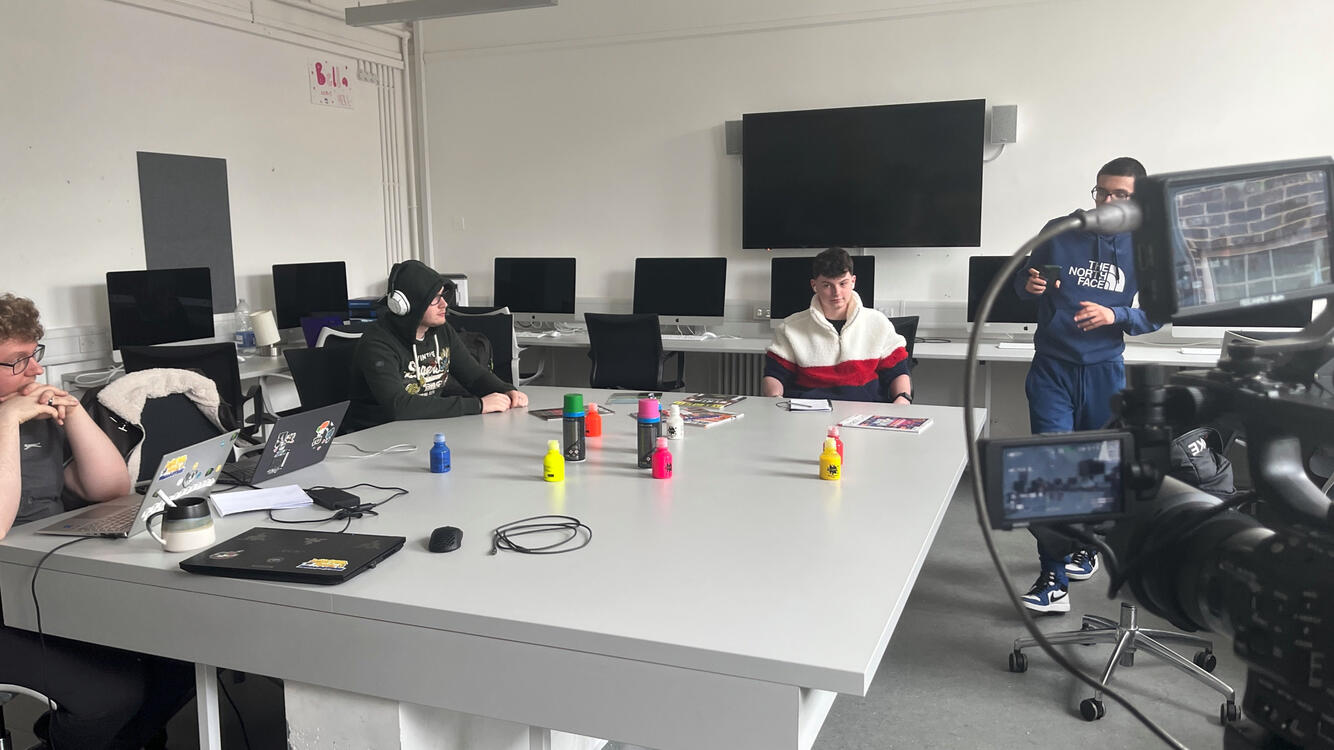
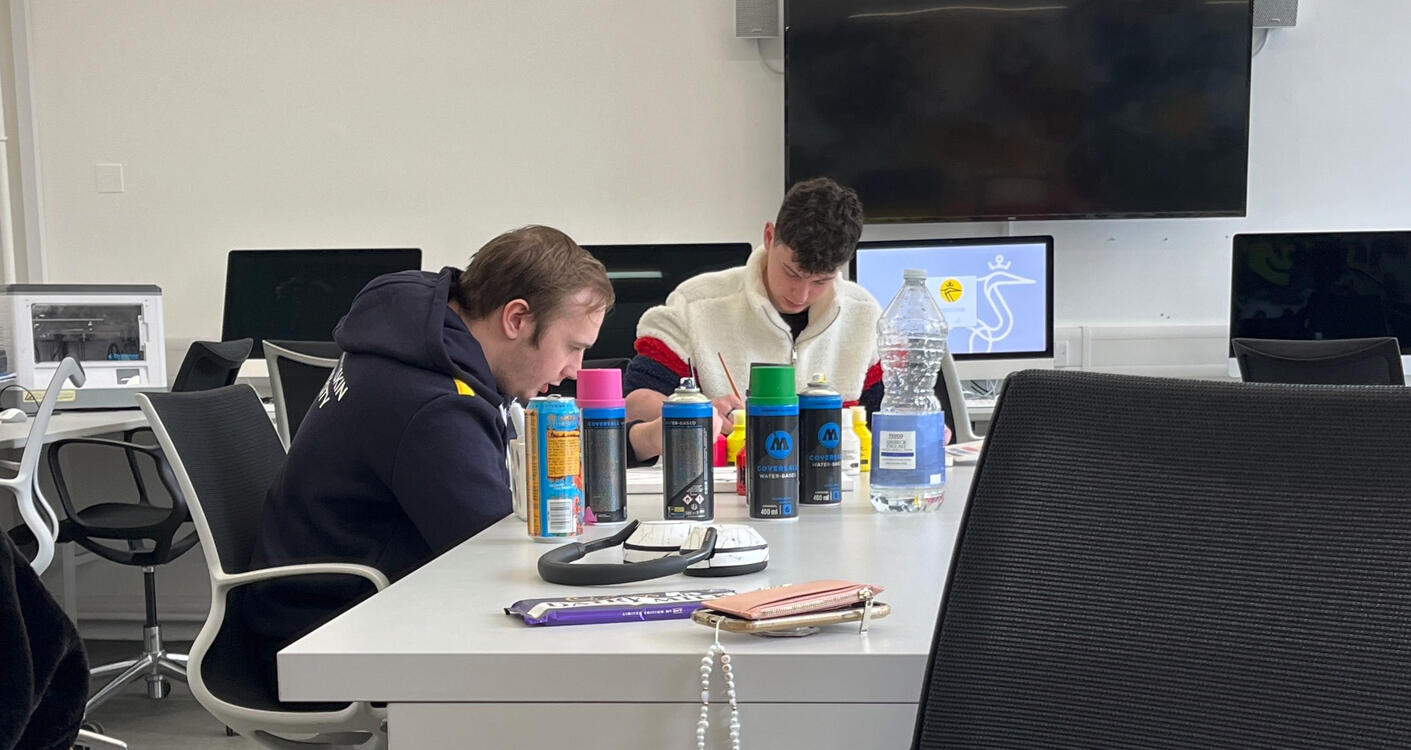
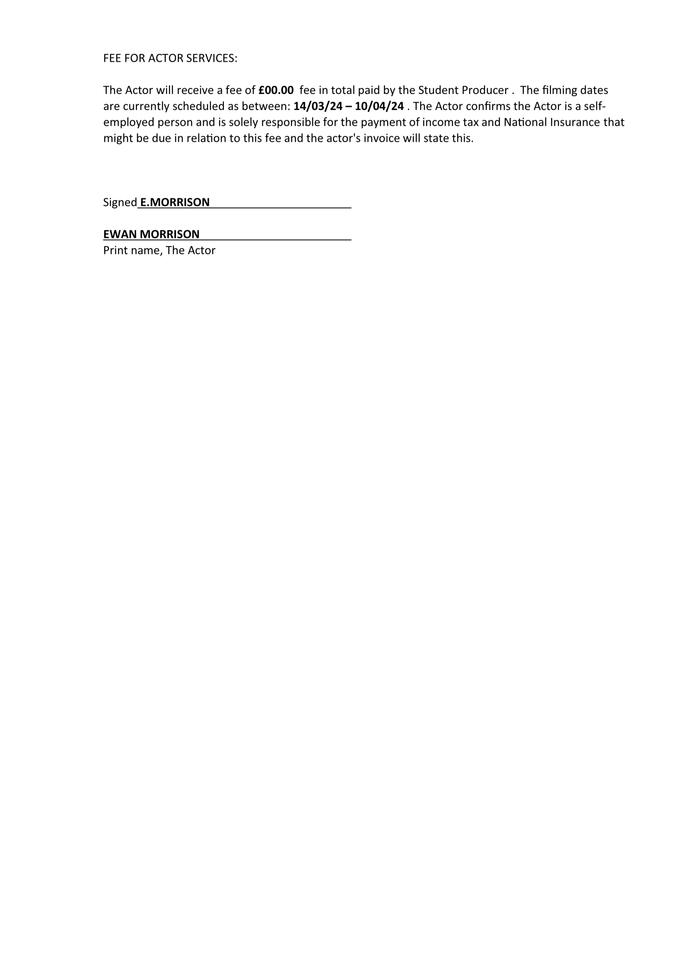
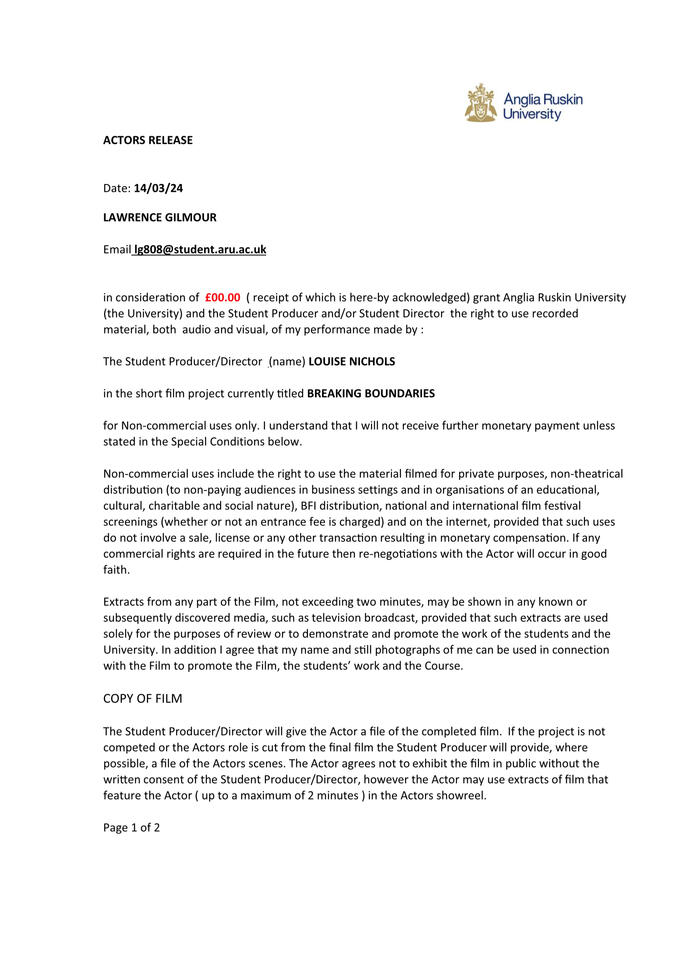
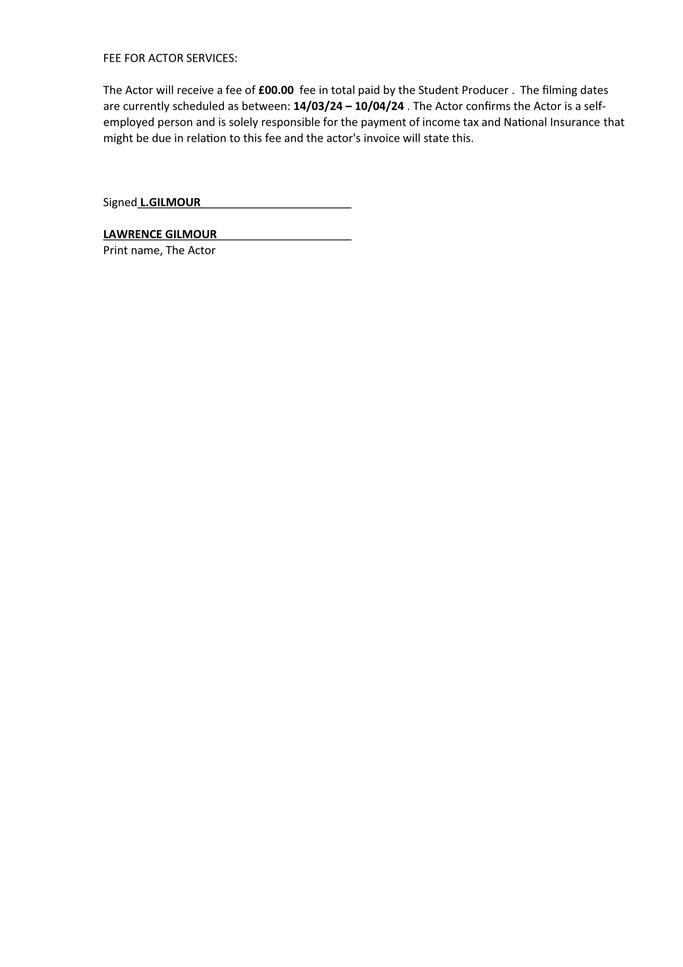
Due to problems with our actor being unreliable we decided to restart with new actors. Two of our classmates, Ewan and Lawrance, volunteered to play Oliver (changed from Olivia) and Felix respectively, despite having their own projects to work on. With this quick turnaround we were able to get two scenes filmed in the few hours we had left for filming that day.We were able to film the important classroom scene where the two characters are forced to work together and interact which we were able to film from multiple angles. An important part of this scene was filming the characters reactions and facial expressions. We were able to film the scene from a distance to give the viewer and overview of the setting as well as some close ups of both characters to show their reactions and allow viewers to connect with them more. As we had the audio equipment set up in the room, we let Ewan record the few sound pieces he needed for his project before we moved the set outside, helping his group out a little even though he was helping out ours a lot.
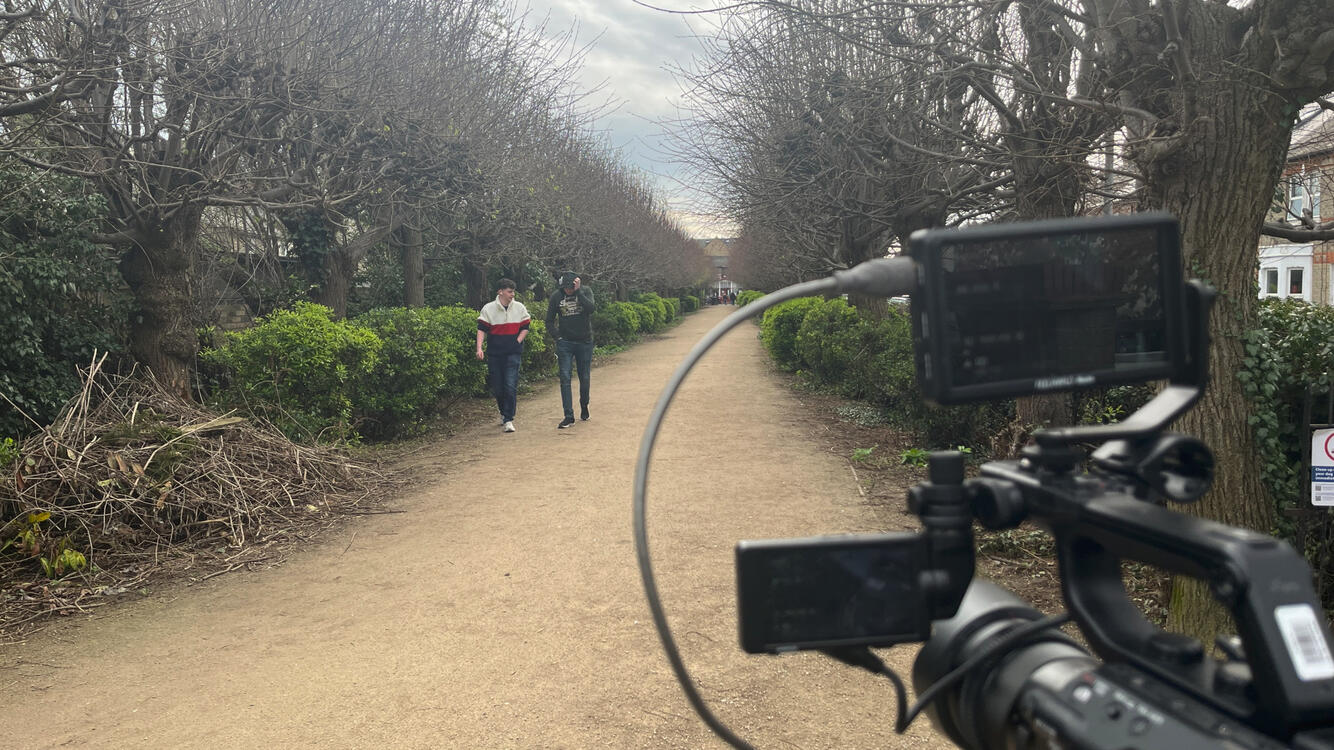
We also were able to film the characters walking outside, this time deciding to use a different part that is closer to the university campus making for a quicker set-up which was important due to the amount of time we had lost. We did multiple takes for these scenes due to the public; it was okay for them to walk through the shot, but many would react to the camera making it impossible to use that take. We also filmed from multiple angles to find the best leading line along the pathway.
As we had two actors Leah was now able to help myself and Sophia on set which made the filming process much more efficient and less stressful as we could share the responsibilities more. We were able to schedule a final filming day however due to scheduling issues and people being out of Cambridge over the break we were not able to film until after the Easter break, putting us multiple weeks behind schedule. Finishing the day we still had more hope in finishing our film than when we started out.
Behind the Scenes
Production - Filming Day 3
Call Sheet
With day 3 being so close to the deadline we needed everything to go smoothly however there was some issue right from the start that we had to resolve.
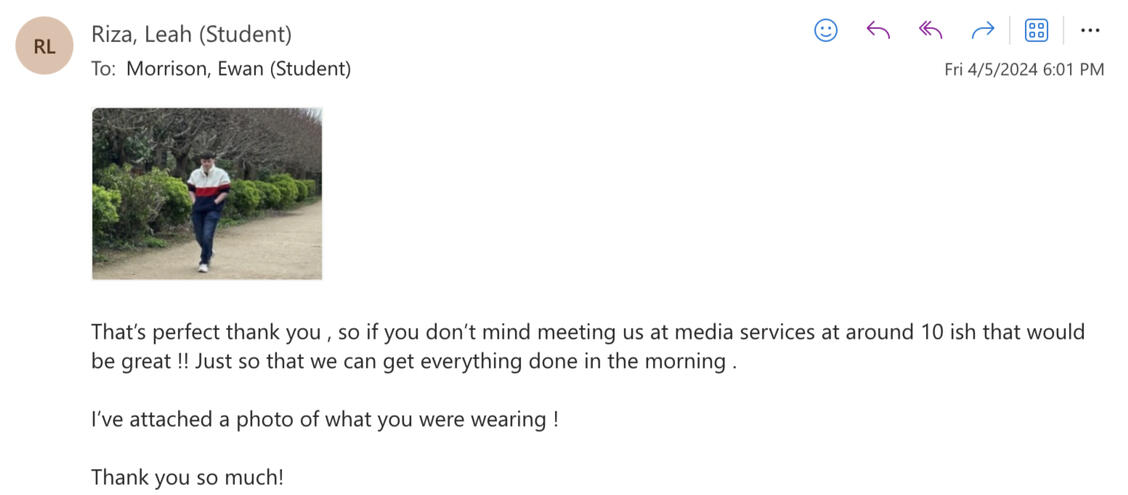
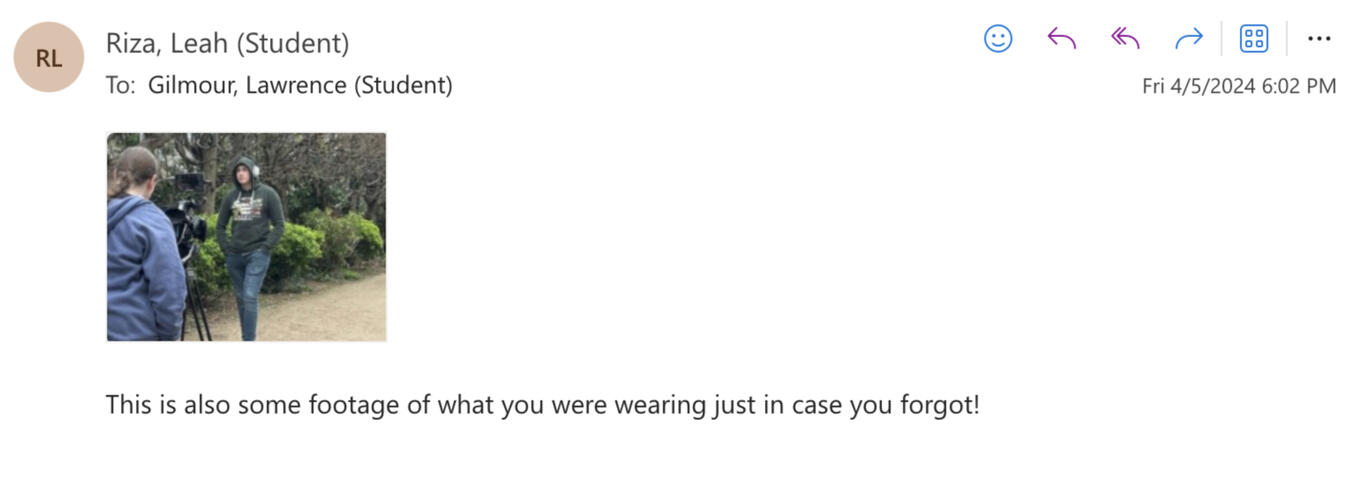
We had hoped to start at 10:00 and one of our actors managed to arrive on time meeting us at media services when we were collecting equipment to walk to the scene location together. The other was running late, and Leah had to message him to ensure he was going to come. This delayed us by an hour but during the delay we began to set up equipment. When setting up the camera we found the plate that allows the camera to slide onto the tripod was missing and therefore could not attach the camera to the tripod, meaning Leah had to take it back to media services to get the part.
We had also asked the actors to wear the same clothes; as wearing the same hoodie for two days could be seen as ok within the story but different amongst the same day was difficult to explain. One of them managed it the other was wearing a something different. We decided at this stage there was nothing we could do about it and would just have to work with what we had. In the future would ensure that the actors were reminded multiple times that they needed the same outfit or provided the outfit to be changed into before we go to set and changed out of at the end of the day.Despite the issues we were able to power through filming required scenes and was able to enjoy the process once we got started. We started with the scene of them walking to the bus stop, allowing both of them to settle into the role of their characters. We then moved onto the scene where Oliver runs into Felix knocking off his headphones.
The most difficult scene to film was Felix becoming overwhelmed and panicking after his headphones come off but Ewan and Lawrance did so well with the acting. We filmed this scene multiple times from different angles making sure to get close-ups of both characters to capture their expressions. This was the second scene that involved spoken audio and we had intended to use the lav mic to record it, however the wind muff was missing which drastically reduced the audio quality as it was a windy day. We decided to not go back to media services to get it sorted which would use more time and instead resolved this issue by holding the boom mic just out of frame but still close enough to get high quality recordings of the scene.
Behind the Scenes
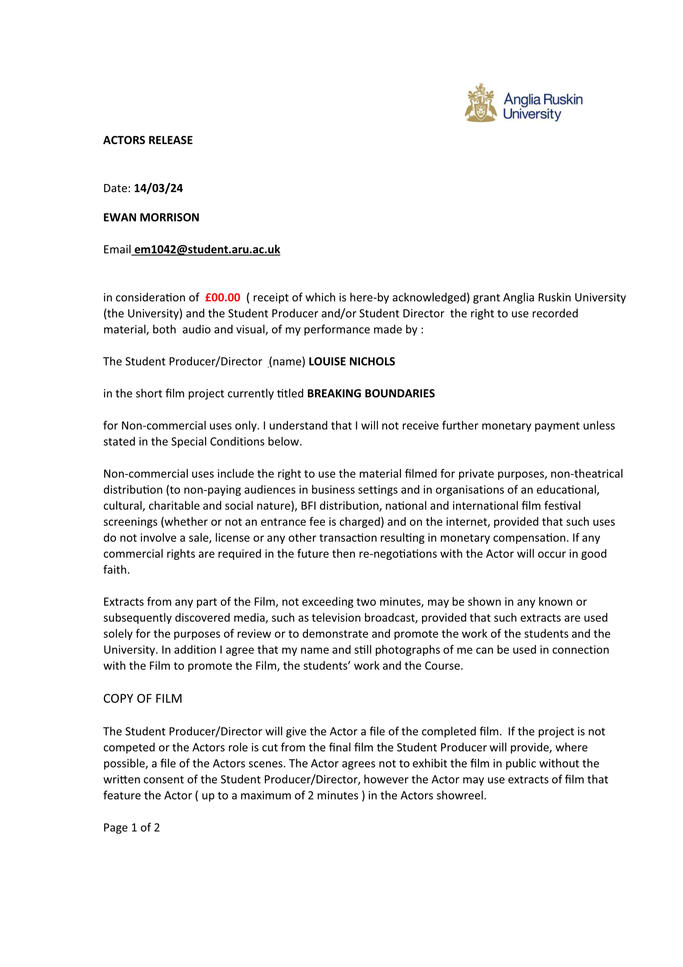
Actor Release Forms
When hiring people to work on a project that will be released to the public such as TV and film actors need to sign a release form, so they know what you are using their image for and how. Actors must give informed consent for you to use their image and likeness, but it also makes them aware of any obligations in the contract and/or what they can expect to be paid.As a student film working in house, we were not paying out actors, something we made very clear when getting the forms signed and both were fine with this agreement.
Post-Production
Due to having the most skills with Premiere Pro and After Effects, I chose to do the majority of the post-production. Furthermore, my teamates were dealing with some personal issue that made it difficult for them to work so close to the project deadline, but they still tried to put as much effort in as they could despite the circumstances.We had used my memory card throughout filming, so I made sure to back up all the footage to both a SSD and the cloud just in case, especially as we had lost so much time when it came to production to begin with. We for the most part used the cloud storage as we could all see it and Leah went through and named all the files and kept the folder organised.With me focusing on the main part of the post-production Leah and Sophia worked on the assets that are to be animated around Oliver and Felix. As both of them are familiar with illustration in Procreate this was playing to their strengths.
Rough Edit
I started out by pulling all the footage together in Premiere Pro to get a rough edit so we could visually see the basis of our film.
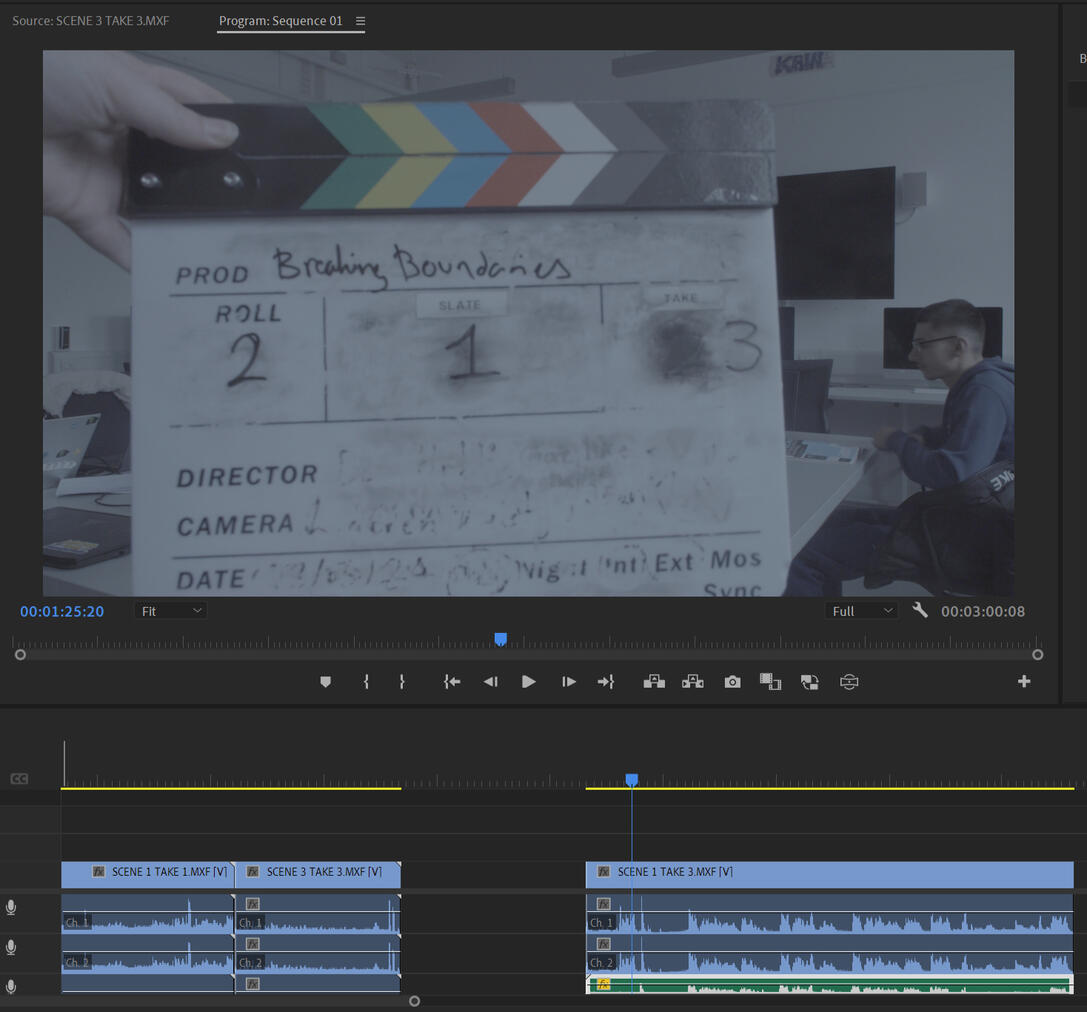
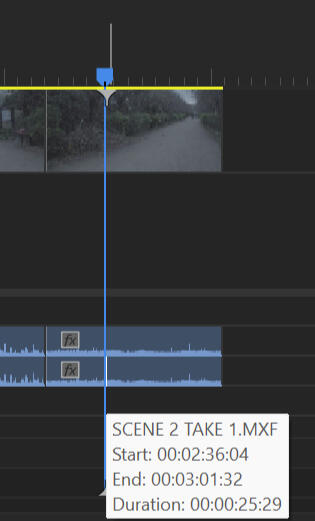
I quickly worked through removing all the bad takes and then began matching all the takes to the correct audio file and then aligning the snap in the audio, marked by the spike, to the clapper board in the footage. I would ensure I was zoomed in on the timeline to make sure the sound aligned perfectly on the right frame. I would then watch through the spoken parts to double check the audio matched as people speaking is an easy way to tell if audio is not aligned properly.
I then trimmed down the clips and used the razor tool cut out any sections within longer clips that were unusable. The shorter clips were also important to adding pacing and variation to the film as sitting on one shot would be boring and uninteresting.
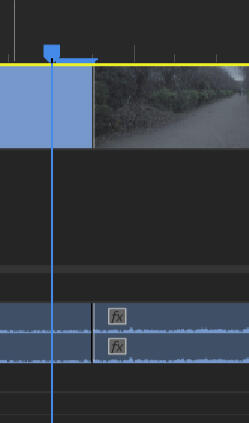
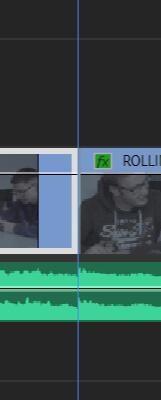
When putting clips together I made sure there were no empty frames left between the clips because this would create a black screen that even for a frame could be noticeable in the finished film.
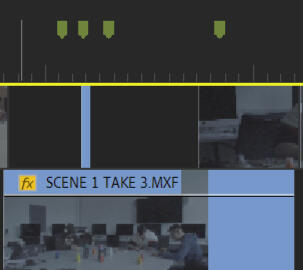
To help with aligning clip and to quickly see the layout of everything within the film I used markers. These markers sit above the timeline but allows clips and effects to snap to their locations. Because of this I used them to mark out the scenes ones I had pieced them together as well as the different acts. I also marked out where I we were missing short scenes where we are going to input animated segments.
At this stage, I shared the film with Leah and Sophia to get their feedback and then got feedback from other people as well. In this edit I had left the scenes in the same order as we had planned but this meant there was no incentive to get Felix and Oliver to interact again and become friends because there was no need for headphones to be returned.
Rough Edit 2
To resolve the narrative issue, we decided to switch around the two main scenes, having the scene where Felix panics be first and then the classroom scene where they are forced to work together. This meant the characters had to interact after the incident and created more tension within the classroom scene.
We much preferred this edit and feedback from this version assured us that the narrative made sense.
Music and Sound
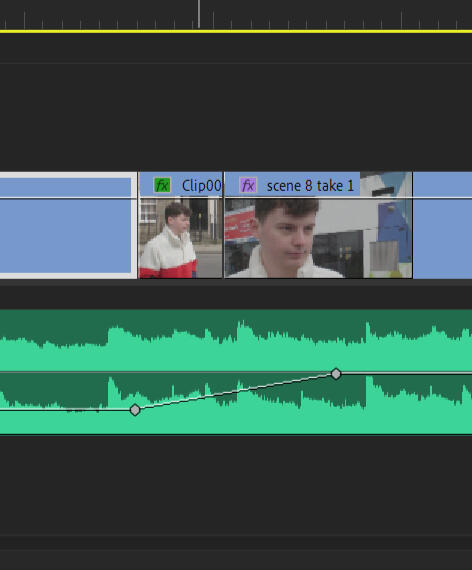
The next stage was doing the sound design. The music was important because it needed to be the only sound heard for the majority of the scenes and needed to match the emotions and tempo of the scene.I ended up adjusting the pacing of some of the scenes to make the cuts happen on the beat of the music. This greatly improved the pacing of the film and made the music feel like an important part of the film. I also used keyframing to fade the volume of the tracks at certain points to match the narrative or to lower the volume when there is dialogue so it can be heard clearly.We also decided that some sound effects would add to the narrative. We decided to add a high pitch ringing noise when focusing on Felix during the panic attack to show the sound is overwhelming him. We also added a school bell during the establishing shot of the building to signify they are in a classroom setting.
Colour Correction and Colour Grading
This was a very time-consuming part of the editing process. The camera had been set up differently on the two different filming days which meant the scenes from each day were coloured very differently to begin with. In future projects I will make sure that the camera is set up exactly the same throughout production using the same LOG profile. This meant I first had to make a pass of the all the clips to look the same, even the ones filmed on the same day needed to be corrected as they were filmed in different locations with different lighting.
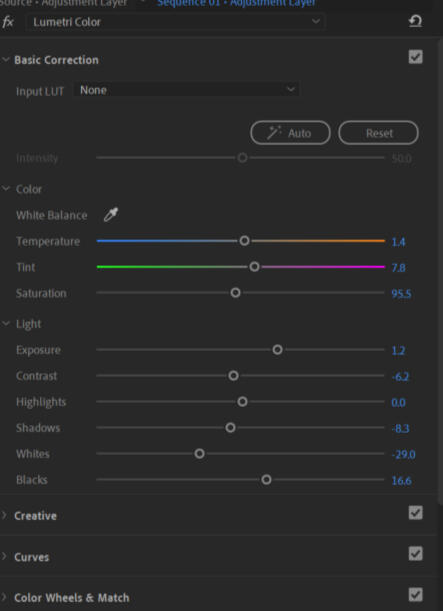
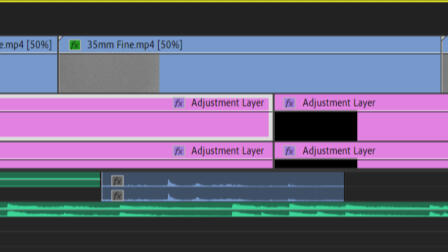
During this process I noticed that some of the clips were very grainy, this is just the unfortunate thing with using the Sony FS5 especially when using it with little experience. We had to use these clips so instead of trying to work around it or correct it, decided to embrace it and add more grain to the entire film. I watched a tutorial on how to make footage look like an A24 film which is a studio that makes its films look as though they are filmed on traditional 35mm film which was a look I was going for with the grain and the softer feel to our film. I used an adjustment layer to start the colour grading giving everything a warmer tone to represent the tone of the film. I also used the field fade and added some desaturation which we felt really reflected the tone of the film.
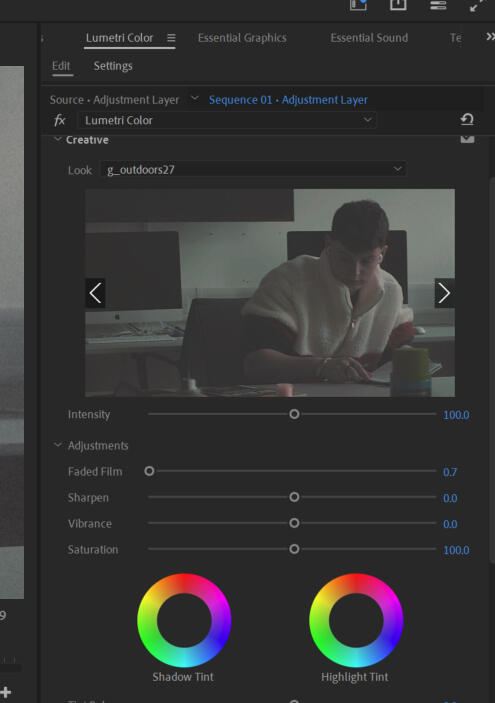
I used a LUT to create the main look for the film adding it to an adjustment layer above the clips allowing it to be adjusted independently to the footage itself. Despite the colour correction the LUT did react slightly different to the different clips, so I went back through and made some slight adjustments where necessary.
Animation
To keep the asset stylisation consistent, Leah designed the assets for Oliver, whilst Sophia did the ones for Felix. We had already decided on the colour schemes together to produce to look and feel we wanted for the production. The assets were drawn in Procreate with a pencil brush to create a soft hand drawn feel to the assets keeping with the aesthetic of the film.
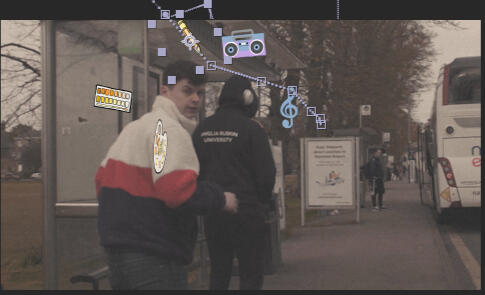
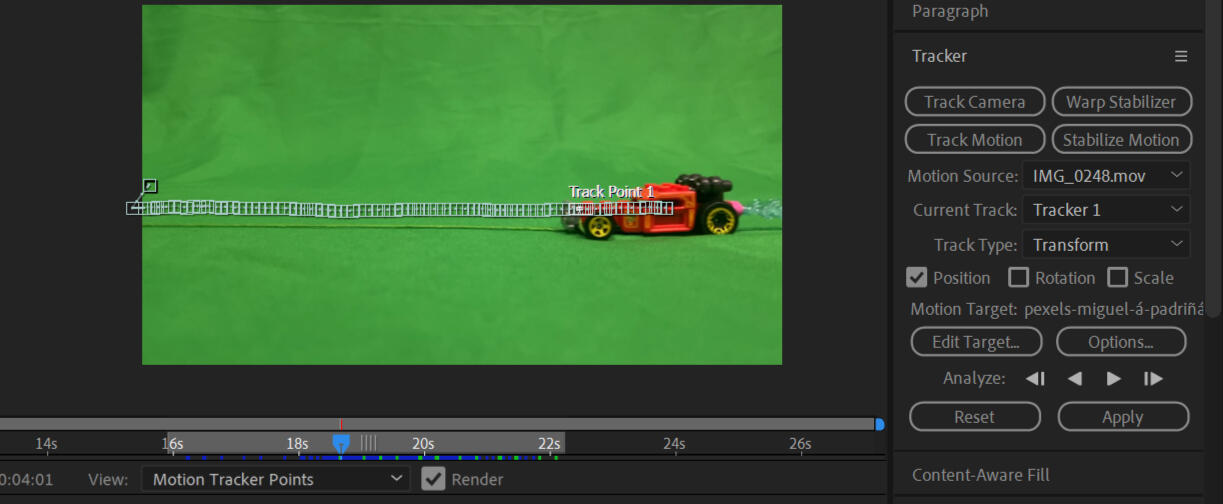
I then began animating these on top of the film in After Effects. I tried to use the tracking tool to automatically have the assets track to part of the actors however this was not very effective or efficient, especially as the objects needed to be masked as certain points, so I ended up keyframing them by hand. I used masks when one of the characters went in front of an animated asset, but it was a very rough job, and I would have preferred to have been able to improve this, but time limits made it not possible.
I then began animating these on top As the animation needed to go under the grain overlay to blend in with the final film, I had to export them out of After Effects and import them into Premiere pro. This was another thing that ate away at time because it could take up to half an hr to render out longer sequences which was time that couldn’t be put into animating.
Poster
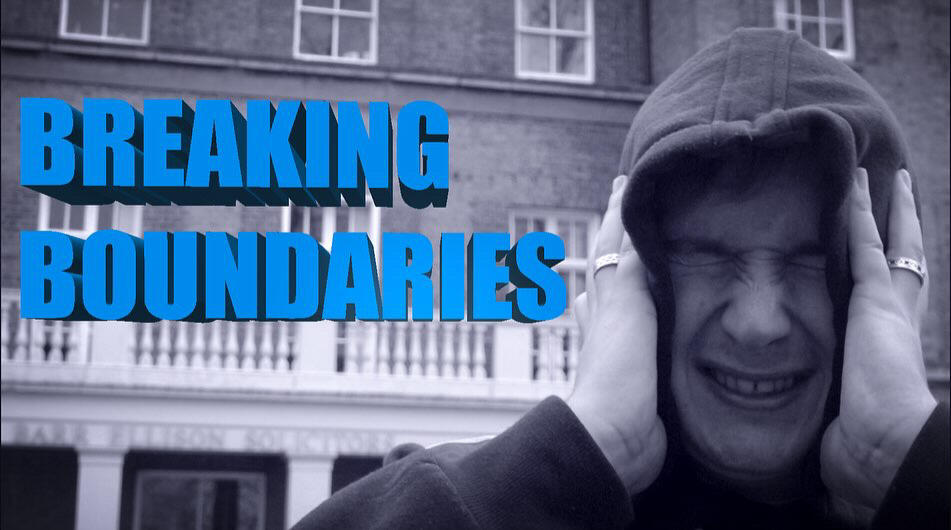
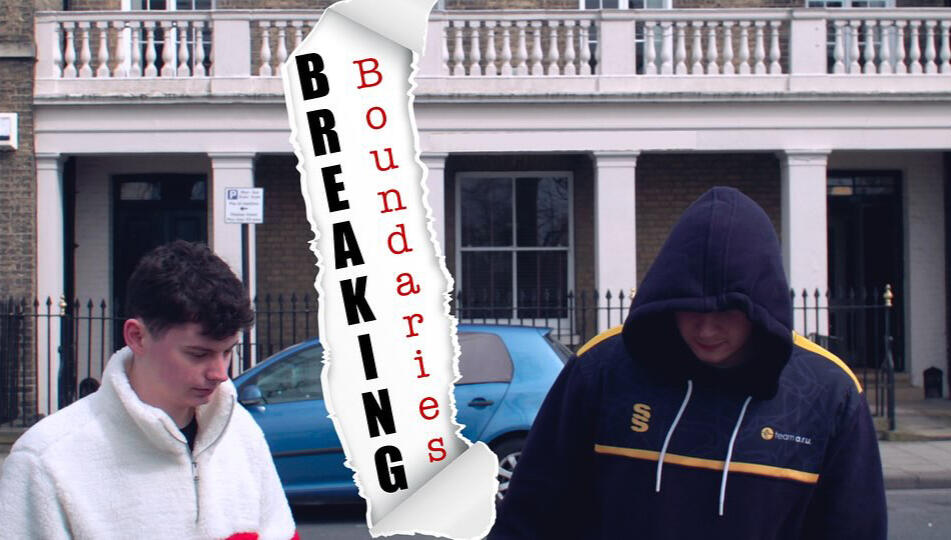
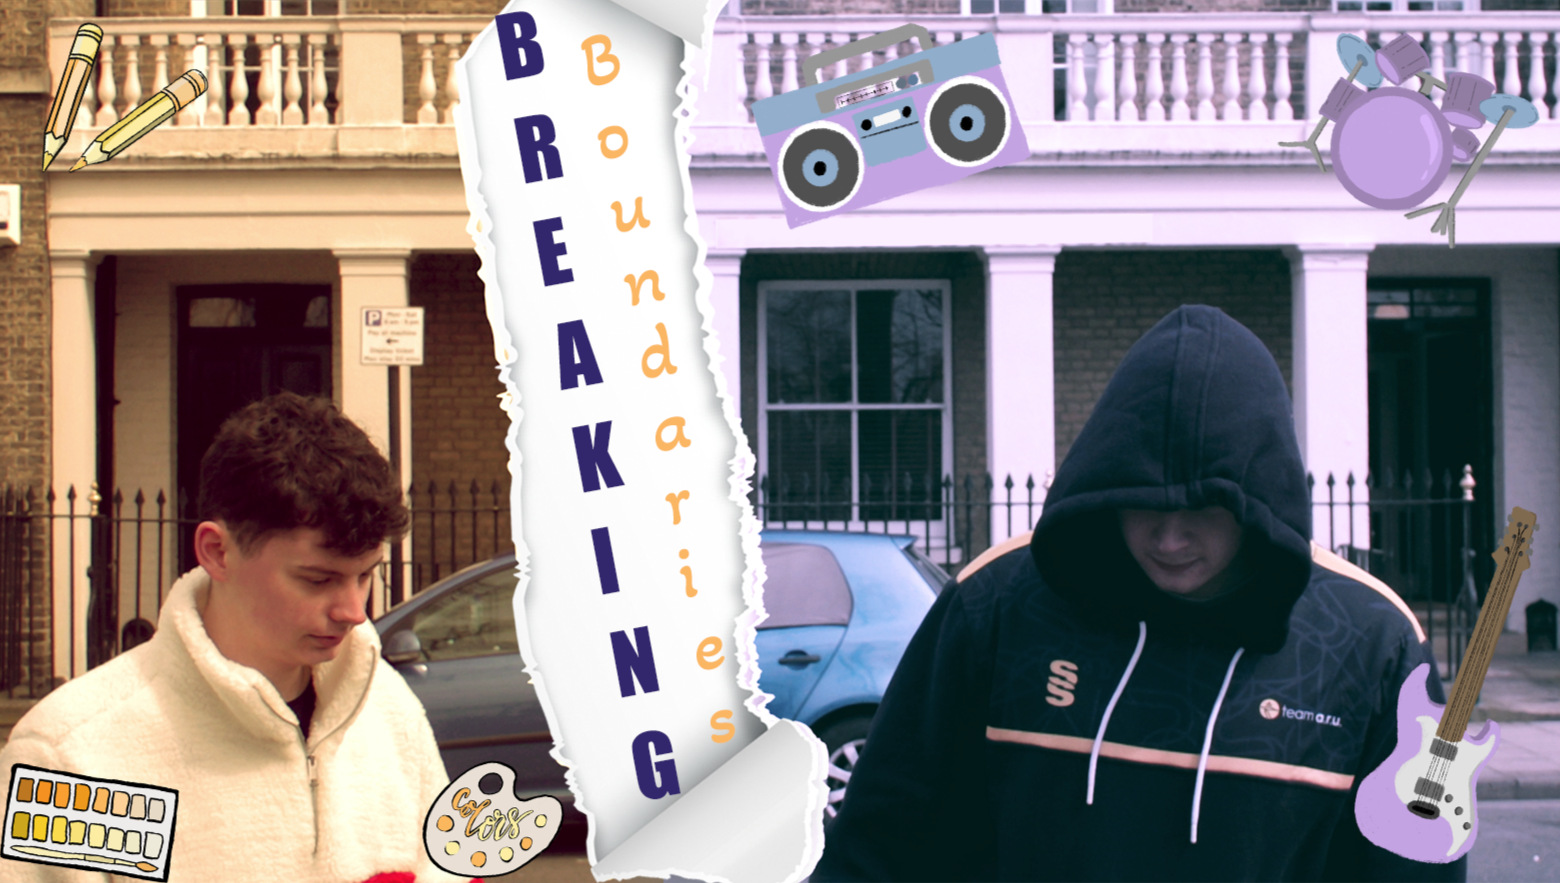
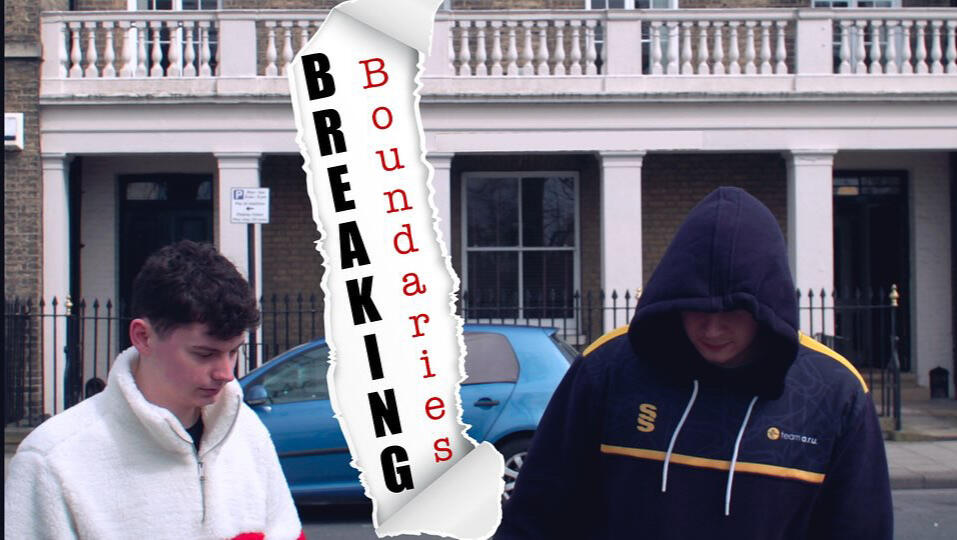
We created posters that could be used to promote out film and give viewers an insight into what our film is about. It could then also be used as the opening titles or as inspiration for the title sequence. We had to initial ideas. The first seemed to fit the themes better, with the tear showing the separation between the two characters which is design we carried forward into the final design.
Title Sequence and Credits
Sophia worked on the credits sequence using behind the scenes photos and a small illustration to make the sequence in After Effects. As our film is about anxiety and sensory issues, we decided to include the website and numbers of places people can get help from if they feel affected by the issues the characters face. The credits sequence uses the same typefaces as the poster (Impact and AkayaKanadaka) to keep everything consistent.We used the poster as the opening credits because it worked well as an introduction to the film but decided on the one before the assets were added to make it less busy.
Breaking Boundaries Short Film
Version with no animations:
Reflection
Despite all the problems we faced throughout production I am happy with how the film we were able to produce, even with all the changes that were made throughout production. I would have preferred to have been able to spend more time in post-production and have been able to focus on the animation effects more that would have really brough our narrative to life. However, we ended up finishing production 3 weeks behind schedule cutting into our post-production time.We had planned to have the animations visually represent how the characters are in their own bubble to begin with and then transition into how they are interacting and getting to know each other but we were very limited on editing time that this proved difficult. It was a struggle to get the film to a level we were happy with to even count as finished. As a result, we also have a version of the film that includes none of the animations as despite our intentions being to have animations; this version has a more polished feel to it. It would have also been nice to learn how to create a page tear effect in After Effects to animate the poster tearing rather than just a static image to be the opening titles something I now plan to do in the future.I learnt a lot throughout this project because it was my first time filming live action footage. I had done photography before, so I had a good understanding of exposure and composition but working with the Sony FS5 camera and having to direct scenes was all new experiences. This was also my first time working on a short film and I learnt a lot about the overall production process. Even with the issues we faced with this project I would be willing to be part of another film project. But I would definitely avoid director or producer roles as I am not a very outspoken and did not like having the responsibility of calling shots and generally being in charge. I would like to give being behind the scenes on set another attempt, but I have found my strengths are within post-production.
Experimentation
Tr1 Wk1 - Storytelling
Storytelling is an important part of being a human being. It has been an important part of both learning and entertainment throughout human history. Storytelling allows for someone to share what is in their mind as “through character, plot and setting, a writer creates places where previously invisible truths become visible” (Douglas Coupland) for others to experience it too. Since the development of digital technology, storytelling has been able to expand beyond linear narratives whilst still providing an interesting and enjoyable experience for the audience. By creating branching narratives, an audience can interact with the story and have a more personalised experience, making them more engaged in the narrative.Games such as Detroit: Become Human use branching narratives to make the story of the game impact the player more, because if they end up in a negative branch of the narrative, they know they chose to the path to get there. Unlike linear progression, there are consequences to a player's choice. This interaction with the story can also increase an audience's immersion into the story, as they become part of it, embraces by the world created by the narrative. As they are no longer a mere by stander, “plunge into the matter” (Arets, 2017, P.71) and the story impacts their perspectives and has a greater effect on them.
Tr1 Wk2 - Immersive Technology
Technology has come a long way in recent years and the ability to create immersive experiences has become for more accessible to both creators and consumers. Being able to code is “an extension of writing, enabling you to “write” new types of things – interactive stories, games, animations and simulations.” (Murray, 2016, p.49). It allows storytellers to have access to more tools than just words and traditional illustrations. By combining storytelling with immersive technology, we can expand on traditional writing and storytelling by bringing these stories to life, creating unique experiences and grant access to fictional worlds.Technology plays a large role in bringing to life fictional worlds. If a place exists you could take people there in person, it might be difficult but it's possible. When it comes to fictional worlds you are unable to do that and instead need other methods to transport the audience there. A fantasy write can write a narrative for people to read, but with the use of immersive technology they can transport their audience into the narrative.
Tr1 Wk3 - Importance of Place
Setting is an important part of a story as it gives location to what is happening and often provides direction, context or even conflicts withing the narrative. A good setting can bring a story to life which makes it very important when it comes to immersive storytelling. By immersing someone into the location of a story it can make them feel more involved in the story and understand the concepts better whilst keeping them engaged. This type of storytelling can be incredibly important when it comes to wanting to make an audience feel a certain way or make them understand a life they’ve never experienced.In 2015, Amnesty International transported viewers to the war-stricken streets of Aleppo, Syria using VR. Because the viewers we able to see what the place was like, rather than just hear the stories of people, they were able to empathise more and understand what was going on in more detail which led to an increase in donations. Other methods of bringing a world to life is the way themed areas are created within theme parks. Theme parks, the most obvious being Disney, construct replicas of the worlds from the story they are trying to tell and then implement technology to bring it to life with lights, sounds and smell. This puts the guests in the world of the story, they become a part of the narrative and experience everything with the characters, often they are even recruited as the characters. This immersion into the location has a large impact on how memorable the narrative is by providing subtly bits of context and direction whilst bringing the story to life.
Experimentation
Twine
I found twine rather limiting in what I was able to do based on my limiting coding experience which made it difficult to get the program to do what I wanted.However, as a planning tool for a branching narrative it is especially useful. I was able to plan out the journey and easily see the different routes a user could take. This made for an efficient way to plan a narrative that had multiple options and even had users being able to loop the narrative.
I was able to get sounds playing and adjust their volume to best fit the narrative. But I kept running into problems when it came to images. I wanted to use my own images so hosted them on the cloud making sure anyone with a link had access to them but despite matching the formatting in Twine correctly I could not seem to get it to show up when I tested the narrative.

For one part of the narrative, I wanted the player to take a random path where they didn’t get to decide on how the journey continued. With help from a tutorial and my knowledge of coding in python I was able to get this feature working. This addition helps the narrative feel a bit more intense as the user doesn’t know what path they have taken till it is too late.As I was struggling with Twine, I decided not to fully complete this narrative, giving only one main path through the journey. In the future I will likely use this as a planning tool for the initial stages of creating a narrative but won’t use it for a full immersive branching narrative.
Eko
I found Eko to be just as useful as twine but in different ways. Eko made it much easier to add video and images with the buttons being able to be placed on top. However, I struggled with the lack of custom-ability when it came to design on the buttons and other graphics.Despite being a useless feature, I do find it funny that you can add buttons that do absolutely nothing, as it gives the users a sense of choice that they do not actually have. This could be used to guide users through a narrative to the correct path or it could be used to annoy them, depends on the purpose of the story.I used Eko to guide a user through solving a Rubiks Cube, whilst giving them the option to throw the cube in frustration at every step. Even though I am new to Eko I found creating the footage in blender the most difficult part of creating this project as Eko has an intuitive layout that made it simple to figure out. I also feel like Eko could have some basic video editing tools so you can import one long video and then trim it to the part you want in each node. This would be very useful when you need to speed up a section because the narrative is off beat without having to go re-edit the video in a different program.To improve this particular project, I was go back and refine my video editing to make sure it all flows smoothly. I would also make a unique explosion for after each turn as well as possible different routes to solve the cube; options I didn’t do here due to time constraints.
Eko allows you to add presets for layouts of the buttons and timers on the screen. By using these it streamlined the process of creating my project as I didn’t have to manually align all the buttons to be in the same place.As working with Eko was a good experience and I was able to achieve the outcomes I wanted (except improve button graphics) I plan to work with it again in the future. However, as it is not perfect and is still rather limiting on what you can do so if another piece of software that better suited my needs was to arise, I would easily make the switch.
360 Video
360 video is harder to get started with has it requires expensive equipment along with the addition of learning to edit 360 videos. However, creating the videos is rather fun and can create some interesting results.With this particular 360 video experiment, I was not interested in being able to move around and look at the location from all angles. Instead, I was interested in the different perspectives being distorted from being filmed in 360.As I was not doing any major editing, I used the Insta350 editor software on my pc to kep the field of view always pointing at the ceiling. However, Premier Pro and After Effects are also good tools for editing 360 videos.
This video was filmed along a hallway with lots of exposed cabling and hanging lights. The distortion created by zooming out and stretching the video flat is really interesting to look at. I think experimenting with this in different locations would produce some fascinating results.I think a good use of 360 video in immersive storytelling would be to create an adventure style interactive story where the audience is having to solve puzzles by look around the environment to gather clues and learn about the world. I did not really enjoy working with 360 video and would unlikely choose to work with it again unless there was a specific scenario in which it would be the most effective format.
Narrative in Eko
As I enjoyed creating in Eko I decided to create another small project in the software, this time following a simple narrative of a frog trying to reach a pond.I used Procreate to create short gif like animations in a simple style for each stage of the narrative. I then used Premiere Pro to duplicate the clip into a video long enough to work in Eko.One of the trickier parts of creating this narrative was balancing the length of time spent at each part. I needed to give enough time for users to comfortably read the text and decide on how they wanted to proceed without leaving it too long that they are sat waiting for the narrative to move on.
Examples of Immersive Storytelling
Disney Parks
Imagineers take immersive storytelling to a whole new level by creating engaging experiences for guests that immerse them in a magical world using all the senses.They bring a theme to life curating a space where guests are transported to a different world; away from reality. They carefully build rides where the moment you enter the queue, everything you see, hear, smell or even touch tell the story of the ride. Sound and smell are used across the parks to immerse guests in a way no other theme park does; going the extra mile to ensure the music is at the perfect ambient level using complex systems and that the area smells like you are really there. The parks also use other techniques to keep the reality of the outside world effecting the park. By painting building they don’t want seen in “go away green” and “bye bye blue” they seemingly become invisible to people unless they pay close attention.The Disney experience is centred around the guest. The hard work of keeping a park running goes on behind the scenes in a complex set of tunnels and characters are trained to make every guest feel special. This is effective because it increases the magic for guests making them more immersed in their experiences of Disney World. When it comes to immersive experiences, unless it narrative requires you to be an onlooker for a time, the narrative should around audience, to put them in a bubble as though it is really happening.By combining these techniques Disney is able to build a magical and immersive expereince for guests from the moment that enter to when they leave.
Ideas
Rubik's Cube changes the world like disney infinity toy box
Switch between 2 cities
Forest adventure between a frog and a mushroom
The New Canterbury Tales
What is the New Canterbury?
New Canterbury is a fictional city set in 2070 built where the Scottish town of Golspie currently is.The New Canterbury Tales project is a collaborative immersive storytelling project imagining what it is like to live in future cities where new technologies has changed the way we live.
What is the goal for this project?
For this project I need to create an artefact that explores life in 2070 in New Canterbury. The outcome needs to be an immersive experience telling a story of someone in New Canterbury or something happening in New Canterbury in 2070.
Idea Generation
A set of flash cards teaching children old tech (AR?)
Card game (AR?)
A draw my life style documentary of someone living in 2070.
Study on architecture (Minecraft)
Equality in 2070 (ie. gender, lgbt, disabilities)
Food branding
A characters sketchbook
Combining & Refining Ideas
A journal/sketchbook of a teen/young adult artist. They are someone who doesn't want to fully commit to the new tech, against AI as an artist. Their journal covers current events through notes, doodles and full drawings. It shows the architecture of the city, events and even issues such as equality and rights. Possibly drafts of letters to international friends, parts of homework and to-do lists.Create a bag of their supplies including their art supplies, music player and other trinkets. Could design food packing for snacks. Create paracord bands with wires and other tech parts.
Project Proposal
Concept
My project is an interactive book that is the journal & sketchbook of a young adult living in New Canterbury in 2070. The book will be like a time capsule of their life and the world they live in with AR giving the audience a chance to view the world in a 3D.The journal shows snippets of their daily life such as notes, shopping lists and schoolwork. However, this character is also an artist, so doodles, sketches and art pieces fill most of the pages, showing their home, places in New Canterbury and the world they wish they lived in. Scott Christian Sava’s travel journal is an excellent example of a sketchbook journal. This idea allows me to explore many different parts of New Canterbury in 2070, from daily life to architecture from the perspective of someone old enough to understand the world they live in but young enough to not be swayed by responsibilities or stuck in their ways. This allows for the audience to compare the characters life to theirs whether they are looking forward or looking back.This character isn't someone who is against all technology, but they do not agree with AI that takes creativity away from people. They feel AI should be used to make space for more people to have more time to create or used for fun rather than be used for big companies to not have to pay creatives. They are also slightly concerned on the dependency on such new technology.
Technologies
One of the key interactive technologies I plan to use to bring the character’s story to life is augmented reality. By using the AR, the audience can scan pages of the journal and bring it to life creating a more interactive experience. I would like to push myself to create some of the assets in 3D, so the AR allows the audience to explore them from various angles. AR works well with this project but also avoids the issues that come along with VR and by using smartphones gives the audience the opportunity to explore at their own pace. Furthermore, many people are familiar with AR from apps such as Pokémon Go.
Looking at the Future
Despite the earliest works of A.I art date back to the 1970s (Baker, 2023) it has only become more well known recently. Over the last year more people have been able to have access to programs that create A.I generated works and with this more controversy has been created, especially when human artists are having their worked used without permission to train the A.I. Using A.I to create pieces for fun or little experiments has moved into using it to make money or even replace human artists which threatens those who want to make a living career in the industry especially when creative writing jobs are being threatened to. This ever-growing use of A.I is expected to continue and therefore I feel like this would be an interesting topic to explore in a place set 50 years into the future where you would expect everyone to accepted the A.I as a part of the way they live, the same way people accept Siri or Alexa today.New technology is always emerging. From smart devices and computing to building materials and methods of farming. All these things change the way we live and the environment around us. Being able to explore this through the eyes of someone who is similar in age to myself and make comparisons to today would be a really interesting method.I also looked at EPCOT which is owned and operated by The Walt Disney Company. Disney parks are a prime example of immersive storytelling, but the Experimental Prototype Community of Tomorrow (EPCOT) was originally designed to be a self-contained city designed by Walt Disney himself.
Expanding the Story
I can also expand beyond the journal, designing other items the character would carry around with them, from practical items such as snacks (designing food packaging) or trinkets (jewellery made from materials they could have found such as electrical wire).However, to begin with I am going to focus on the journal to ensure I remain on target for the project deadline.
Next Steps
I am currently working on a character sheet to define who my character is, so I understand their personality, their goals, interests and any other information that could help build their journal. This will give my project a foundation and a set of eyes to view New Canterbury through.
Pitch Presentation
I created a presentation to present my idea to my peers so I could get feedback on my project idea and presentation skills.
Presentation Feedback
I did my presentation to one of my peers before presenting to the full class and got some feedback to help improve it and refine my idea as a whole.
Strongest part was use of examples that which helps people understand the concept.
Good uses of sources which again helps the audience.
Outline what I plan to use and why; for example, explain the purpose of the AR within the journal.
They like the idea of the journal feeling like a time capsule.
Pitch Presentation Version 2
Using the feedback from presenting my first project proposal I refined my idea a little and imporved my presentation.
Building the Story & Research
My Character & World Building
My character is a young person called Tori who is living in New Canterbury during 2070. They are an artist who prefers to do traditional art despite the general population believing people should no longer be “wasting their time” doing traditional artwork when there are faster ways. A.I has become such a large part of the way humans “create” that the situation is reversed to today. A.I created art is the norm, the way artists should be working, and traditional art is the one considered not good enough. Digital art still sits in the middle, hated by some, loved by others.Tori isn’t against developing tech, the way it helps people, but they feel it should be used to give more time for human creativity rather than replace human creativity. They also fear the lack of research and testing done on all this new technology despite how much the city depends on it.New Canterbury isn’t like the rest of the country, only some cities operate like New Canterbury. New Canterbury has become self-contained, people rarely coming and going with little interaction with most of the outside world, including imports and exports. This self-sufficiency means that when there is an issue with infrastructure, there is a great risk to the city’s wellbeing. This in turn raises the tension in the city with conflict already breaking out over how much water the urban farms use. However, being so self-contained had means that everyone has had to follow the path set by the city; the move to everything being digital, the reliance on new untested tech and the constant overbearing presence of A.I. Because of this, it has become increasingly difficult to go against the ways set, making Tori want to fight it more.Because of this Tori prefers to keep an art journal, despite the fact that they have to keep it hidden both because it being physical art and because of its content. It is however difficult to get their hands on traditional art supplies. No where sells them, nowhere wants to sell them so Tori relies on a small community of associates to get them from elsewhere.
No A.I
Throughout this project I am not going to use any A.I, even for things like research or concept art. This is because I feel doing so would go against the spirit of my character; and therefore, making the journal feel a lot less authentic as theirs. Resisting the use of A.I and making a physical journal is similar to what Tori themselves would have to do, they would just being doing so in a mor extreme and risky way.
Art Journal Research
For my pitch I used artist Scott Christian Sava as an example of the style of journal I would like to create. His journal is an art travel journal of all the places he gets to visit, capturing snippets of places and moments. This mix of art and journalling is something I really like and am inspired by for this project.
Development
Developing the Journal - First Stages
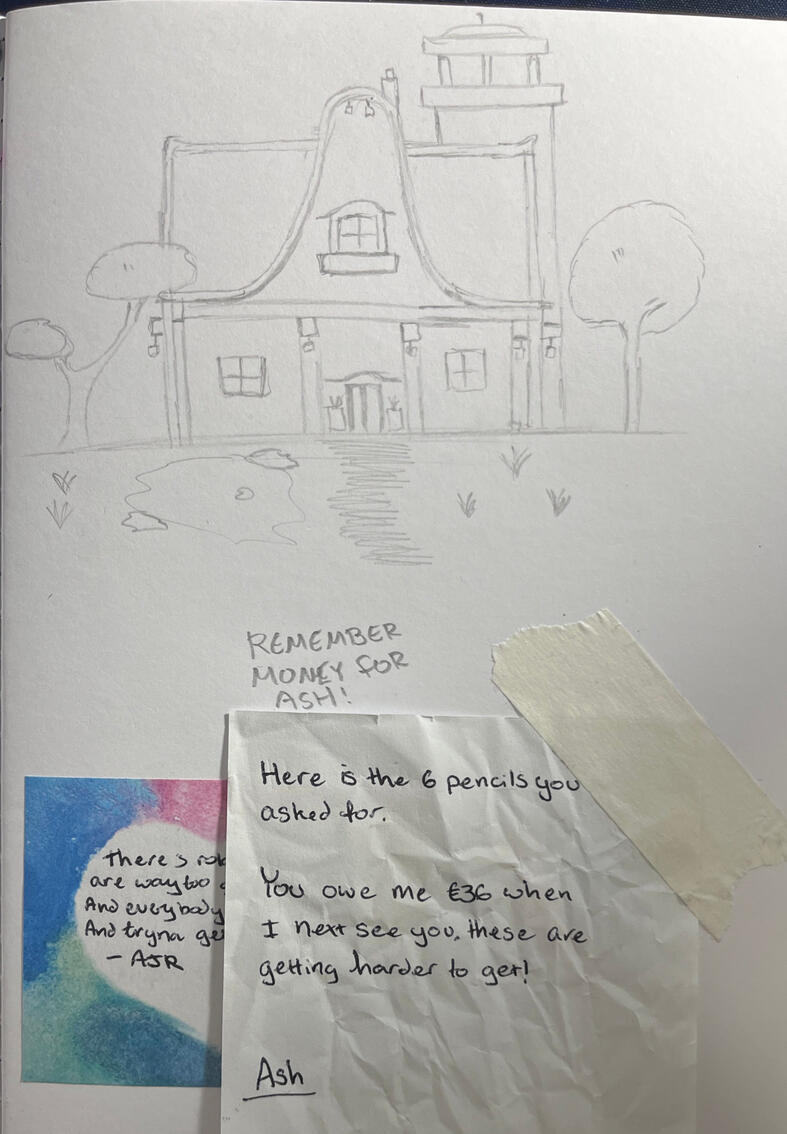
I started by doing some sketches and notes as my character, Tori, in a spread in the sketchbook thinking about what they would write and draw.
AR Software Research
Finding AR software that is free to use or I have access to is actually rather difficult which resulted in me having two options that I was able to experiment with. These are Adobe Aero and Artvive, each having their own strengths and weaknesses.Both pieces of software require the audiences to have a smart device with a camera and good connection to the internet, two issues that would be impossible to not have as they need a way to scan the artwork and retrieve the AR experience from the servers.Adobe Aero is part of Adobe Creative cloud which means as a student I have access to the software. I had also experimented with Aero before in my own time meaning I already knew the basics. Aero does require the user to scan a QR code or click a link to access the work, but users do not need to install a full app or have an adobe account.
The free version of Artvive only allowed videos to be shown when the artwork is scanned, it also had a limit on how many times it would allow the piece to be shown on a device before you had to pay. Users are required to download an app, but this does mean that users can just scan the artwork instead of needing a QR code or link to view the work.
Exporting Builds into 3D & Making AR Piece
I built the two building in Minecraft because it is something I familiar with and to keep the project on track time wise. Minecraft does now have a built-in way to export builds from worlds, but it keeps it as a Minecraft file that can only be used on the designated sharing platform and can’t be imported into 3D software or the AR software.Instead, I had to use a 3rd party mod called Mineways to export the builds to object files. This was far simpler, and I was able to easily check the models in Blender without any issues.Because Adobe Aero allowed 3D models, I decided to use Aero. I imported the model and imported an image of the sketchbook page for the model to anchor to. Immediately I ran in to an issue. To have the house anchor to the sketchbook, the user had to view it from above, this stops them from exploring the house because moving the camera too much makes the model disappear. I could have the model lock to any horizontal surface, allowing audiences to move around the model but this removes the link to the journal.
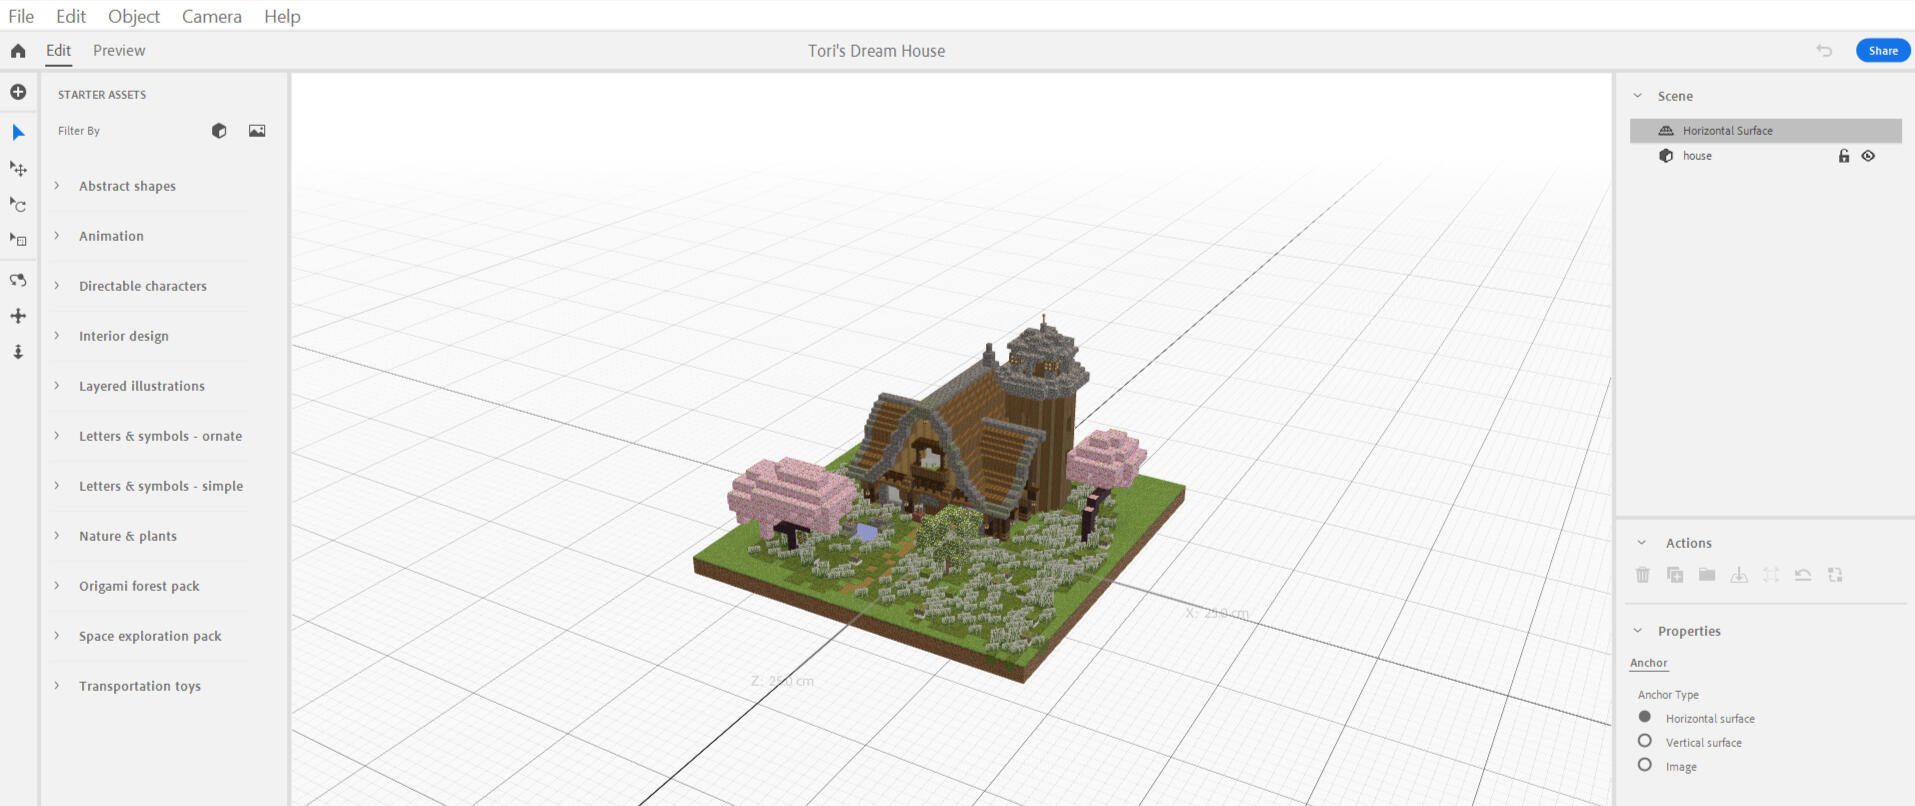
Changes since Initial Ideas
Since being able to move around and explore the model was going to work, I decided to change my idea slightly. The 3D models were meant to be the main part of the experience, so I needed a new thing to work in AR. I decided to have the sketchbook build to one final piece that clearly coneys Tori’s view on A.I. The final artwork could be hinted at as the journal progresses, with test sketches and thoughts. I then plan to remake the artwork digitally and pull it into layers to be used in AR.I decided to keep the Minecraft 3D models as part of the experience anyway just to add something extra to the journal. However, to allow them to be explored they align to any flat surface which is not what I initially wanted but it's better than not being included at all.
AR QR Codes & Artwork
I was unable to find a way to make the skethcbook interactive without the use of QR codes or links. When the project is complete I will be adding the QR codes into the sketchbook to make it useable without any external input.
Modern Architecture
Tori's Dream Home
Tori's Final Piece
Reflection & Improvments
I’m not exactly happy how this project turned out. If I had more time on this project, I would put more time into making the journal tell the story of the character and add more AR interactions throughout to bring it to life. I would have also liked to have the AR set up properly so the journal could be scanned, and the 3D models viewed attached to the journal to give a more immersive experience, but I have been limited by the software I have access to. I could also experiment with animations within the AR pieces. I also think the artwork could have been more high quality but that is completely dependent on my art skills which take a long time to develope.
Live Brief
Intro
For this brief we had the task of creating a Tik Tok video promoting the AHESS Faculty for open days at ARU in groups of people from all three of the year groups. The brief was left quite open, giving us full creative freedom over what we wanted to do, so long as it was appropriate for the university to post on their social media. However, ARU did not want it to feel corporate, it needed to feel as though it came from the students.
Initial Research
Before we created anything we did some research on current TikTok trends and what content other universities are using on their social media platforms. A key part of this was understanding what we were not ging to do by looking at other universities because their output felt very cooperate, over edited or just bad quality.I personally do not have TikTok and prefer to avoid it at all costs, making direct research far more difficult. However, I do have Instagram and access to Youtube shorts, and it is well known that most vertical short form content is uploaded to all three of these platforms.
One of which was people saying what they are followed by various stereotypes or things they do using the line “We are [...] of course we [...].”
Ethics
We had to consider if what we were doing was ethical and right to do. One of the main things to consider is informed consent, this means ensuring that anyone we film in aware of what we are using the footage for and are able to give proper consent. If we are filming in a public place, we are allowed to use that footage but should be considerate to ensure no one is identifiable using those videos. Furthermore, the content produced needs to be appropriate, respectful and not cause anyone any harm.
Copyright
As the university posting the videos will be considered a business or corporation, we must be careful about copyright when it comes to music or other assets we might use in our videos. Everything we use either needs to be copyright free for commercial use or the university needs to have a license to use it. This does, however, make it difficult to keep up with trends on TikTok because a large majority of them use copyrighted audio. As students we can use copyrighted material as its for educational purposes, but it then limits where I can be used elsewhere.
Initial Video
When we were first assigned our groups, we were given an hour to experiment and create a TikTok about ARU. This gave us the opportunity to get to know out team a bit better and get us into the flow of working together. We did some quick research and idea generation before going straight into filming and editing.For these videos we wanted to capture locations around ARU to show off the campus. So, we filmed various places such as the library, cafeteria and places within the school of art and edited them using CapCut into a travel vlog feeling video. We had various edits but narrowed it down to two that had the best flow with the clips. The good thing about this style of video is that it can be done with almost any kind of video, meaning it can be edited to audio free for commercial use and be used by ARU. To improve it though it would probably be best to focus on more locations around the Cambridge School of Art as that was the main focus in the brief.
This also allowed us to set up a WhatsApp group chat so we could continue to discuss the project and arrange to meet up outside of assigned class time.
Ideas
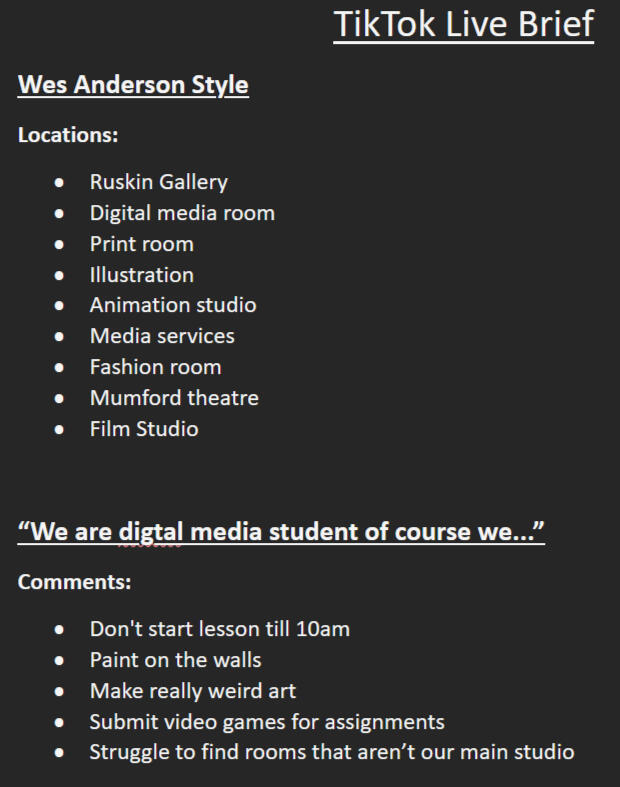
I set up a google doc for us to collect our ideas on, even though only some of the group used it. We also shared our ideas on the group chat, and we arranged a meeting in person to discuss ideas and production.
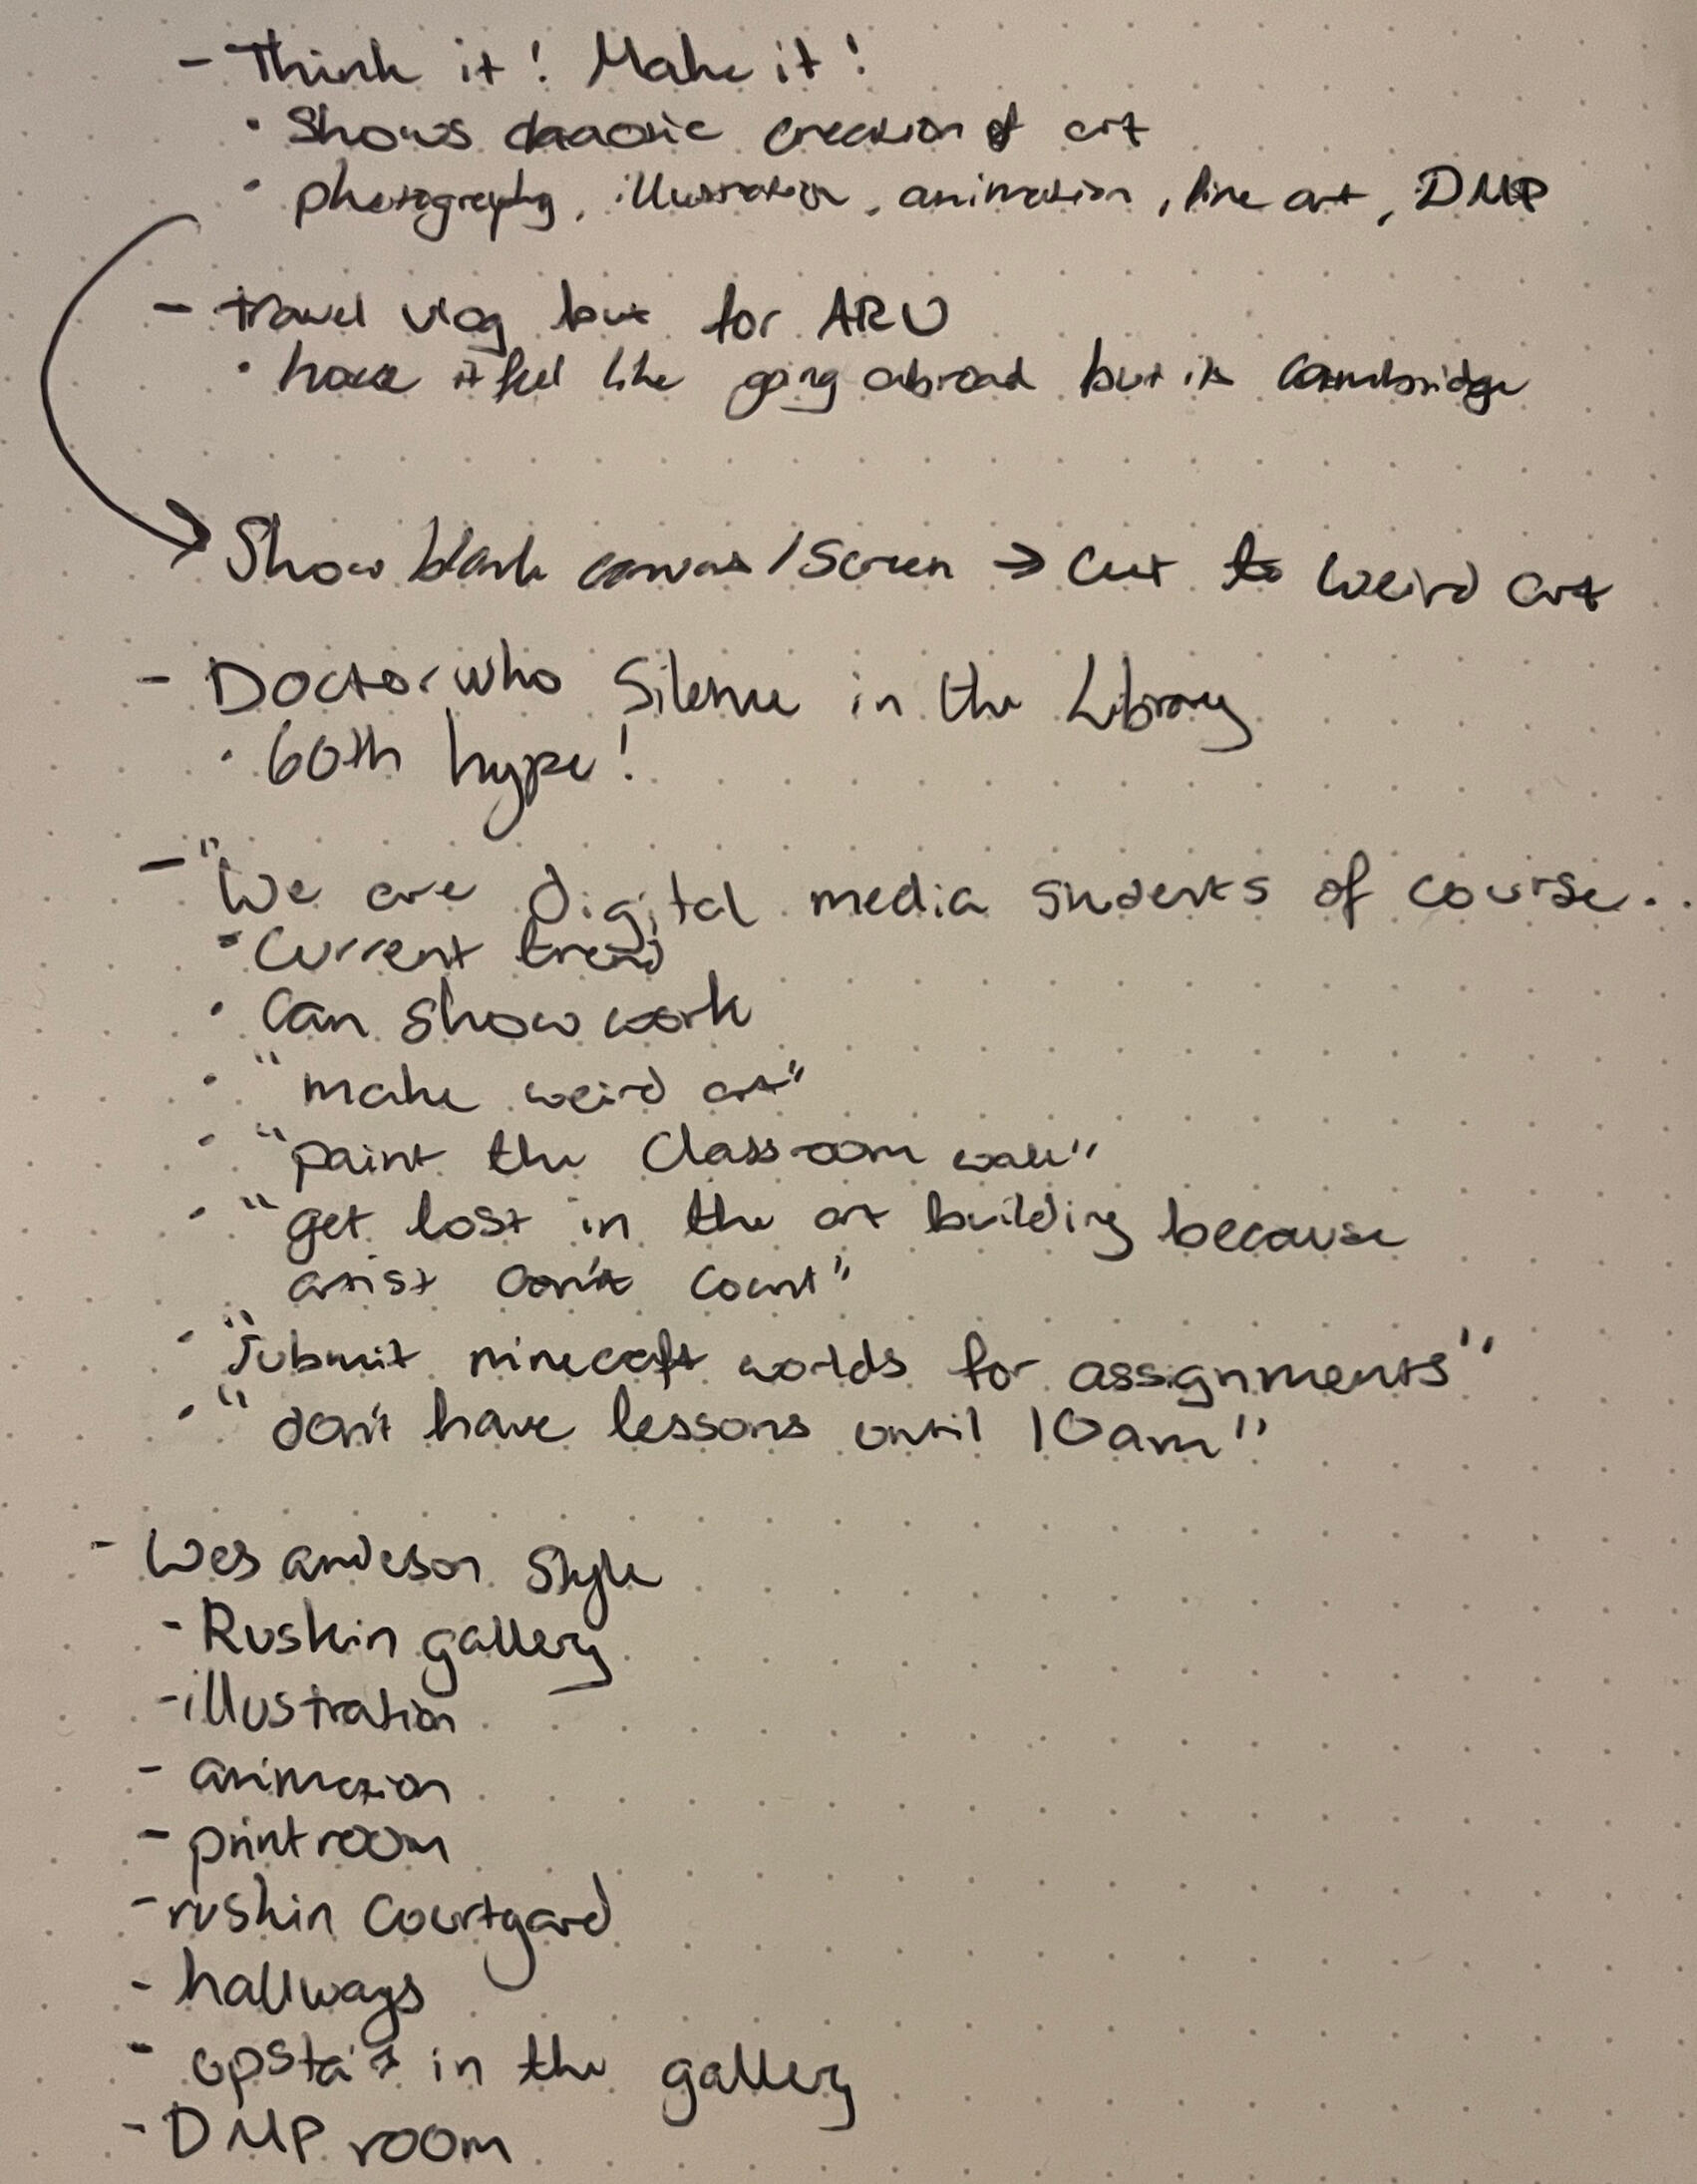
I also had a list myself where I took down any idea I had, and ones discussed in our in person meeting to add to the document later.
Production & Development
We narrowed down are ideas to two main ideas that we wanted to film and discussed the scripts and locations for each of them. We settled on two videos that follow trends; a Wes Anderson style video that has been popular for a while and one the uses the “We are [..] of course we [...] which is still gaining popularity.We arranged to meet up to start filming and met up in the uni to get the footage we needed. We started with the Wes Anderson video finding interesting locations around the Art School. As someone who does not like to be filmed, I focused on recording and directing. We made sure to get lots of different shots and location encase we wanted to make other videos and increase the chance of a high-quality edit.For the second shoot for the “We are [...] of course we [..]” I was unable to attend however my team did a great job in filming, sending over the footage and editing the videos. They were also able to film other clips to use.
My Edits
I had a go at editing the footage from the first shoot. We filmed a video down a corridor near fashion that had some mannequins in it which I found really funny, so I clipped it down and added some music and a caption. I did this video with 3 different captions.
We had then filmed a different angle of this same corridor with two members of the team stood in different locations between the mannequins. I edited the clips to cut in time with the music which worked really well, and I was actually proud of the editing. I couldn’t however think of a good caption to go along with it, and it didn't really work without one.
TikTok Effects House
Effects House is a program made by TikTok that allows people to make and share effects for TikTok. It uses visual coding and hierarchy to allow anyone to easily make interactive effects.I explored and experimented with this software and created an effect with what I found.
Final Outcomes
Tik Tok Effect
Tik Tok Videos
As I did not work on the editing for our final videos but also had experience with programs like blender, I created the TikTok effect made in Effects House.My original plan was to have the user to hold the ARU Heron, opening their palm to reveal the heron, like a pet. But Effects House is not advanced enough to recognise a hand opening, it can only track it. So instead, I created an effect where the herons dance around the outline of the user, who can dance around too.
Wes Anderson
An important part this style of video is the audio and the editing. The colour grading needs to match that of Wes Anderson films and the timings need to match up with the music. What I like about this one is the way we don’t have just the locations, having 1-2 people in each clip adds a sense of humour. The audio is however copyrighted which is an issue for the university to use it.
We are [...] of course we [...]_
This is my personal favourite cause it feels very student made and it shows the fun things about our course specifically. Because it talks about things often not talked about by the university themselves it feels far more authentic and truthful than things usually pt out by universitas making it far more appealing to prospective students. This video style can also be redone with all the different courses in the art school making it a good series for the university to use. However, I do feel that 1 of the comments (about turning up late) would be welcomed by the university. But this is an easy fix either with that one being simple to edit out or reshot with a different comment.
Freebies_
This video wasn’t one that was originally planned it was but was created alongside filming the “we are digital media students.” The concept was fun and fit the brief really well so we decided as a group it would be one of our final videos. As I didn’t edit this video, I am unsure if the audio is copyrighted or not, however, the music can be changed if needed to make it work for the university.
Immersive Storytelling References
Animating to Music
The Listening Project Part 2
Year 2
MOD007298
Project Overview
For this project we need to create a 2 to 4 minute animation to a piece of music that represents the piece and creates a meaningful story arc.
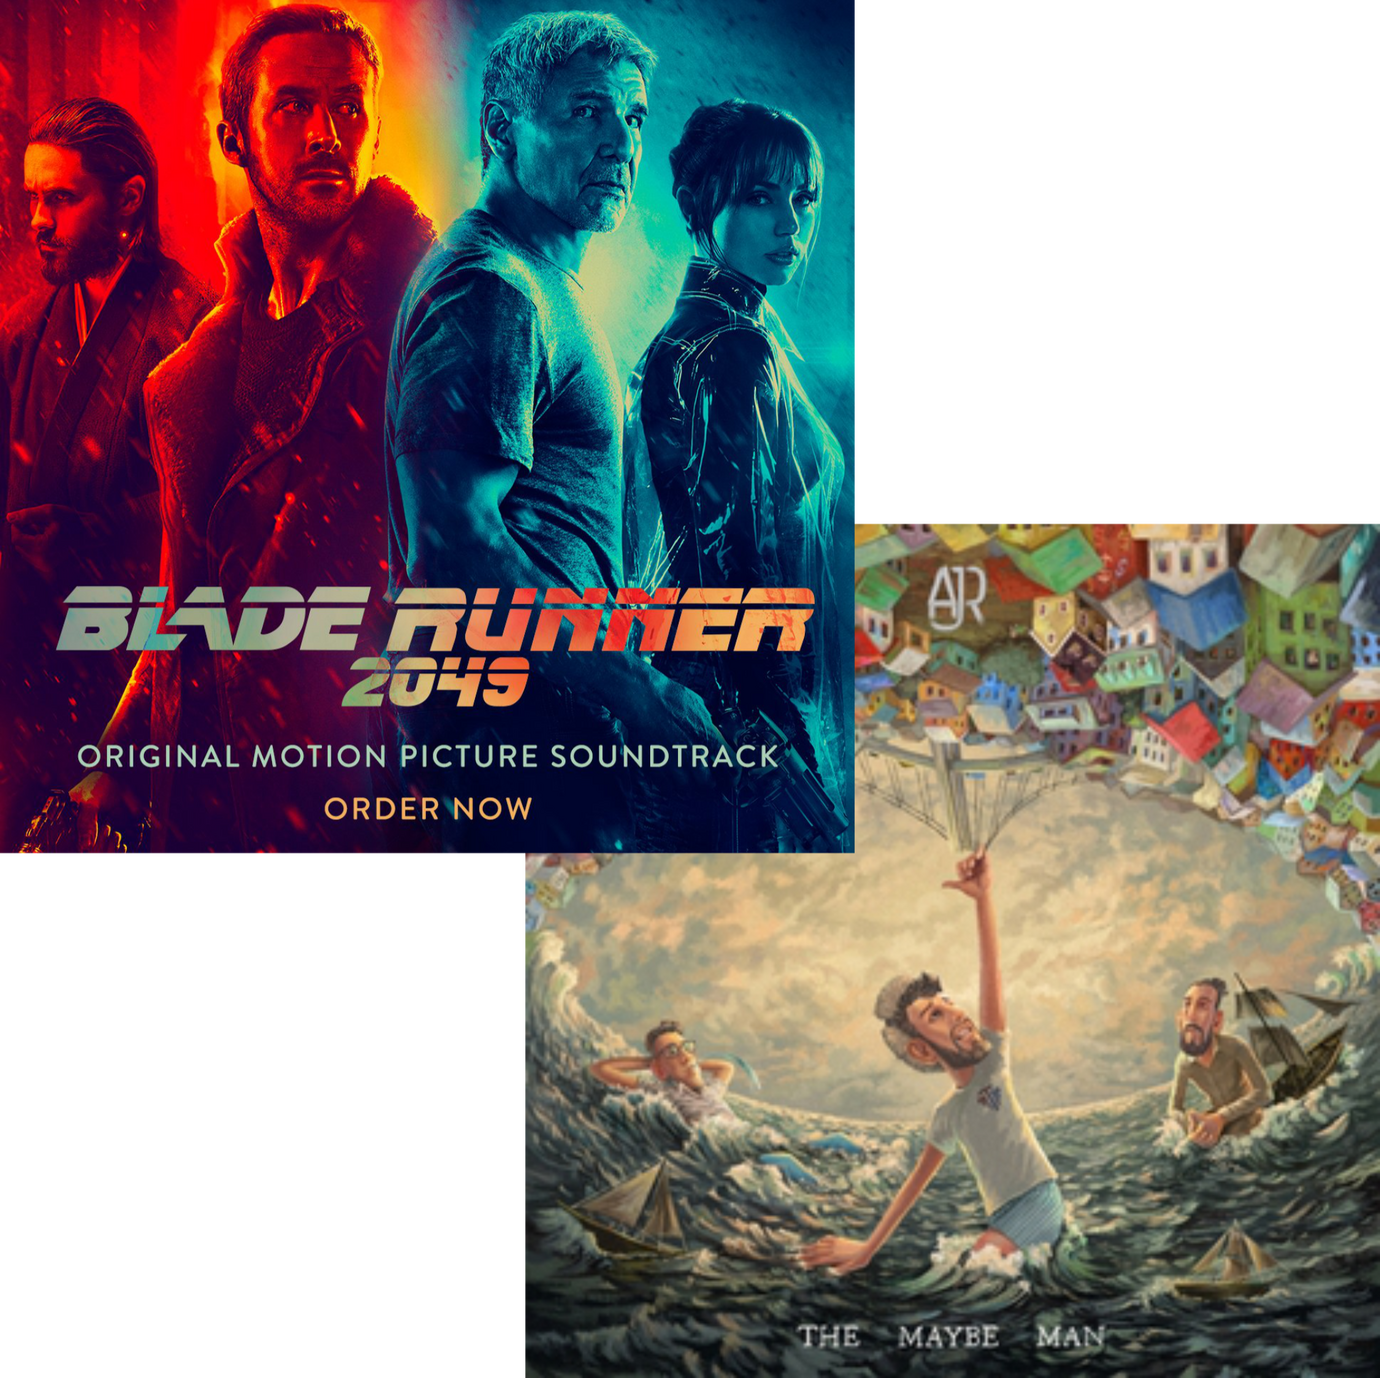
Choosing the Music
For this project we were given 20 music tracks to choose from which are from movie soundtracks. I narrowed this down to 6 that inspired me most, that I could imagine visuals to and noted some themes and ideas for each.
2049 - Blade Runner
Cold, distant, empty, vast emptiness of space, floating
Angel - Massive Attack
Stealth, mission, agents, undercover
Life - Lucy
Opening, build-up, dark
A Bird in New York - Lucy
Bright, bells, valleys and mountains, birds, forest and woods, sparkles, uplifting
Mesa - Blade Runner
Tension, dark, deep, growing/building, emotional, travel
2:10 - change of tone, big moments, crackles
First Step - Interstellar
Space, space travel, journey
I often imagine music videos and animations when I listen to music in addition to the usual visuals music and sounds have. I explored some of the music I listen to personally in the same way I had with the tracks above to explore how I usually form these ideas, visuals, and narratives to help with the development of this project.
Inertia - AJR
Motion, moving without going anywhere, upbeat, emotion, repetition.
Chaotic motion, puppets dancing, falling emotions, breaking.
Hole in the Bottom of my Brain - AJR
Childlike, nursery rhyme, marching, upbeat, dreams, strong rhythm.
Initial Ideas
I really wanted to Inertia by AJR because I have had a music video playing in my head constantly since the songs release.To note down all my initial ideas, I created a screenshot of the lyric and used Procreate to write on top of it. This was a quick and effective way of putting my ideas alongside where I felt they go in the music. The main theme is trying to make progress but being stuck and going nowhere.I then started to refine my ideas, but I decided this was following the lyrics to much and not pulling too much on abstract ideas. So, I decided to combine one of the tracks we were given and Inertia. One of my other main themes from going through the original tracks was space lost in space which I really liked but I didn’t know how to expand the idea into a full narrative. However, I could combine this lost in space idea with the theme of not making a progress in life and feeling lost to making one full narrative.
Mind Map
I created a mind map expanding on my initial ideas and beginning to think more on how I intend to achieve my visions and the techniques I could use rather than the story and theme.
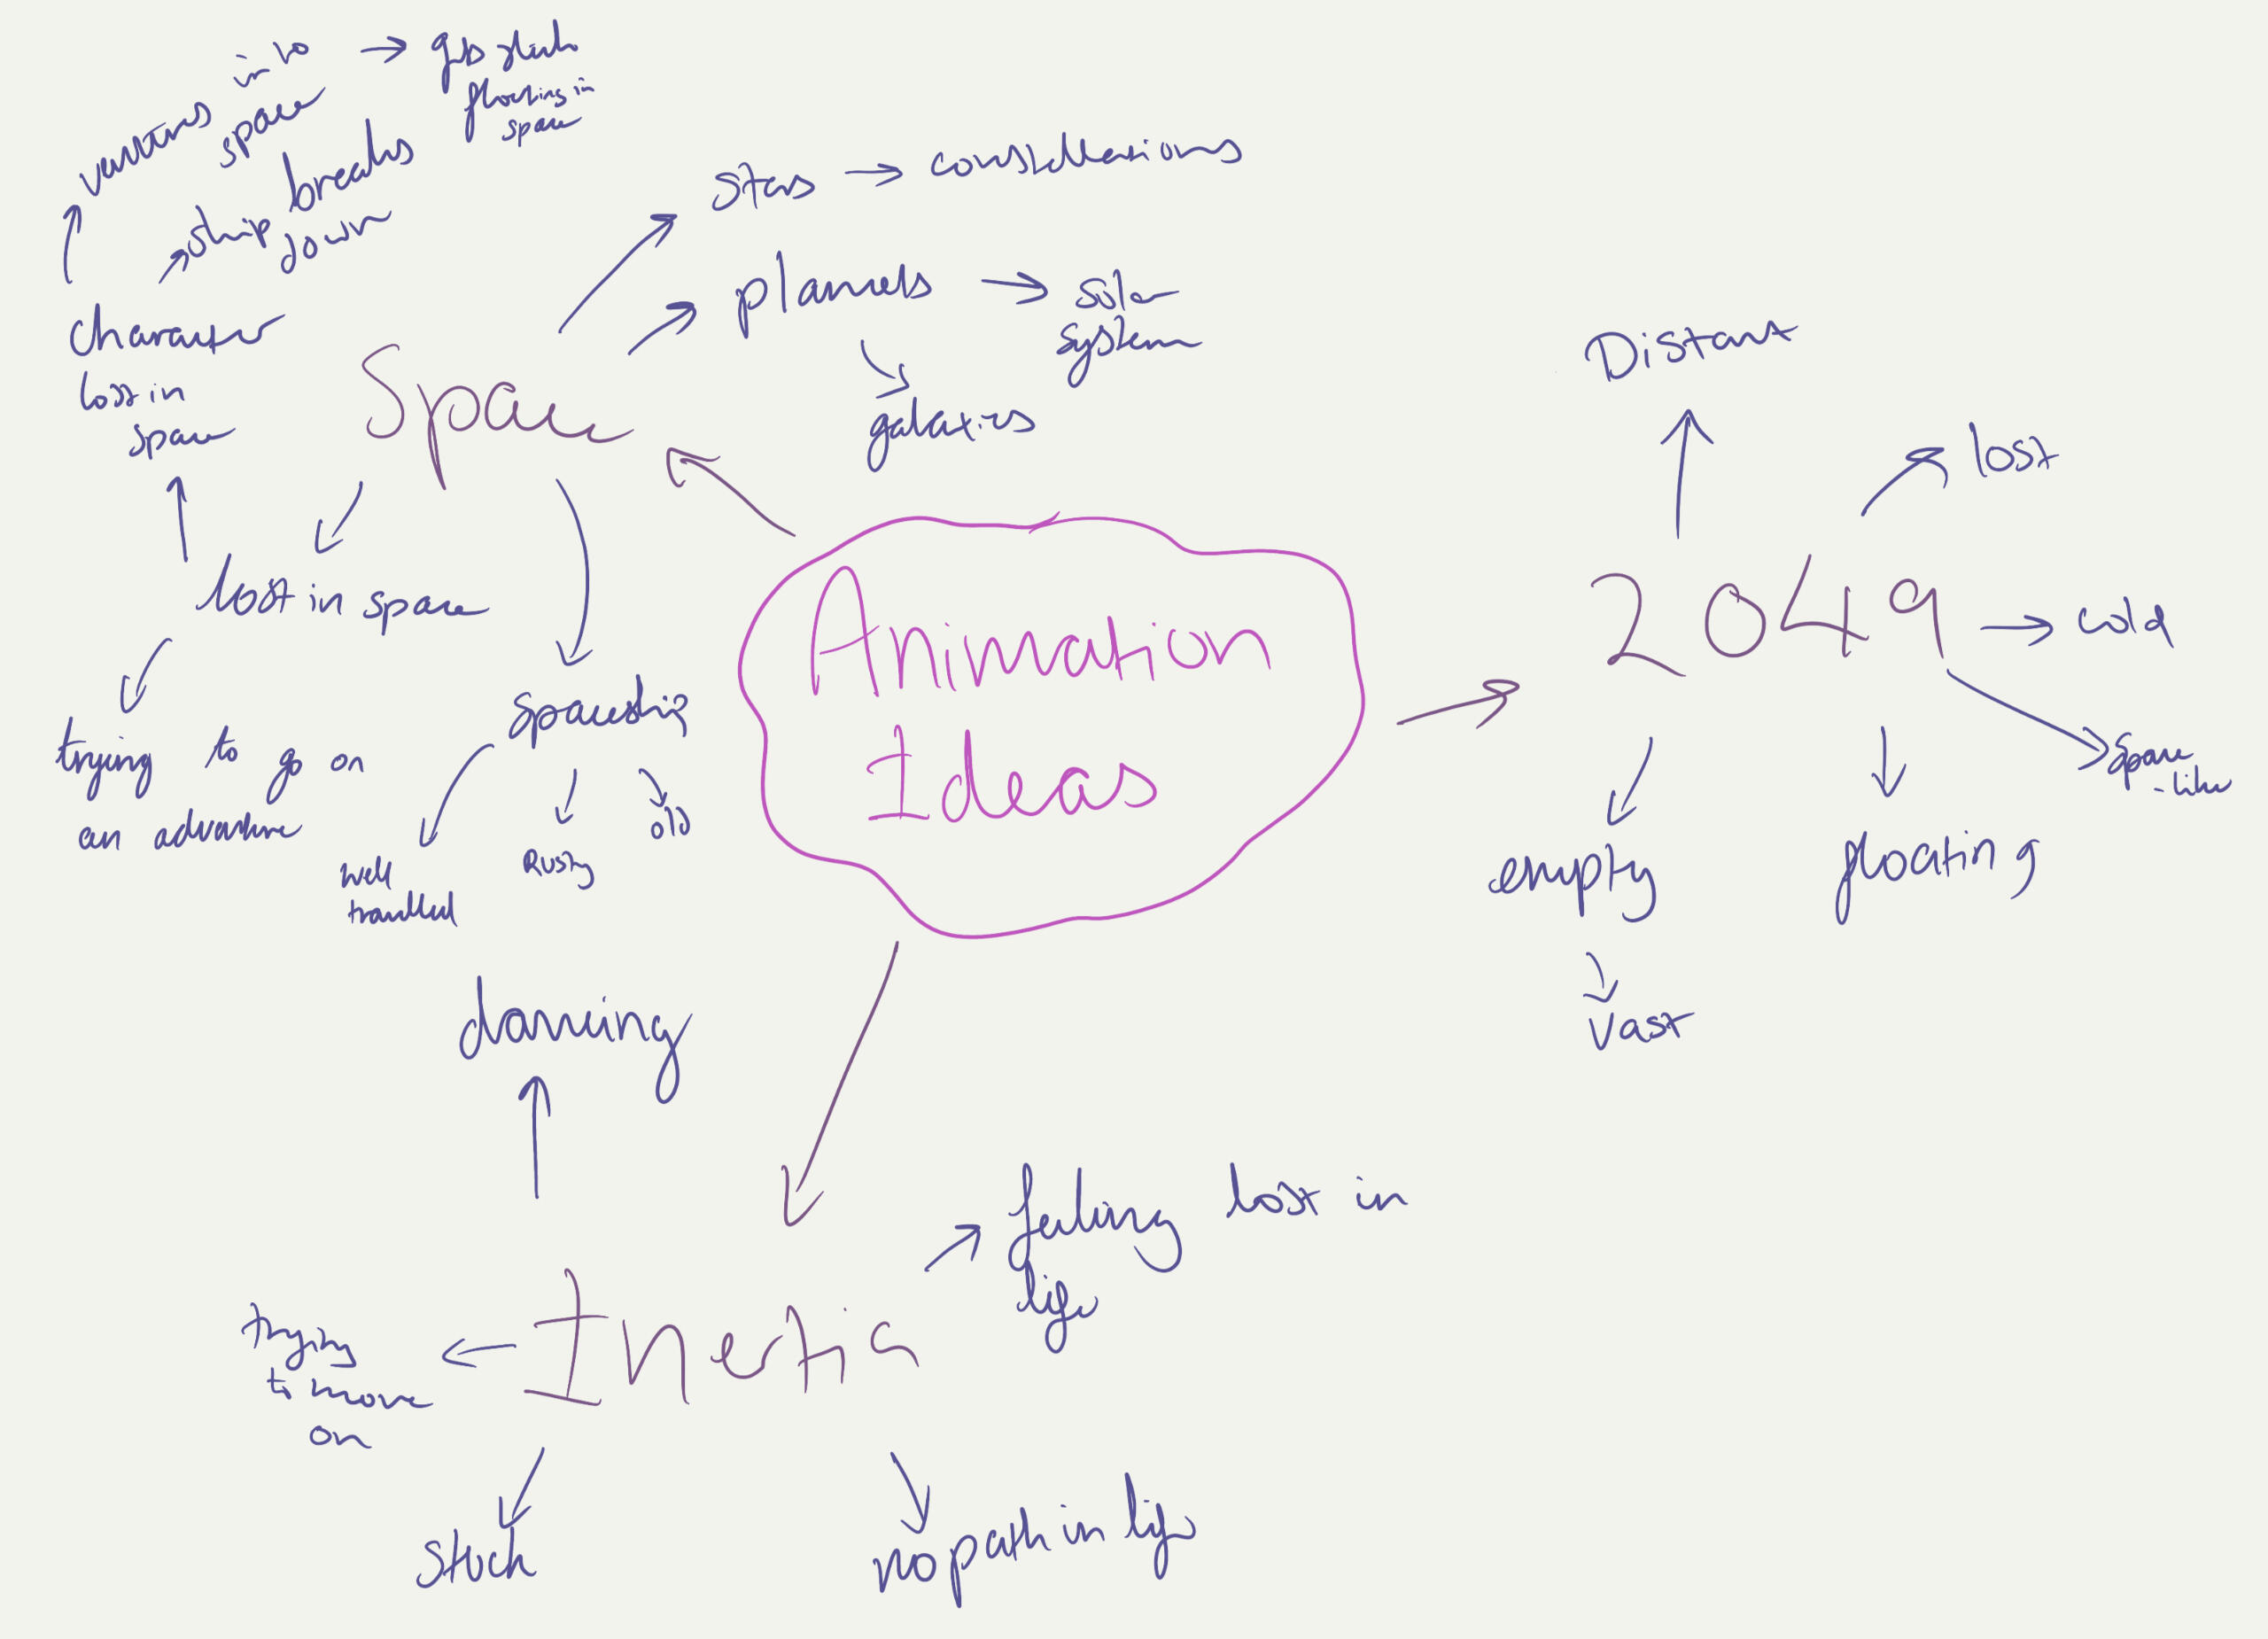
Mood Boards
I created visual mood boards for the themes and ideas I had for my animation. I also made a mood board for the styles and animation techniques I wanted to explore and potentially use. These helped me refine where I was going visually with this project and think about what I wanted the final animation to look like.For my theme, the focus was very much being alone in space along with exploring the visuals of inside of an empty spaceship. The Wild Blue Yonder episode of Doctor Who as well as the shows 2023 title sequence provided me with a lot of inspiration.
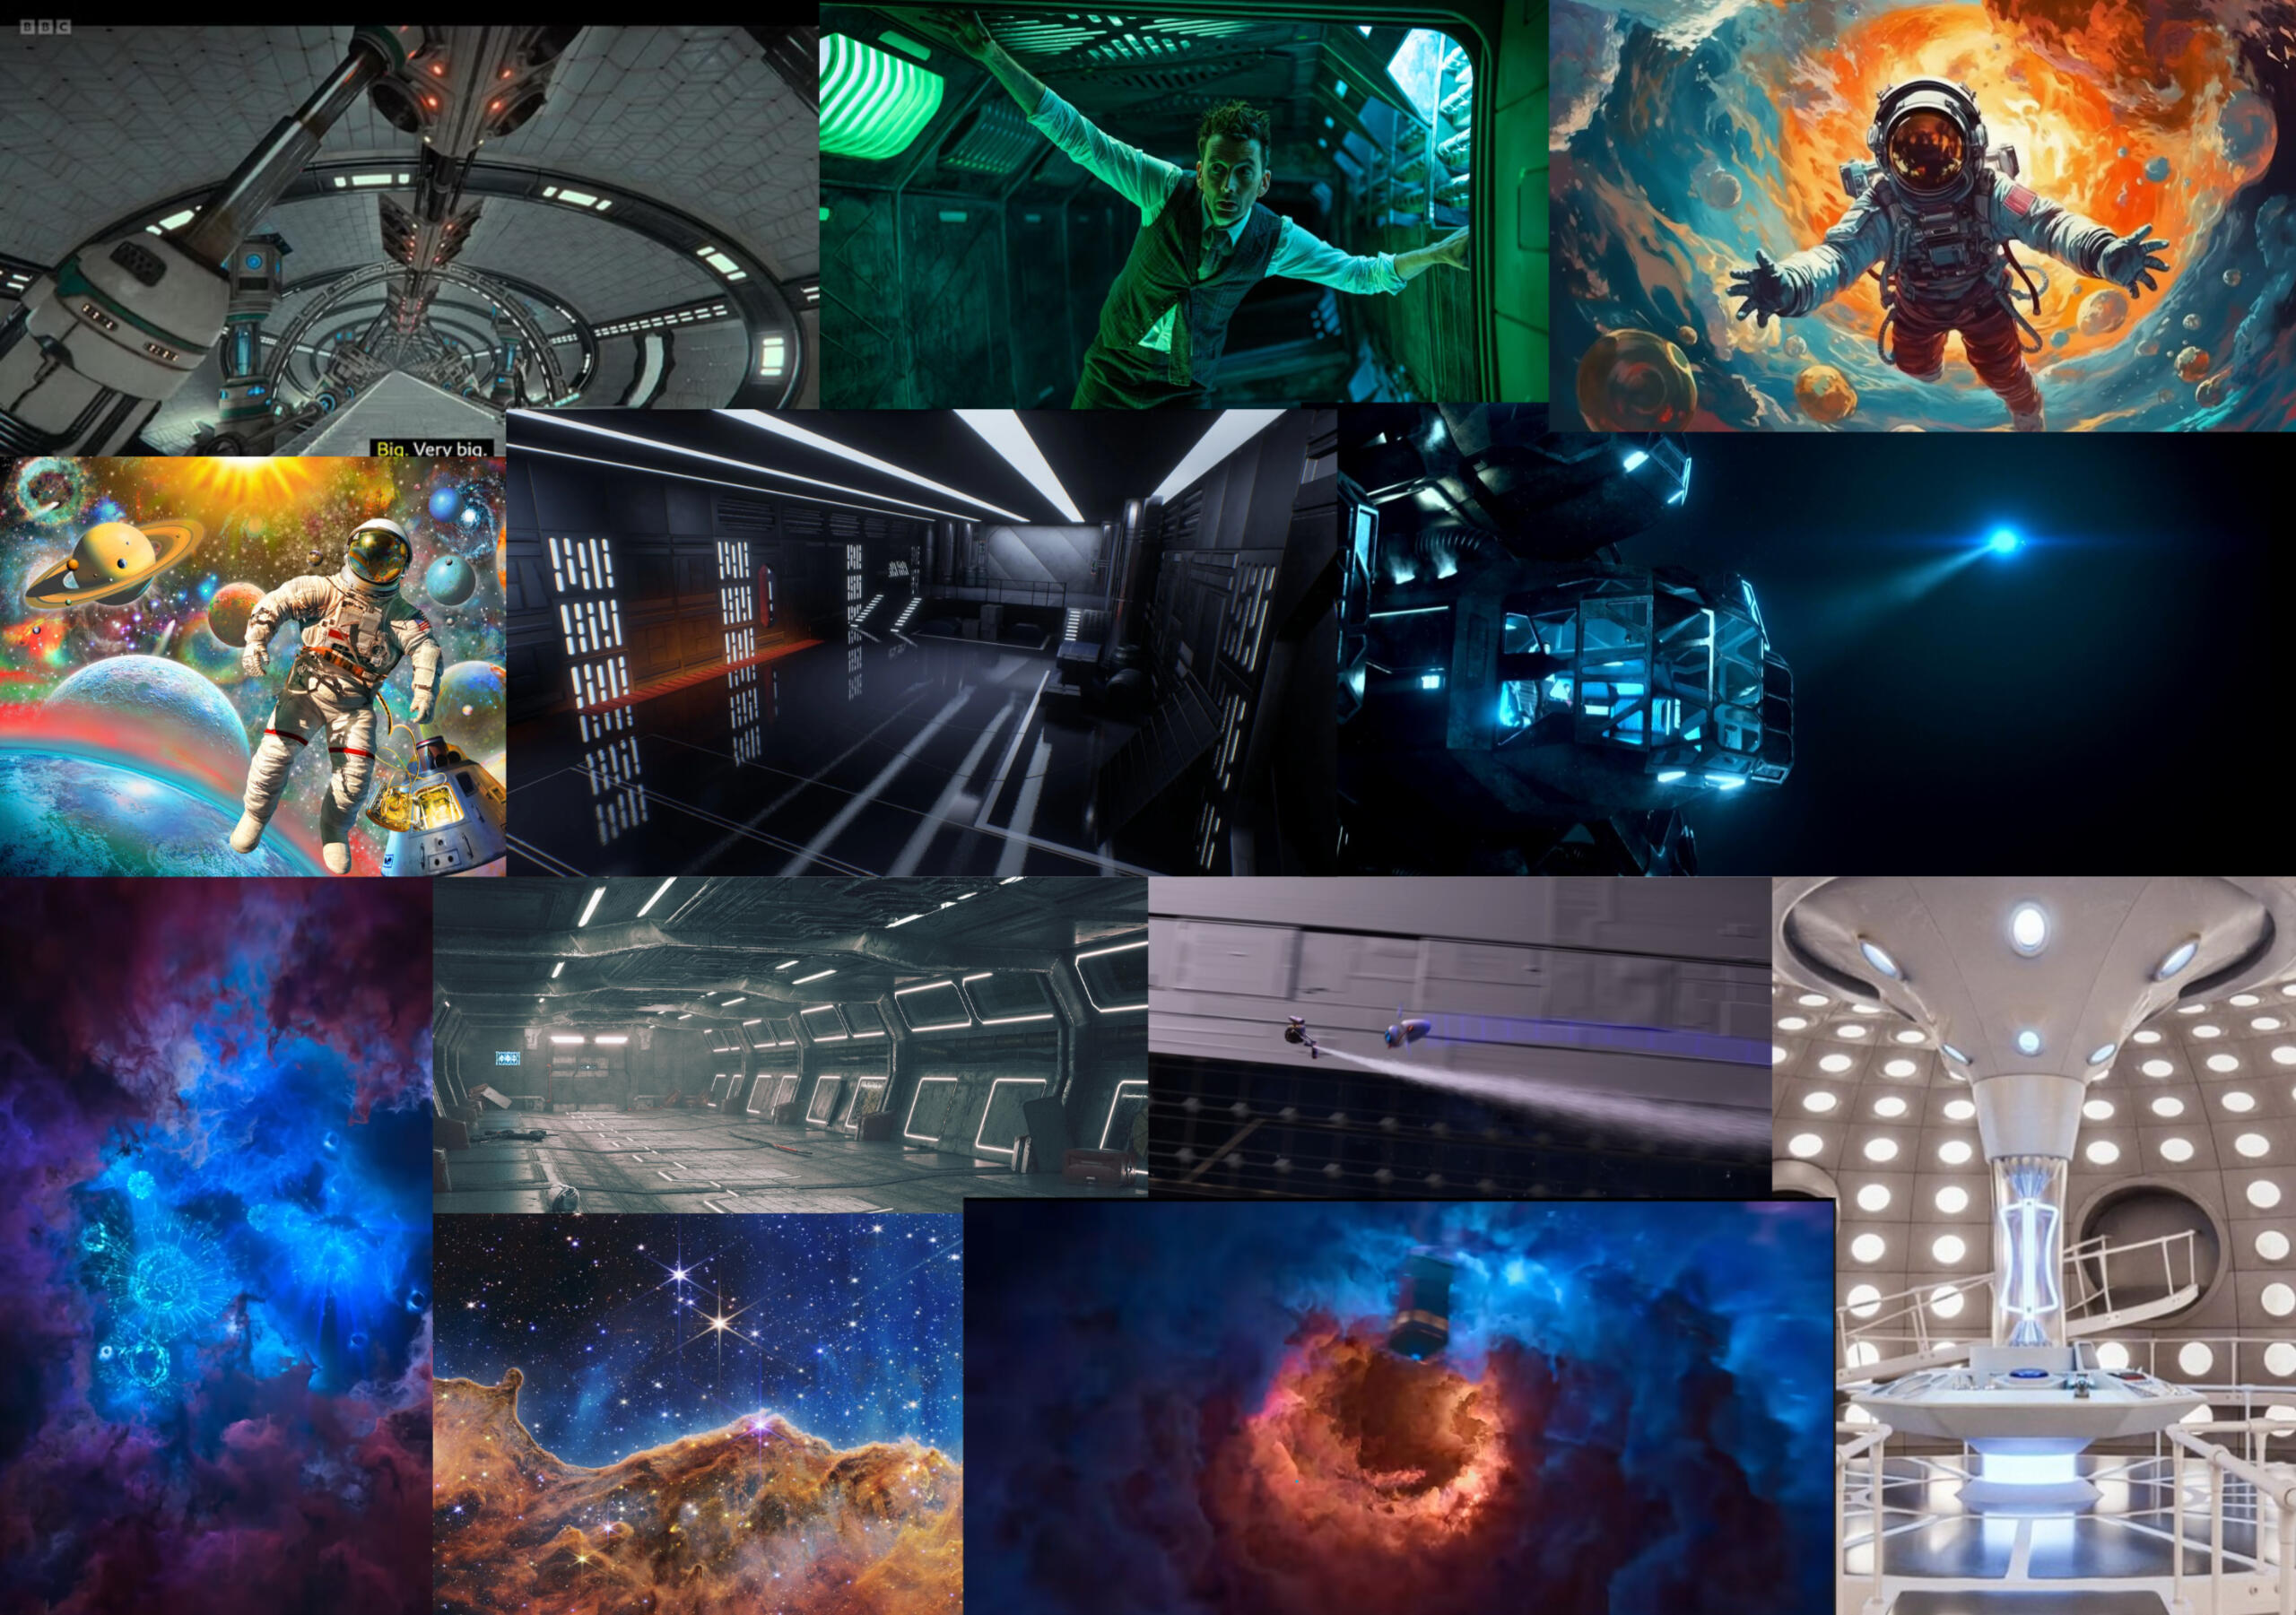
For the art style I wanted to focus on my style of animation, 2D animation which feels hand drawn with a lot of texture or the illusion of traditional art materials. However, I want to be able to bring this into a 3D space to create the feeling of floating in space. I looked at multiple 2D animated short films, some about space related things and some for their art style or colours. I also looked at the videos and artwork by Kurzgesagt who do lots of videos about space and have a distinct style that is actually animated in Blender. The Doctor Who title sequence is also important here for the visuals with its colours and sense of depth.
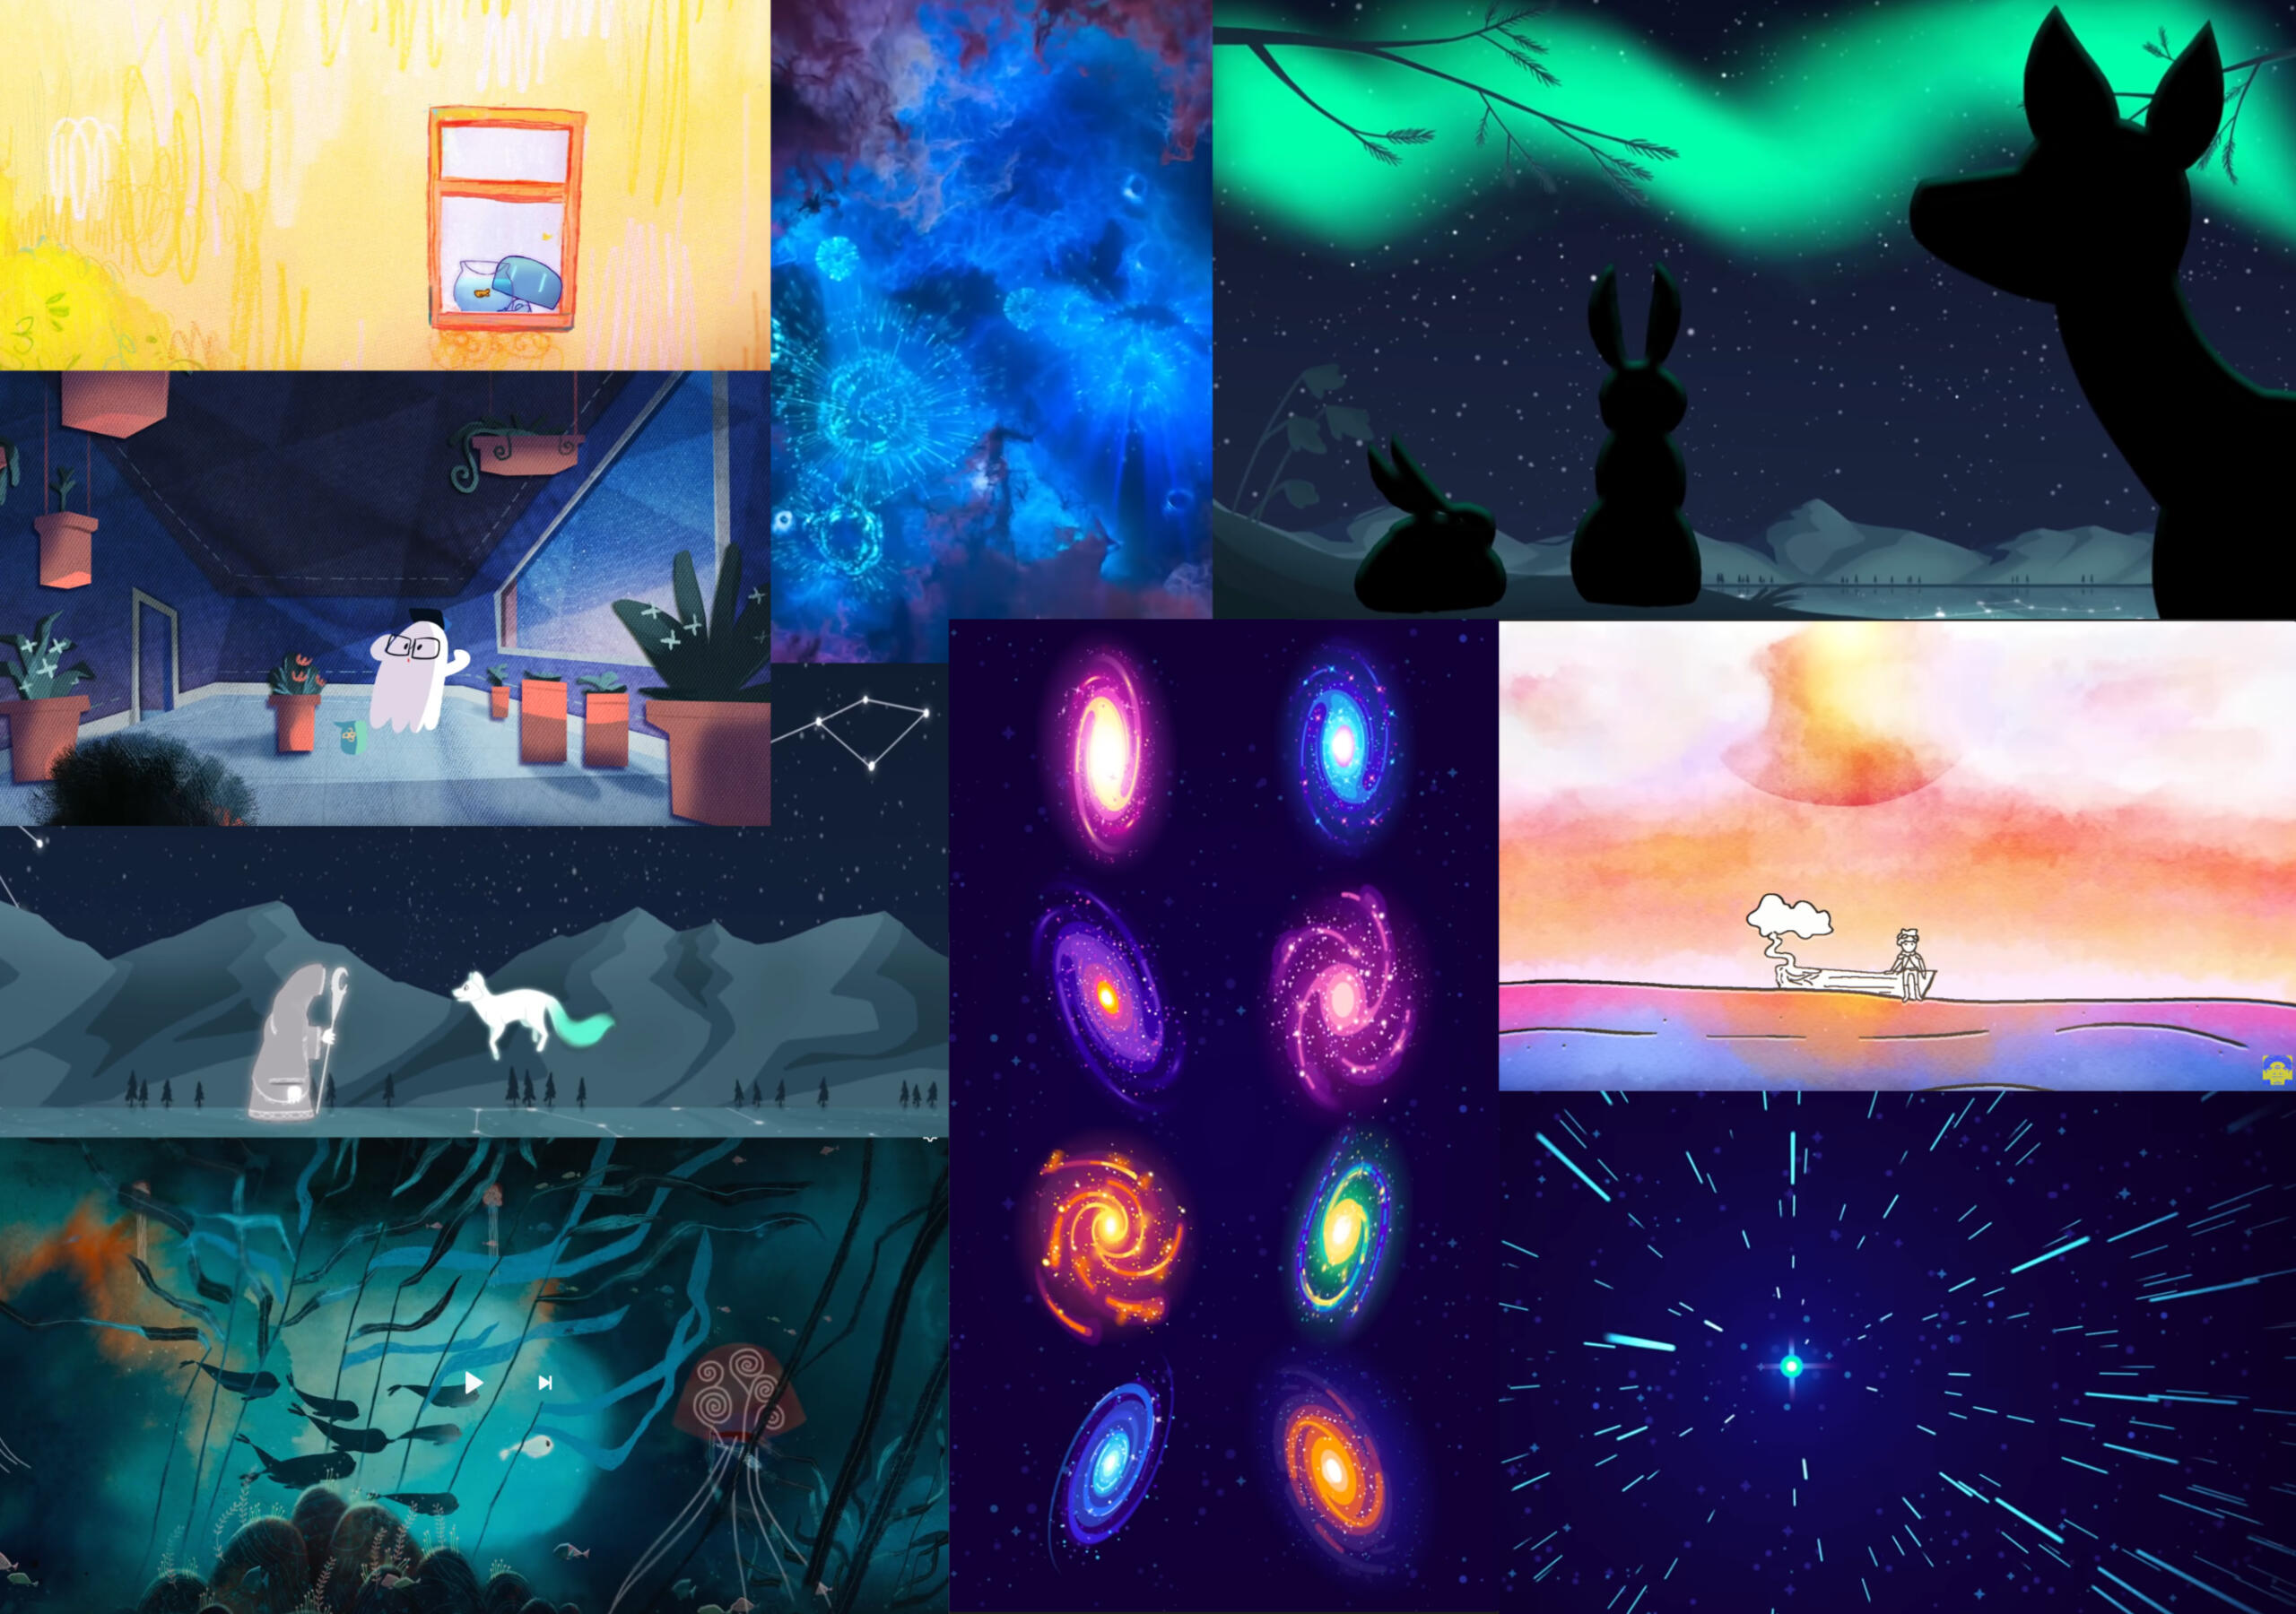
Hero's Journey
A hero's journey is a narrative structure that follows the main character or “hero” as they embark on an adventure, learn to overcome obstacles, and return successful. Although there are many stages to this journey, they can be defined into three main stages; departure, initiation, and return.Departure: A character alone in space as to venture outside their ship to fix itInitiation: Character breaks away from the ship and struggles to get back.Return: Character manages to make their way back to the ship.
I also created a small graphic to show the journey of the character and the height of the action across the Acts.
Beat Board
I wanted to outline the main beats of the story that I wanted to happen in the story, so I created a beat board and treatment to outline all the narrative point that need to be hit.
Act 1
Title screen
Ship alone in space
Engine breaks
Character (an Otter astronaut) is introduced as they gear up
Act 2
Otter jumps out of ship
Line breaks
They float away
Otter struggles to control thrusters
Act 3
They regain control and flies back to ship
Otter makes harsh contact with ship
Storyboarding
I often get caught up in my storyboards needing to be detailed or amazing works of art when in reality all they need to do is to be able to convey the narrative to those the story is being pitched to and movements to the animators.To help with this, I decided to look at different storyboards of big movies to see how they convey a scene.This example is a deleted scene from the Disney movie Wish. Despite not being in full detail it is clear what is happening. The characters aren’t drawn to full detail only the important expressions being shown. Motion of going down the hill is shown just by lines and them flying through the air is conveyed through just three shapes. Seeing this storyboard is very useful cause it makes it very clear that a storyboard does not have to look like a finished product, it just needs to work effectively.
Storyboard Part 1:
I created a storyboard planning out the scene and action that is I want to happen in the animation and mapped it to the audio.
Doing this gives me a plan to follow when I begin the production phase however it will not completely define my animation as the story will change and develope slightly throughout the production.
Storyboard Part 2
I went back to my storyboard with my narrative and ideas for the animation and storyboarded more of the animation. I then matched this to the audio as an animatic.I ended up with around 20 seconds of storyboard that I wasn’t too happy with; having the otter just flying through space for this long seemed too repetitive, however at I am happy at this stage to leave it as this. This is because I want to explore different techniques more and has, I animate the narrative I might have an idea to make it more interesting.
3D Camera
Overview
3D Camera is a tool in After Effects that allows 2D assets to be placed within a 3D space and have the camera move through to create the effect of 3D. As the objects a in a 3D space and different distances from the camera this also allows for the parallax phenomenon to be created where objects further look as though they are moving slower. This is especially useful when creating the illusion of an object moving across a setting because the objects in the background move at the relative speed creating the illusion of depth.This is similar to the multi-plane camera invented by Disney to create the sense of depth and 3D in their films. The different layers were placed different distances from the camera. However, because of the camera technology it was the planes that were moved to create motion, zoom and a sense of depth.
Inspiration Ideas
My idea for this test sequence was to simulate flying through outer space; having the camera fly amongst planets, stars, and nebulas.My inspiration for this was the Doctor Who title sequence, especially the 2023 one, used for 14th and 15th Doctors. The way the camera flows through the spiralling time vortex is interesting to watch and I really like the colours. This colourful flight through space is something I am interested in testing in my final animation. Because of this I did some research into trying to find how the current title sequence is made but could not even find tutorials on fan recreations, but I could only how the intro from 1963 was made.
Process
For this experiment I decided to keep it simple by not creating overdetailed assets and keeping the number of them low. I started by creating a series of space themed assets in procreate, exporting them as PNGs to have the transparent background and then imported them into After Effects.
I set my workspace to have two different views; one giving a view from the camera and another showing the layers from above so I can see the spacing. I set out my assets where I wanted them to be within the standard 2D space before separating them along the Z access bringing them into the 3D space.The next part was adding the camera layer and using the setting to get the focus level I wanted using aperture and focus distance to create a depth of field. Then using position and key frames I animated the camera moving through the assets to give the illusion of moving through space. I then exported the final animation.
Reflection
I found this tool really easy and intuitive to work with, at least at this level so I plan to experiment with it further. I also like how the animation turned out and therefore I am considering using 3D camera in my final animation in a similar way. In my animation I would like to emphasise the vast ness of space by using 3D camera throughout, using slight camera movements to show the depth of the scene.
Green Screen
Overview
Green screen is a common visual effects tool that has been used for decades but has become easier to achieve over time. By having a subject on a clean solid contrasting background (usually chroma green) After Effects can quickly remove the background allowing the subject to be super imposed into a different scene.Process
Some of my classmates and I used a green screen in the film studio to get some footage to do some green screen test sequences. The set-up of the lights wasn’t perfect, and we did not have access to a ground sheet but the footage we got was good enough to practice using key lighting within After Effects.One of the pieces of footage we got was of a classmate performing with a stick, so I had the idea to have them do this has if they were training on the top of a cliff.I took the clip into After Effects and used key light to remove the green screen. With some adjustments I was able to also remove the majority of the floor and used a mask to remove the rest. I got a free to use image of Pexels and used photoshop to edit it to my liking and imported it into After Effects. I then scaled the video to have it the correct size to be on the cliff.
To make the footage blend into the scene I did a bit of colour correction. I then animated some fog moving across the scene to add a bit more motion before exporting the video.Final Video
Reflection
To improve this video, I would make sure to get videos in the green screen studio at different angles to I could choose one that best matches the background image or video. Working with green screen and key lighting was really simple so I would consider using it in the future although I currently have no plans to incorporate it into my final animation.
Motion Tracking
Overview
Motion tracking is a way of having an asset follow a point within a video without having to manually keyframe the movement.Idea
I wanted to have a flame follow a car as if it was coming out of the exhaust.
Process
I decided to use my own video footage for this experiment. I used a green screen, some green thread and a Hotwheels car to get some footage of a car driving and imported this into After Effects. I then used key lighting to get rid of the background and thread leaving just the car.Using copyright free images, I created a road with an aurora background in Photoshop and imported it into After Effects. I then found some royalty free flames and used screen blending mode to get rid of the black background.I used the motion tracking animation tool to track a point on the car. It took a few attempts to find the right spot that tracked properly if the boxes weren't set up correctly and or the point didn't have a high enough contrast to be distinguishable from everywhere else the tracking would not follow it correctly and go off path.I then had to align the flames to the exhaust of the car and ensure it was the target of the tracking before applying it. I then found an engine sound to emphasis the effect. Finally, I exported the video.
Reflection
I am pleased with how this video turned out. However, I found motion tracking to be the hardest of the 3 tools to work with. It was frustrating trying to get the point to track properly and trying to make changes after applying the effect. Due to the style of my animation, with it being 2D animation, it is unlikely I will be using motion tracking in this project. However, it might become useful to track assets to another if parenting the layer does not work how I want it to.
Character Design
I gathered some references for inspiration for my otter character. I was already aiming towards a less realistic style, so I leaned into this with the character design and gave him more cartoon like features. This created a more loveable character that viewers are more likely to get attached to.
I created the otter assets in Procreate as I was able to capture the stylisation, I wanted better by drawing on my iPad. I also created a few variations for different situations such as from the back and a silhouette, although I will likely need to create specific colouring and lighting for some situations.
Concept Art
I used Procreate to create some concept art. I created more detailed and colourful versions of 3 panels of my storyboard. This allowed me to work on the art style I plan on using and the colours. Having some concept art also makes it easier to convey to other what I envision my final animation to look like allowing me to get better feedback at this stage in the production process.The reflection in the helmet visor piece turned out far better than I was expecting and overall, I’m really proud of it so there is a chance that this could end up in the final animation but expanded to a full body piece to work with the zooming out of this scene.
Production Part 1
The first part of production was to create some space related assets which I did in Procreate. I started by creating a variety of nebulas in different colours and shapes I can use throughout the project in multiple scenes.
I also created some star layers to build up the space scenes and used different sizes and densities to be able to convey depth in the animation.
Test Sequence
I expanded one of my concept art pieces and created a short test scene to show my visual style and how I intend to animate.I created a separate composition to build this scene because I feel creating an animation that's over 2 minutes in one composition is going to have far too many assets and layers to the point that it is confusing and difficult to navigate and work on.I placed the nebulas, stars and an otter asset in a 3D space to set up the scene and then used the 3D camera to animate the scene.
I keyframed the camera zooming out from the visor of the otter to show him floating in space.
I used the wiggle effect to add a small amount of movements to the otter to show him floating around and also added some small movements to the camera. I also added ease in and out on the camera movements to smooth out the motion.
I then exported the clip and shared it for feedback.
Production Part 2
With one scene created it gave me a starting point for the rest of the animation and with it being placed in the centre of the full piece I was able to work outwards in both directions.Act 2 Scenes 4 & 6
I created some more space related assets to use in the sequences I was creating on either side of the scene.
I continued using 3D camera but in this particular scene I used the Flo motion effect on the background nebula to add some subtle motion to it in addition to the camera movement.
For the other scene I created the planet on procreate and imported it into the scene. However, ones I had the scene put together I felt the planet wasn’t in the same style as everything else, so I improved it which improved the scene overall.
Style consistency is something I need to be aware of very creating the rest of the animation.
Act 2 Scene 9
I then worked on another one of the space scenes. I animated the comet on Procreate giving it a slower frame rate, adding more character and a stylised feel to the scene. The rest of the scene was created by keyframing movement of the assets in a 3D space.
Act 2 Scene 3
This scene has the perspective of inside the helmet, so it needed to look at though things were tinted by the visor, so I made the helmet asset have a visor with a lower opacity visor to see the rest of the scene through.I originally parented the camera to the visor and added a wiggle effect to visor to make the effect of floating in space. However, this made it look as though the visor was moving alone, instead of a head in a helmet moving. To resolve this, I had the helmet and visor fixed in place and linked up the other layers together. I then made all the other layers move slightly by adding wiggle preset to the layer every other layer is parented to. This resulted in a scene that made much more sense visually.
Act 2 Scene 11
I created this scene similar to the previous ones within space but used different types of wiggle on the nebula to add the small movements and keyframed the orientation to animate the nebula spinning.
Act 1 Scene 1 & 2
Originally, I animated these has separate scene, like my storyboard, with a jump cut between the two in the full animation timeline. However, I didn’t like the flow of this, so I combined them together animating on one composition and one camera movement. This created a far better scene but was more difficult to work with because of the number of assets outside of the screen area.
Peer Feedback
I exported the main segment I had completed and shared it with various people including some online art friends and those not in the creative industry to get feedback on it.
At this stage I am aware the audio doesn’t align perfectly because I was bringing it together with the animatic and am going to go back in when I have all the scene to align them exactly with the beat and pacing of the music.All of my feedback was positive; with a big focus being on the colours scheme and the smoothness of the animation. All of my feedback was positive; with a big focus being on the colours scheme and the smoothness of the animation. A comment was also made on the detailing of the otter's illustration.
Production Part 3
With the positive feedback I decided to continue with the animation of the rest of the scenes sticking with the style and flow I was already working with.
Act 1 Scene 3
The creation of the assets was the trickiest part of the creation of this scene. The animation was simple keyframing of the door panels, but I needed the lighting to be correct more importantly. Procreate doesn’t have a shape tool for hexagons so I created the shapes in Illustrator and then imported them into Procreate do add all the other effects using the brushes, similar to the outside of the ship. I also had to create an otter asset that looks right standing in a shape and with the correct lighting to make it look like a bright light is coming from behind.I then ended up going back to the scene an adding some stutter movements to the door to make it seem older and make the scene more interesting overall.
Act 1 Scene 8 & Act 2 Scene 2
For this sequence I used roto Bezier to have the tether flow from one shape to another. I made sure to make it, so it is visually clear that the tether is being pulled tight by having it straighten out, preparing it for the snap. I did a similar technique for the broken tether, but I had it move in in the other direction, the momentum of the snap making it curl up and the ends move apart.
Act 2 Scene 1
This scene was actually one of the tricker ones despite being so short and simple looking. I used skew to create tension in the tether, but keyframed the rotation to match, keeping the tether in the same position on the screen. Instead of animating the break, I jump cut to another set of assets of a broken tether. This made the break sudden matching the change in the music and signifying the change of Act in the narrative.
Peer Feedback Part 2
With a full 1.5 minutes of animation in a full sequence now produced, I exported the sequence and shared it with my peers.I received lots of positive feedback, especially over the level of animation despite the detailed art style.
Production Part 4
I decided to change some of the scenes in the final act. I felt like “running” through space didn’t really match the otter and it would look rather strange with the character design. I instead decided to change this to having an otter swimming through space. This also merged into the section of the storyboard I was not happy with at the beginning of the project.I used reference video of otters swimming and created a rotoscope animation in Procreate, stylising the otter to match my animation. I halved the frame rate and removed half the imported frames to animated on twos. I initially animated the sequence at 8fps but decided to export at 6fps to slow down the motions and extend the segment.Within After Effects I used the screen blending mode to get rid of the background and overlayed in in a space scene, I had set up using 3D camera. I keyframed the position of the otter within the 3D space to give the illusion of the otter moving around a planet and keyframed the camera to zoom in to give the scene some more movement.
I then decided to shorten my audio a remixed it to cut out a segment. This completely removed the portion of the original storyboard I disliked and made the narrative more concise.I made the door close on the final beat of the music symbolising the closing of the narrative.
Credits
I used Procreate to create 4 frames for each piece of the credits to create a short looping animation to play as the credits. I used the segments of music I had cut out has background music for the credit sequence and added a walk cycle to go alongside the text.
Peer Feedback 3
With the full audio having animation I sent it to some peers to get some feedback.
The feedback was positive with a few suggestions on how I could improve some of the sequence however due to time constraints it is unlikely I will be able to experiment with them.
However, one of the pieces of feedback I am going to act upon is fixing the narrative issue. It was pointed out that the story does not flow properly as the otter goes from gracefully floating in space to being inside the ship with no suggestion of how he got there.
Production Part 5
To resolve the narrative issue, I created a little more time by exporting the rotoscope segment at 8fps the original speed I animated, and the pacing and flow of the animation still worked. I then adjusted the keyframing to match the new timings.I then created two new scenes. The first had the otter swimming through space, actually making progress in his journey. I created this using 3D camera to create the parallax effect and keyframed the position of the otter on top.
Then for the otter to make it to the ship I used the helmet from a previous scene to make the otter fly into the opening in the ship. I originally tried animating the movement using the 3D camera, however the visor would clip thorough the ship ruining the effect. Instead, I keyframed the scale of the ship to “zoom-in” to create the look of the otter flying into the ship.
Post-Production
To get higher quality audio and to check timings without the rendering delay of After Effects I composited all my scenes together in premiere pro. I used markers to set out scenes, fades, transitions and the also labelled the scenes according to the act referencing the original full After Effects composition. I was then able to import the scenes and match them to the timeline.
Final Animation
Reflection
I am really proud of how my animation turned out and I enjoyed the process of making. As someone who constantly imagines strong visuals to music it was fun to create a narrative and pace movements to the beats of the music.I like how the narrative how the story doesn’t follow the lyrics of the song word for word, rather relates to the theme overall. The Inertia song by AJR is about being stuck in life and the narrative of my animation is about and otter being stuck in space and reflecting on his life.When it comes to the technical side of things, I enjoyed using 3D camera the most. I found it easy to grasp object being within a 3D space and was able to use it effectively to create some amazing visuals for my animation that worked very well for the space theme. Although I experimented with green screen and motion tracking, I didn’t feel there was any use for them within my animation due to the style. However, they were interesting to try out and very useful techniques to know how to do for future projects. I also included hand drawn animation with the rotoscoped segments of an otter swimming, I like being able to include multiple types of animation within my work and the rotoscope turned out far better than I imagined it would.Compared to my last animation I improved a lot on my confidence in using After Effects and my efficiency within the program. This animation was both longer and more ambitious than the animation I created for the Listening Project, and I was still able to make it within the same amount of time. This time I also kept my After Effects file more organised, using different folders for assets and breaking down each scene into its own composition. This made it so much easier to navigate and work with and allowed me to export each scene individually decreasing the rendering time and making for an efficient process.
I was to spend more time on this I would experiment with more movement or variation within some of the more static scenes. I would have to be careful not to go to far as slower sections are needed to help with pacing and audience’s understanding. However, I do think it would be interesting to experiment with the methods my peers suggested.
Visualising a Story
The Listening Project Part 1
Year 2
MOD007298
What is the Listening Project?
Since 2012, BBC Radio 4 has been in partnership with local & national BBC radio stations, and the British Library to collect intimate conversations between friends or relatives.
Inspired by StoryCorps, a United States initiatives, The Listening Project has over 1000 archived conversation with the majority having been aired across BBC radio stations.
Module Project
This project involves choosing one of the conversations from The Listening Project to use as the audio and inspiration for an Animation created using After Effects.One the listening project website, some of the conversations have already been animated but in a very literal sense, animating the story almost word for word. For this project I want to branch out into more abstract or metaphorical representation with this project.
Initial Ideas
Exploring the Listening Project
The listening project has a large variety of different conversations from diverse groups of people. I listened to many of conversations to find ones I could connect with or had visuals forming in my mind for.
Audio Transcript
So, I thought maybe seeking a diagnosis might be helpful, certainly in regard to medication.You take any medication?Yes, for me I found it helpful. I struggled to sit and watch anything on the TV. I’m up and down like a yo-yo. So, things like that have actually got much better for me on medication.It’s a bit different for me. [illegible] I am hyper anxious because I'll be thinking about 17 different things at the same time. If I haven't got something real to worry about, I'll make something up.With women, a lot of them are late diagnosis because it’s missed, because there the, the day dreamers, the zoning out. They're always moving their feet but because unlike sometimes the boys, they might be stamping their feet or making big movements that girls are often missed because they know their peers aren't doing it. So, they try and mask it.I'm wriggling my toes now.I'm trying to tap on a towel so no one will hear them.
ADHD
Episode: Knowing Ourselves
In this conversation 2 women are discussing ADHD and being diagnosed later in life. They talk about what it's like to fly under the radar when the diagnosis criteria is based upon young boys as well as how ADHD affects their daily lives. Their conversation is 1:35 to 7:07 in the episode. The part I am focusing on is from 2:35 to 3:40 within this conversation.
Thoughts
The women talk here about ADHD affects them individually and the differences in their experiences.A large part they mention is the daydreaming, an ADHD symptom more commonly found in girls that makes it harder for them to fly under the radar and go undiagnosed.One of the key parts that stand out to me is the sentence mentioning the yo-yo, and I feel that visual could be carried throughout the rest of the animation, rather than using people as the characters. People can make yo-yos do some crazy tricks, but I could go beyond that and create a more abstract and unrealistic movements for the yo-yo. By doing this, there is still a link to the actual words being said but without animating everything word for word and I can bring more bring in more exciting visuals.By keeping the more casual segments at the beginning and end, I can book end the story with some calmer and more realistic animations keeping the chaos contained. This symbolises the way some people mask their ADHD or other parts of who they are.
Audio Transcript
Occasionally I've gotten lost, but I always tell people to carry a paper map. People think it’s a really stupid thing when I say it, but I’m just like no, but technology can fail you. So, I always, always, carry a paper map. Cause I once, I don’t even know what happened. I think my battery pack had broken and my phone is dead, and I was coming back from a trip somewhere in Peru and the guy just dropped me at the side of the road. And I had no clue where I was. But in my rucksack, I had a paper map, so I was like yes! I'm you know I did Duke of Edinburgh when I was younger and that was the one bit, I absolutely hated that. They tell me what lines and contours and colours, and this meant this, and I was like oh my gosh I’m not going to understand all this. But actually, I remember going on a bike ride like last year and we were trying to work out which way to go and I just like the maps has this line that has this number, so we have to go this way because it means it's going uphill. I was like where did that come from. Like, you know, I haven’t done that kind of looking at a map for a long time.
Adventuring Outdoors
Episode: Awards & Challenges
In this discussion the two people are talking about going outdoors and having adventure. In the specific snippet I am interested in (23:13-25:15 of full the episode) the woman is explaining the importance of always carrying a paper map and how that saved her.
Thoughts
Although this audio is describing physical maps used to find your way around, I can imagine this referring to a metaphorical map someone uses to navigate life.This can extend to how people can often lose their way in life; in this case I could relate it to how people lose track of what they want to achieve in favour of the glamorous lifestyle of those posting on social media linking it technology failing you.At the end, she mentions not having looked at a map like that in a long time. I could use this to build into a message that people should take time to reflect on their own goals more often and ensure they are looking at their map correctly.
Choosing My Audio
Out of the two audios I found that the conversation about ADHD experiences had a stronger visual identity within my mind. I have a clear idea of where it could go using the yo-yo imagery and expand the idea beyond the physics of yo-yos. Although the idea of a personal map over a directional map was interesting from the adventure outdoors segment, I feel there is less I can do visually without straying too far from the topic and it limits the experimentation.Going forward I will be producing my animation based on the audio snippet from the episode Knowing Ourselves.
Moodboard of Emotions & Themes
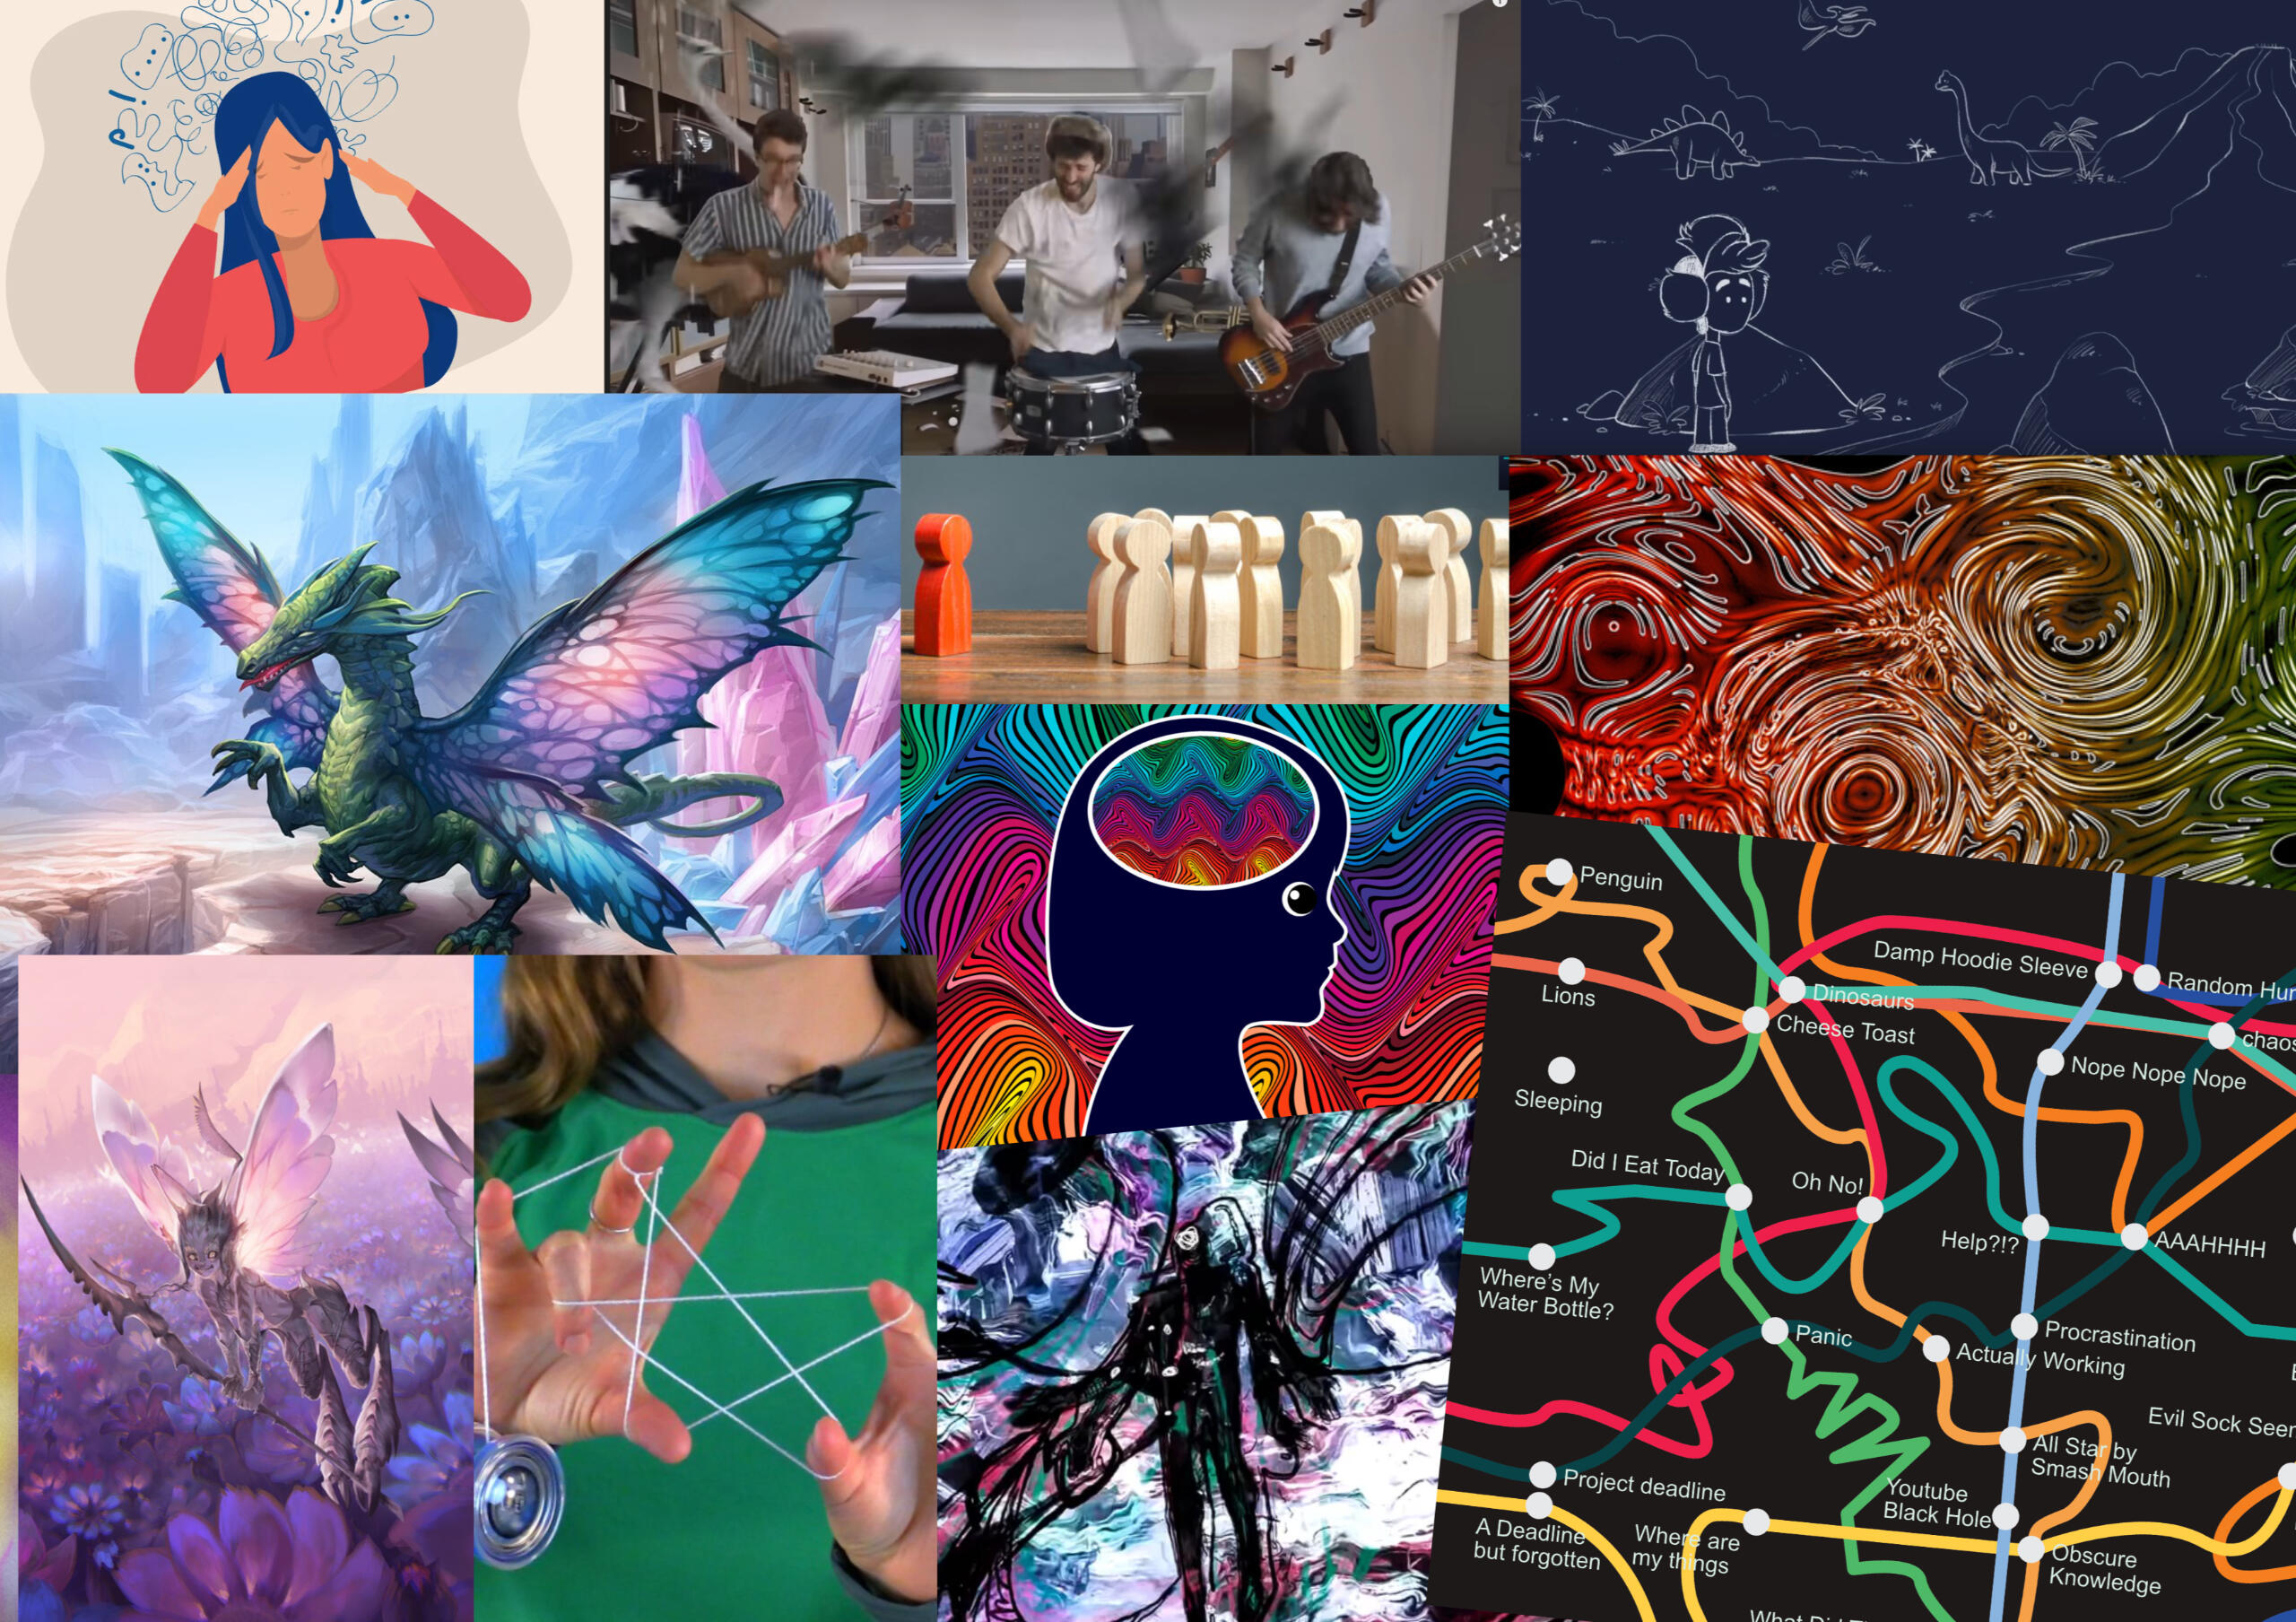
Inspiration
Looking at Previously Animated Conversations
I had a look at some of the conversations that had already been animated for inspiration.
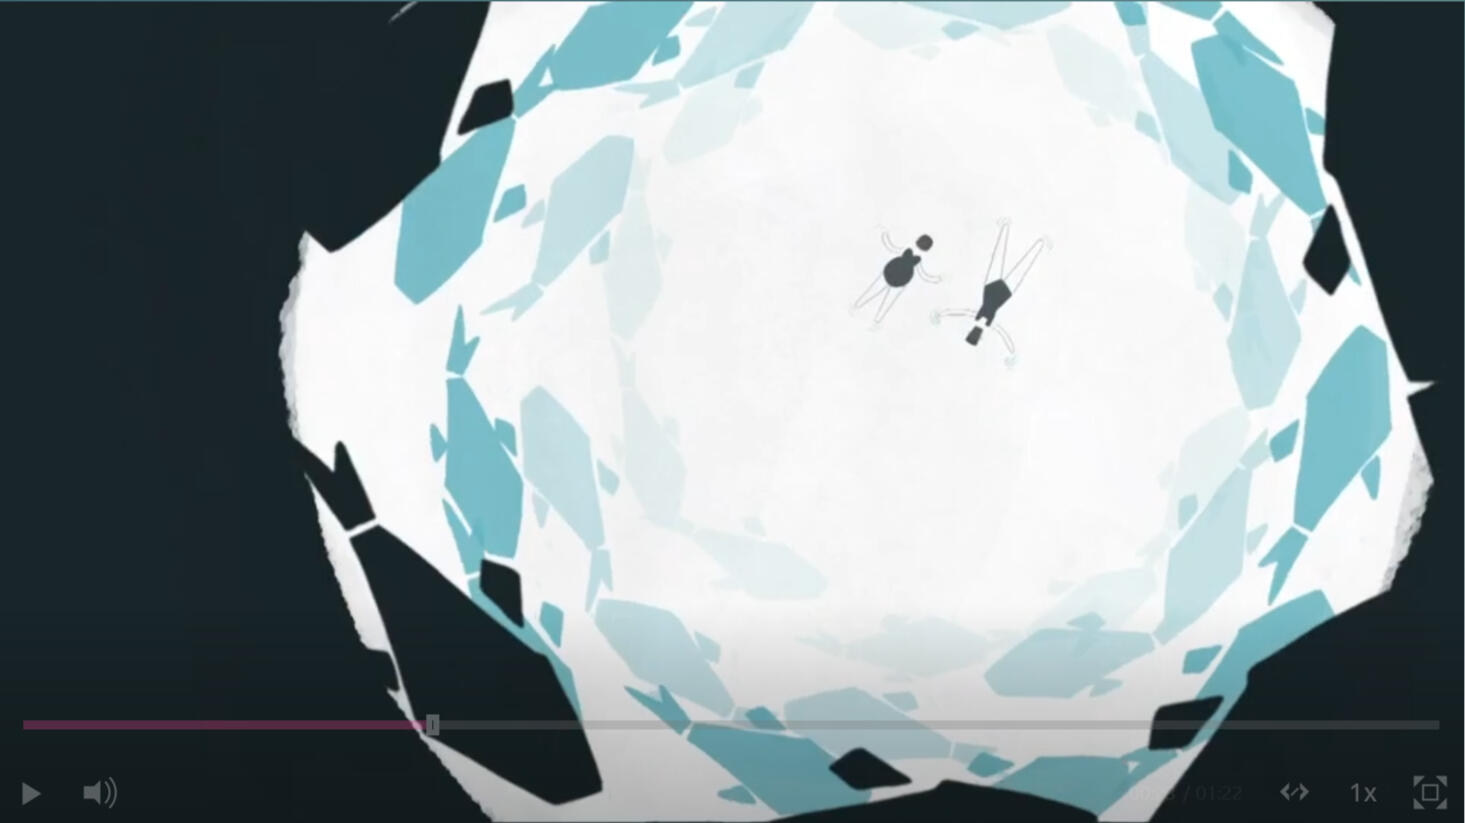
Victor and Finola - The Key of Heaven
The use of colour in this animation is really good. The way it switches to black & white scene and then goes back to full colours. The softer colour scheme also makes it visually pleasing to look at.
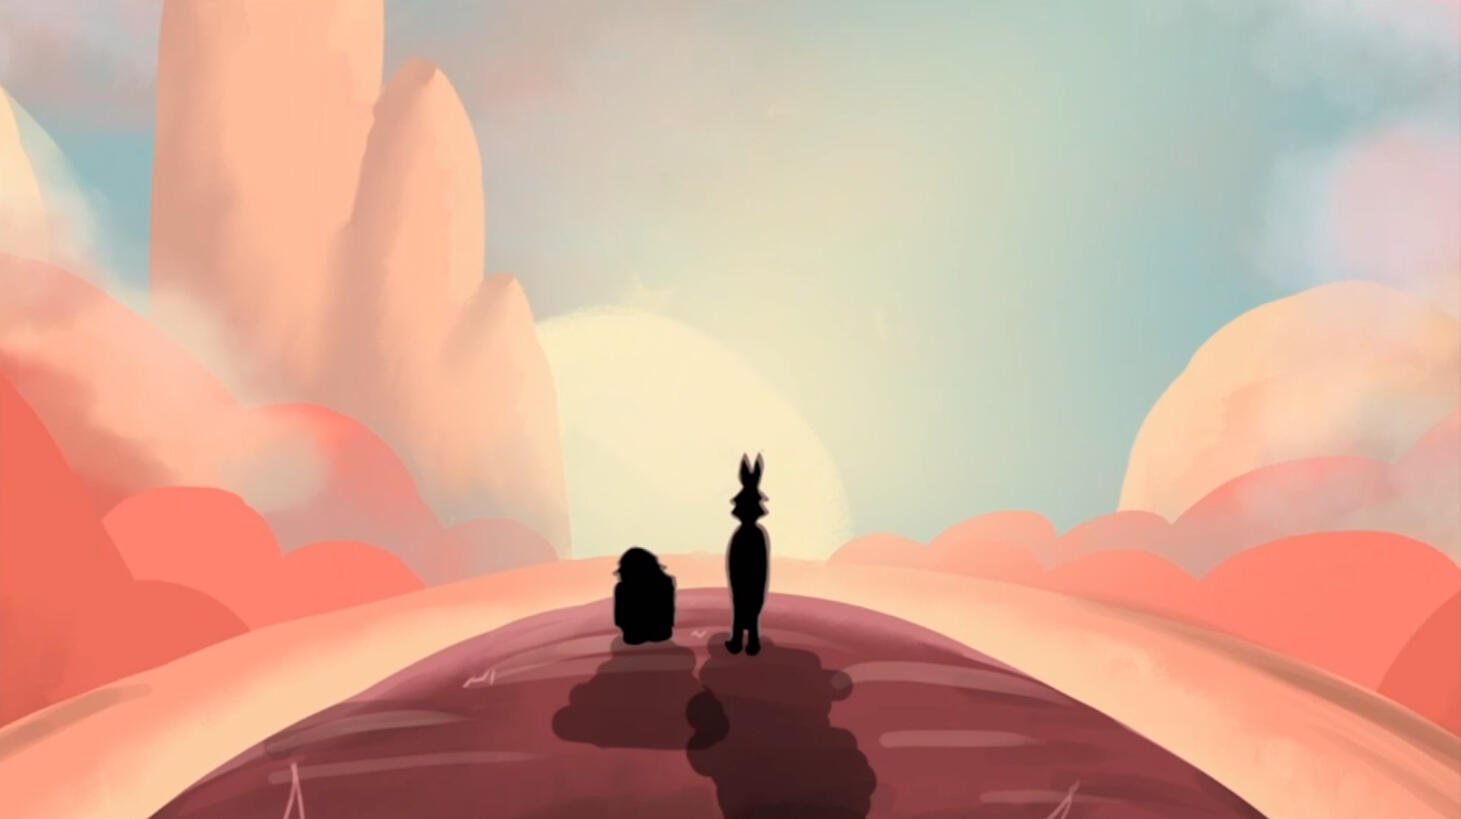
Lynne and Queenie - Sea Life
I really like this style of animation, with the simple colour scheme and slightly abstract style.The use of space and spiralling shapes is also really interesting and an effective way of conveying the context of this story about fear of the ocean.
Venturia Animation Studios
Venturia Animation Studio animated the music video to AJR's My Play which has been a big inspiration for the visual for my animation.The My Play music video is uses only white and blue as it's colour scheme which makes it a really interesting way to visiually tell a stroy becuase you have to rely on shapes and unique transitions instead of using lots of different colours. I would like to keep the amount of colours in my animation to a minimum, most likely more than two to help distinguish characters but without over doing it.A lot of their work as the same feel as older animations as they have a hand drawn style. The my Play has a very distinct pencil feel to it but they also have other traditional looking animtions such as the Waldo's Dream animation the studio worked on.
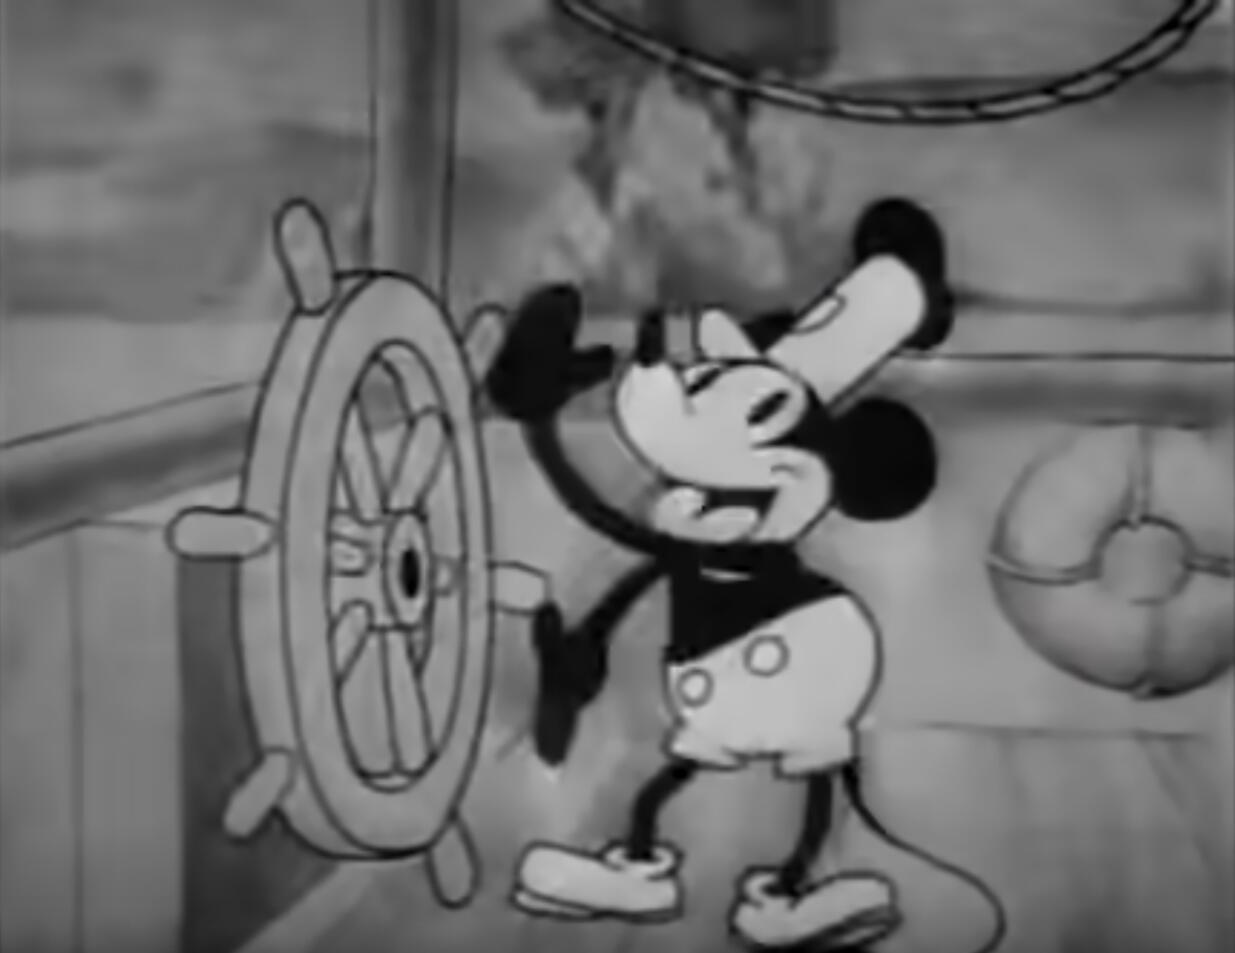
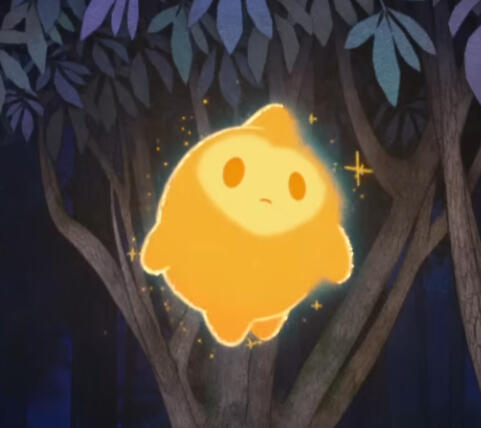
Disney
Disney laid the foundations when it came to storytelling through animation.As with Venturia, I am looking at the more traditional animation and with Disney these are the original animations from the early days of the studio. A key part of this is the softer colour schemes, which creates a more visually pleasing animation instead of something where every asset is fighting for you attention but still allows colour to tell part of the story.I also like the look of the animation with textured outlines rather than smooth line art, such as visual style used in one of the latest Disney releases, Wish.
Early Development
Defining My Audiance
When it comes to my audience, I don't want to exclude any groups, so it can be viewed by anyone, just make it more relevant to certain groups.I want the animation to feel more relatable to women and girls who feel they have missed by the diagnosis criteria of ADHD as this it what the conversation is about. However, by making using the yo-yo imagery I feel as though it may also be relatable to anyone missed or diagnosed late by a criterion that wasn't created about people like them. It might even be relatable to anyone who doesn't feel like they fit in or didn't fit in as a child.The animation is not going to be inappropriate in anyway and they are for suitable for any age to watch, it is just not designed for very young audiences and is unlikely to engage them the way cartoons for their age group do, but that it okay because that is not the purpose of this animation.
First Interpretations of Scenes
Act 1
Scene is set and animation begins before dialogue."So, I thought maybe seeking a diagnosis might be helpful, certainly in regard to medication.""You take any medication? ""Yes, for me I found it helpful."Two characters are on screen, positioned as though they are having a conversation.
Act 2 Scene 1
"I struggled to sit and watch anything on the TV. I’m up and down like a yo-yo. So, things like that have actually got much better for me on medication."A TV grows from centre then a yo-yo flies in from out of frame and goes smashing into the screen on a TV, and bounces around like the DVD logo. It then reverses, the TV is fixed and the yo-yo bounces onto an armchair, motion less facing left.
Act 2 Scene 2
"It’s a bit different for me. I am hyper anxious because I'll be thinking about 17 different things at the same time. If I haven't got something real to worry about, I'll make something up."The frame slides right to focus on the other armchair, now containing a yo-yo. The yo-yo falls of the armchair and starts moving in a rapid and chaotic manner instead of clean bounces but still physically possible. Suddenly 17 more different shaped yo-yos appear shaped as random things. They all explode, off in different directions and the screen transitions into a fantasy creature.
Act 2 Scene 3
"With women, a lot of them are late diagnosis because it’s missed, because there the, the day dreamers, the zoning out."A yo-yo drops to the screen and rolls away out of frame. Scene changes and yo-yo rolls onto screen and dissapears under a piece of furniture.
Act 2 Scene 4
"They're always moving their feet but because unlike sometimes the boys, they might be stamping their feet or making big movements that girls are often missed because they know their peers aren't doing it. So, they try and mask it."Multiple yo-yos appear, one is a different colour, representing the one with overlooked ADHD and moving almost in sync with the other, emphasis on almost. One of the others is moving chaotically, drawing attention to it.
Act 3
"I'm wriggling my toes now.""I'm trying to tap on a towel so no one will hear them."To yo-yos are in frame, set up as though they are having a conversation. A similar set up to the beginning.
Visual Style
Rough Lines with soft edges as though it is hand drawn with a pencil for digitally created assets. A rendering style brough back with Disney's upcoming film, Wish.
Simple colour palette, limited to only a few colours that contrast with each other well.
Old 2D animation, with exaggerated movements.
Paper stop-motion, creating the assets out of paper and either creating a stop motion or animating them digitally as though they are stop-motion.
Use of tearing paper to transition between scenes.
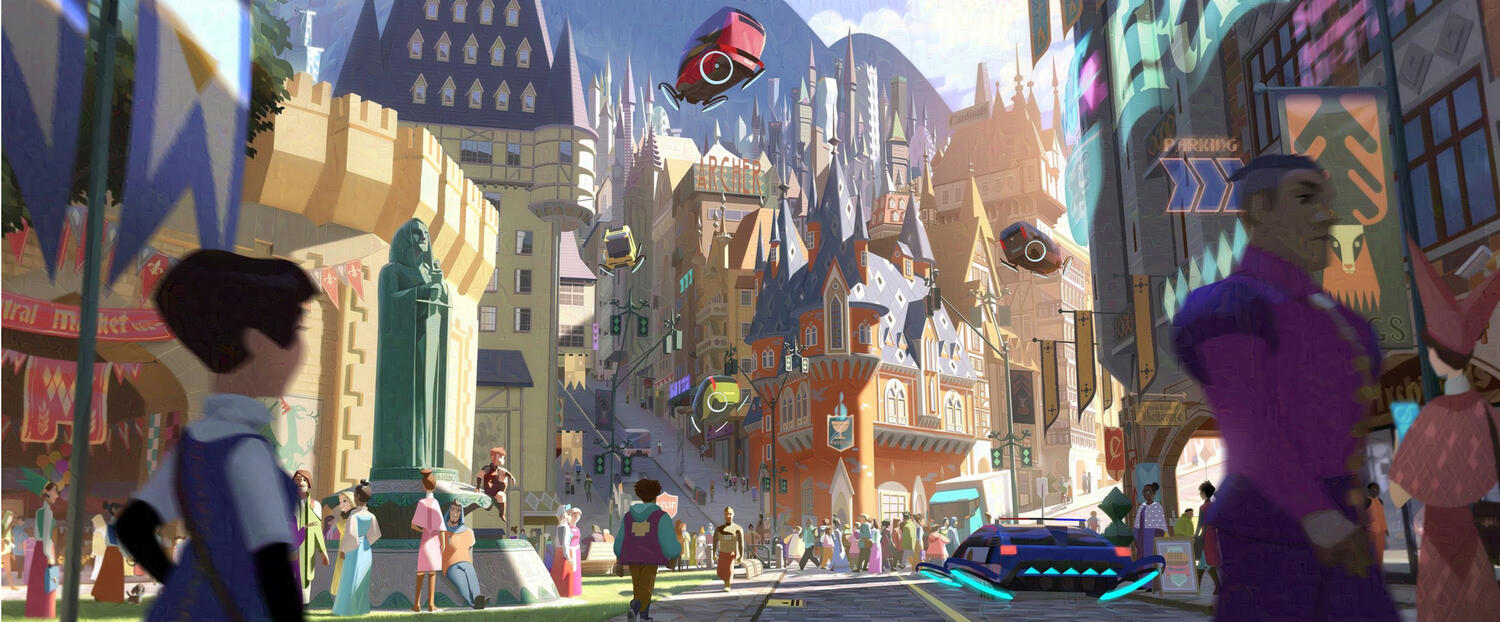
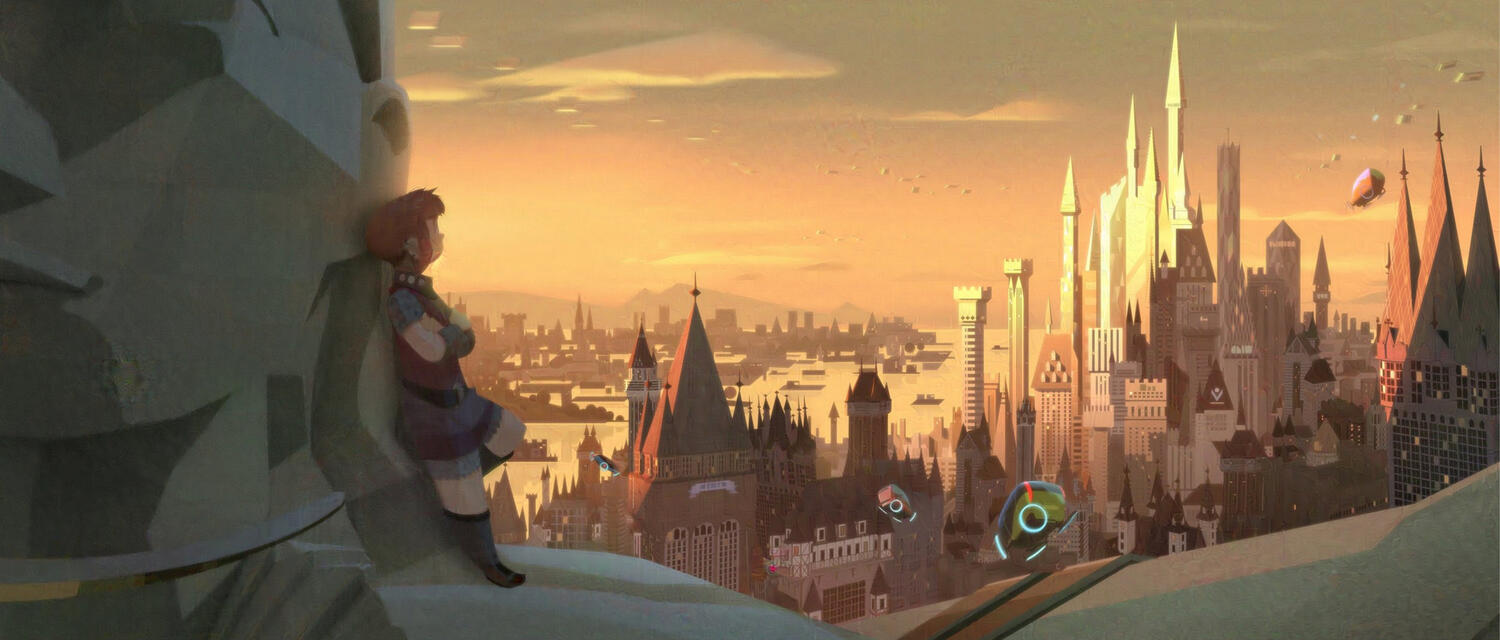
What is Concept Art
Concept art, or pre-visualisation is when an artist creates visual depictions of what a scene, character or background in project is going to look like. This is important in giving all members of the crew an indication of what the final scene will look like, ensure everyone is aiming for the same outcome and that changes can be made before production starts decreasing the cost of those changes.Early concept art can often look very different to the final outcome. Minor changes often come from the different art styles; the concept artist will likely have drawn the character in their own style before it is passed on to a full character designer for the final outcome. Larger changes are often down to the project going in a different direction that what was initially planned.
Pre-Production
Initial Concept Art
A yo-yo was something I was imagining throughout my initial mind mapping. This is because of the speed they can move and how they can bounce around chaotically but if skilfully mastered can move in graceful and artistic patterns. I felt this well represented ADHD, where those who have it are constantly moving and can often bounce around topic, but they can also learn how to work with their brains rather than against it.I decided to carry the yo-yos forward as the main visuals of my animation because I felt the audience would grasp this concept and would understand the meaning behind the yo-yos. I am also interested in the visuals I can experiment with using the motion of the yo-yos.
Synopsis
Story Arc
A story arc is a visual representation of the flow of a narrative, showing the main points of the story along a timeline. A basic story arc has 5 main points along the story arc; the set-up, rising action, climax, falling action and resolution. However, they can be more complex with multiple points of interest or peaking action depending on the narrative and the type of story being told.
Production Plan
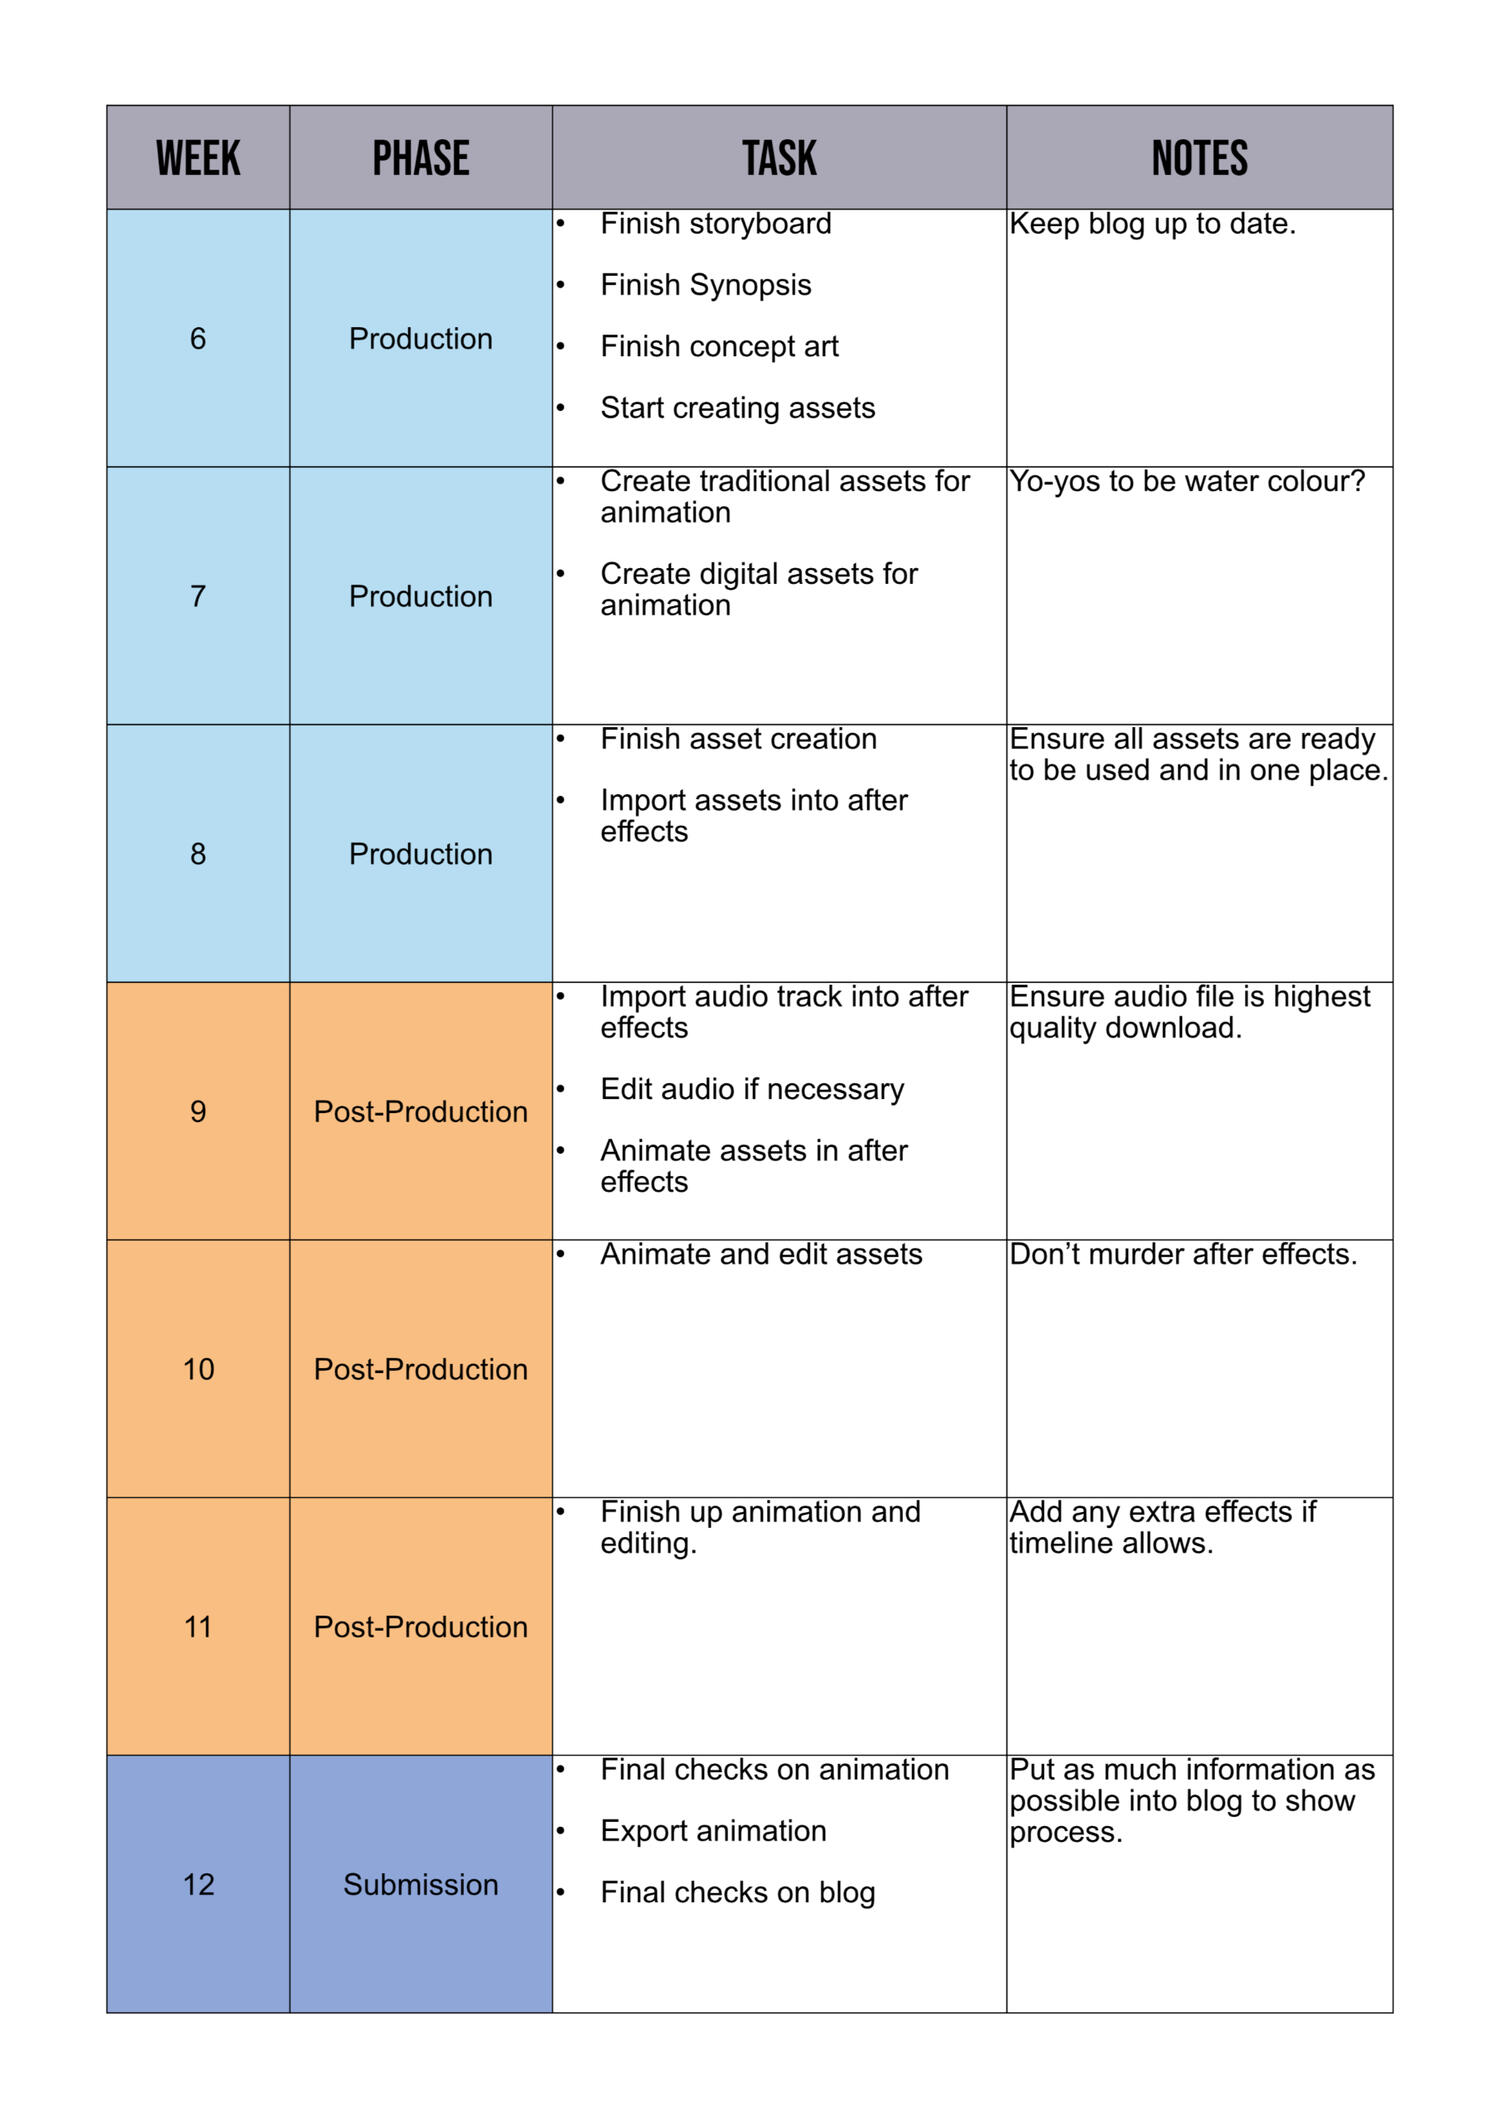
A production plan outlines the timeline of the production of a product. It gives an indication of when different stages are to be completed and allows for deadlines to be set for different millstones. This is a clear way to keep production on schedule and visually show how much time each stage has been allocated.
Test Scenes
With the test scene, I quickly realised physical assets were not going to work for this production. Although I felt that with a bit of work, I could get the idea to work, the main trouble was not being able to make small adjustments. If I wanted something to be slightly different, I had to go create a whole new asset and scan it in before I could import it rather than editing the original file. Given the time frame of this project, I didn't feel this was going to be viable and decided to switch to digitally created assets but used a style that had a hand drawn feel, mimicking the style of the concept art.
I then did a second test scene using Procreate. During the creation of the animated storyboard, I quickly realised that the transition between Act 2 Scene 2 and Act 2 Scene 3 was a bit unclear. In the storyboard I used a phoenix as to be the thing the speaker makes up; however, it is unclear due to the silhouette style, and it can easily be viewed as just a bird and doesn’t fit with the story. I decided that a dragon might be clearer as a fantasy creature, so I used one to make a test transition scene. This turned out to be much more effective and furthermore I felt it was a more interesting and smoother transition.
Redefining Visual Style
With a change to my plan i needed to rethink my visual style as I was no longer going to have paper assets and only digitally made ones with will change the look of the animation.I am keeping the rough, hand drawn line art as I can use pencil like brushes on both Procreate and Affinity Designer to create a similar feel.Since originally planning my visual style, I have moved from a using a few colours to using only 3 (white and 2 shades of blue). I chose blue because I could choose deeper less saturated tones whilst still having colours that are nice to look at.As the all the animation is now going to be done digitally it would have any stop-motion. However, by keeping the frame rate low the slightly choppy movements will still show through. Furthermore, any segment created in procreate will be done frame by frame adding to the overall feel of the animation.
Production
Asset Creation Part 1
To create my assets, I used a mix of Affinity Designer and Procreate as these were most effective in creating the assets I wanted and I’m familiar with them. I tried to use Affinity Designer as much as possible as I was able to create vectors. The hardest part of creating the assets was trying to keep things consistent such as line weight or illustration style.I started at the beginning of the audio creating the scene with the chairs as I knew for certain this was an element, I was going to be using multiple times throughout the animation. I made a couple of colour variations to ensure I could use the asset on the two different background colours with varying levels of hierarchy within the scene. This was important as I planned to use them in multiple scenes in the animation.
I then moved on to designing the different yo-yos I needed. This again an asset where I needed multiple variations as they are used throughout the animation because they are used in place of characters.
I then created the TV used in the first scene followed by the 17 different items used in Act 2 Scene 2. I choice to illustrate 17 things that looked very different to emphasise the point.
Animation Part 1
With the majority of the assets create I began the animation process in Adobe After Effects.I set up my composition in the standard HD screen size of 1920 x 1080 and set the frame rate to 8fps as I wanted a hand drawn/stop motion like feel to the animation.
Act 2 Scene 2
I started with Act 2 Scene 2 rather than at the beginning because this scene was simple but repetitive, so it was a good place to lead into the process but also get the most tedious scene finished early on. It was important to make sure all the items moved out of sync and have them narrowly miss each other to represent the way thoughts are chaotic and are similar to trains barely colliding.Given the large number of assets in this scene, I used a pre-composition to keep everything together and reduce the number of items in the main composition making the whole thing more organised. This also allows for all the assets to be animated together in the main timeline.
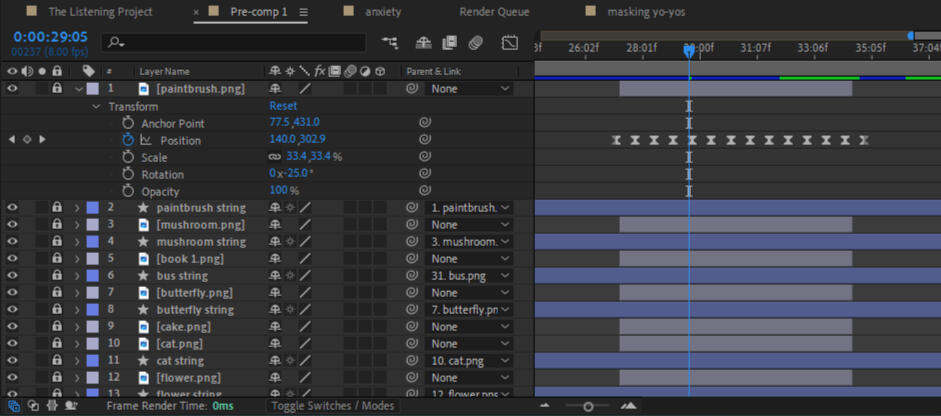
Act 1
I then started working from the beginning of the animation to set up the start of the narrative. I used simple position transforms to transition from the opening frame to the TV and then to the Yo-yo. This changed from the storyboard as my original idea was to have the TV grow and explode into the yo-yo, but this felt largely out of place, and I needed something that was calmer and fit the pacing of the audio better.To create the string of the yo-yo I used Roto Bezier to allow one line shape to transform into another. I started by drawing in the main key frames and going back into to create ones in-between if the motion didn’t fit or meet up with the motion of the yo-yo. This was my first time using this tool and the process was rather simple and it was easy to work with.With both yo-yos now in the chairs the scene holds for a while giving the speakers a chance to move on the narrative. When we switch speakers the other Yo-yo rolls of its chair and out of the screen. This process was similar to the other yo-yo using the Roto Bezier for the string and keyframing the position of the yo-yo.
Act 2 Scenes 1
I used a pre-composition again for this scene as it had a lot of different lines that would have overcrowded the main composition. To make the lines follow a path I used trim paths and then adjusted the wave of the line to get its shape. To add more of an unclear feel to the scene, I added grain to the composition. I then adjusted the timings to allow this scene to match the audio and meet up with the Act 2 Scene 2 composition.
Act 2 Scenes 3
I then went back to Procreate and adjusted the Fire Breathing Dragon animation from my test sequences. I adjusted the timing by removing some frames to create a better flow and inversed the colours to match the transition I needed in the full animation.
Changes and Developments
After beginning the animation process, I noticed some parts in my plan that were not going to work or wouldn't fit as well as I originally would have liked. I had already changed the phoenix to a dragon and added the scene representing anxiety from my original storyboard. To help the rest of the production I went back and changed my storyboard to fit the changes and my new visions for the animation.
Animation Part 2
Act 2 Scene 4
The next part was to animate the pocket watch. To get a smooth motion I adjusted the anchor point of the asset to be at the top of the chain where the rotation point would be if it were real. I then keyframed the position and rotation to create smooth curve. To make the motion more realistic I used Ease in on the first frame and ease out on the last, this meant speed of the motion reflected realistic physics.
Act 2 Scene 5
I created the dreams segment in Procreate because it gave me a lot of control over the shape of the though clouds and I was able to make it seem more dream like. Once the sequence was in After Effects, I was able to use gaussian blur to create the sense of zoning out and smoothly transition to a white screen for the next scene.
Act 2 Scene 6
For four of the yo-yos, the ones representing neurotypical people, I used a pre-composition to keep them organised together. I keyframed the position to create the bounce and used ease and out to make the bounce feel more real. I then parented the strings to the yo-yos, so they moved together. It was a similar process, creating the yo-yo that was masking as the motion was the same, it just needed to be offset by a few frames to make it out of sync with the other 4.
Creating the yo-yo representing someone with the common ADHD symptom of hyperactivity was more difficult. The placement of the yo-yo itself involved keyframing the position in random places across the screen, it was the string that caused a lot of issues. I used Roto Bezier again making the process seem simple but involved lots of adjustments and creating a balance between chaos and following the laws of physics when it came to how the string moved. This scene took the most time to make because of this reason. It does not help that the pen tool in After Effects can be difficult to work with compared to the pen tool in other Adobe products especially with the lack of precision when adjusting curves once they have been drawn.
Act 3 Scene 1
For the final scene I used the opacity to have the screen become a solid blue background with the armchairs being moved onto the screen by keyframing the position. I made sure the scene was set up exactly like the opening scene showing how the conversation as comeback around to the speakers’ experiences. This is a slight change from my storyboard, which had the yo-yos in the closing scene, but I feel this is a much better way to end.
Animation Progress
With something in place for every scene, I could watch the animation as a full piece. Technically, at this stage I could have called it complete, but I wasn’t happy with it. It didn’t feel finished or professional enough, with small mistakes and many scenes just felt empty. So, I decided to go back to animating and improve it.
Animation Part 3 - Final Changes
Changing the Yo-yo Assets
Looking back at my test scene I realised that I really wanted to use those assets in my final animation. So, I went back in and changed out the yo-yos for the original paper assets. I decided not to use the orange yo-yo from the test scene as this would be the only use of another colour in the animation and would have stood out too much. This was a simple change as all I needed to do was reload the footage as the paper assets and adjust scale and anchor points if necessary.With this I changed the background to the watercolour background from the test sequence as well but added a horizontal gaussian blur to keep the yo-yos the focus.
Adding a Background
I also used the background behind the anxiety animation and added the Flo Motion effect to further emphasise the sense of anxiety being conveyed.
Opening and Closing Scene Changes
I then made one final but big change. The tv sliding in and the chairs sliding out didn’t feel like a smooth enough transition and made especially weird by the floor just sliding away. Instead, I made the scene be inside the TV, using the scaling transformation to zoom out and reveal the TV. This meant changing the final scene to match. I also used the watercolour background again when the chairs appear again a scene later to keep it consistent and to carry the style throughout. For the closing scene, the blur allowed me to have the background as a zoomed in version of the chair set up and have it zoom out to reveal the chairs, again linking back to the start.
Speech bubbles
The opening and closing scenes did not have any animation at this stage and together was quite a lot of time with only audio and no movement. I decided to animate speech bubbles appearing and disappearing as the two women spoke. Not only did this make the scenes more interesting, it also helped define the women as two separate characters and help the audience understand who is speaking at what time. I used keyframes to fade the bubbles in and out using opacity. I also used the parent feature again to make the bubbles follow the chairs when necessary.
Colour Scheme Adjustments
With these changes a warmer cream colour had been introduced so I decided to make all the other scenes match and remove the bright white used throughout. At first it felt like too much has it was a sudden change, but I soon realised it made the whole animation feel more cohesive. But more importantly the change made it feel warmer. The use of blue and white made the whole conversation feel cold, and although they are discussing some serious issues, it is still a casual conversation between too women and the new colour scheme makes it far more welcoming.
Adding Sound Effects
To add to the animation, I added some subtle sound effects to compliment the action. I used royalty free sounds from Pixbay because although copyright can be avoided for educational purposes, I wanted to use good practices of using copyright free content from the beginning. I used Premiere Pro to add the audio after exporting my animation because it gives me far more control over the audio.I added a sound effect for the dragon's fire breathing to bring it more to life, the only challenge here was finding a sound that wasn't a dragon's roar or a crackling fire. The swoosh noise for the pocket watch was also straight forward, the main task was to make sure the sound aligned with the motion. The final sound effect was background noises for the daydreaming and zoning out section. As the sounds i used were from a larger segment of magical sounds, I made the sound fade in and out making it more subtle and transition smoothly to not ruin the experience.
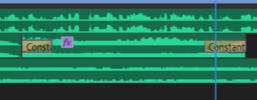
The 3 sounds I added were all in the same part of the animation, one after the other. This made sense given this was the most action-packed part. However, this meant the rest of the animation would have zero sound, only the dialogue so the sound effects later on might feel out of place. This led me to add some calm and quiet music in the background, so there is some level of sound and makes the whole thing feel more cinematic overall.
I experimented with sounds in other places, but they always seemed to loud, harsh and out of place even, by the time they were soft enough to fit in with the dialogue they were nearly inaudible which took away from the experience.Despite going through this process, I prefer the animation without any sound effects or music. I feel allowing the aniamtion to speak for itself is better and stop attention being drawn away from the spoken dialogue.
Final Product
Final Animation
I have two final exports of the animation.The main one is the original with just the dialogue and the animation.
The other is with the added sound effects and music.
Personally, I prefer the version without the music and sounds, to allow the focus to be on the animation and on what is being said. Also, some people might find the sound effects and music distracting or effect their ability to hear the dialogue. However, some people like the addition of extra sounds.
Production Files
After Effects files and assets can be found here is needed.
Reflection & Improvements
Overall, I am pleased with how this animation came out. I have never created such an ambitious animation in After Effects before, so it was great to gain new skills through the production process. I learnt a lot in the during this project especially when it comes to different tools and effects that can be used in After Effects which are definitely going to be useful in future projects.I feel that the two most successful part of this animation are the fire breathing transition that is Act 2 Scene 3 and the 6 yo-yos of Act 2 Scene 6. I really enjoyed making the dragon animation and I think it is a clever and interesting way to transition scene, but it also fits well with the audio about making something up and dragons being fantasy creatures. The 6 yo-yos turned out really well and I am proud of the animation for the string of the hyperactive yo-yo. It’s not perfect but it is far beyond where I expected it to be, and it does feel like it could be a real piece of string.If I was to take on this project again with a longer production timeline, I would create all of the assets the way I did the yo-yo's, using water colour and tearing them out. I really like the rough look and having all assets this style would make the animation more cohesive overall and give it a much stronger and unique style. Furthermore, sequences made in Procreate, for example the fire breathing dragon transition, would be far more visually interesting if each frame was created using paper. I would also take the time to get more peer feedback throughout the process. Although I received some, more in-depth feedback would be very useful guiding the production process and shaping the final product into the best possible outcome.
References
AdobeMasters (2017) How to Control Multiple Layers in Adobe After Effects CC 2018, www.youtube.com. Available at: https://youtu.be/PGqIdPCGwaQ?si=nOaOn-2pa-fDHFay (Accessed: 13 November 2023).AJR (2020) AJR - My Play (Official Video), www.youtube.com. Available at: https://www.youtube.com/watch?v=Ew8jKnliFZg (Accessed: 24 September 2023).AJR (2021a) AJR - Adventure Is Out There (Official Audio), www.youtube.com. Available at: https://www.youtube.com/watch?v=AYBPvJ67YPs (Accessed: 24 September 2023).AJR (2021b) AJR - World’s Smallest Violin (Official Video), www.youtube.com. Available at: https://www.youtube.com/watch?v=PEnJbjBuxnw (Accessed: 24 September 2023).BBC (2012) BBC Radio 4 - The Listening Project - About, BBC. Available at: https://www.bbc.co.uk/programmes/articles/41rDvmTW0T1JWjXkcvZtMqt/about (Accessed: 19 September 2023).BBC (2021) The Listening Project - Awards and Challenges - BBC Sounds, www.bbc.co.uk. Available at: https://www.bbc.co.uk/sounds/play/m000yl98 (Accessed: 19 September 2023).Carter, T. (2023a) Central Kingdom Street, Nimona, Concept Art Association. Available at: https://www.conceptartassociation.com/2023-caa-finalists/blog-post-title-one-amczg-jpd8m-rp5tx-ncy8t-z6rdc-efzsd-4m59w-nxc8a-aadae-c67yr-htn2l-afr79-p8nk7 (Accessed: 2 October 2023).Carter, T. (2023b) Nimona Overlooks Central Kingdom, Nimona, Concept Art Association. Available at: https://www.conceptartassociation.com/2023-caa-finalists/blog-post-title-one-amczg-jpd8m-rp5tx-ncy8t-z6rdc-efzsd-4m59w-nxc8a-aadae-c67yr-htn2l-afr79-p8nk7-tfc6g (Accessed: 2 October 2023).Castleberry, C. and Castleberry, C. (2022) Yes, There are Three Types of ADHD – Here’s What You Need to Know About Each of Them, SheKnows. Available at: https://www.sheknows.com/health-and-wellness/articles/2581831/three-adhd-types-what-to-know/ (Accessed: 24 September 2023).Concept World (no date) The Art of Snow White and the Seven Dwarfs | Concept Art World, The Art of Snow White and the Seven Dwarfs. Available at: https://conceptartworld.com/books/the-art-snow-white-and-the-seven-dwarfs/ (Accessed: 2 October 2023).Foreman, J. (2006) Jay Foreman - YouTube, www.youtube.com. Available at: https://www.youtube.com/@JayForeman (Accessed: 19 September 2023).Gerber, J. (2021) Review: AJR’s ‘OK ORCHESTRA’ presents band’s most emotional lyrics paired with signature sound, The Lancer Feed. Available at: https://lancerfeed.press/opinions/2021/04/16/review-ajrs-ok-orchestra-presents-bands-most-emotional-lyrics-paired-with-signature-sound/ (Accessed: 23 September 2023).GISGeography (2023) World Map with Countries, GIS Geography. Available at: https://gisgeography.com/world-map-with-countries/ (Accessed: 19 September 2023).Granville, V. (2021) Defining and Measuring Chaos in Data Sets: Why and How, in Simple Words - DataScienceCentral.com, Data Science Central. Available at: https://www.datasciencecentral.com/defining-and-measuring-chaos-in-data-sets-why-and-how-in-simple-w/ (Accessed: 25 September 2023).Gullickson, B. (2020) ‘Steamboat Willie’ Transformed Mickey Mouse From Failure to Champion, Film School Rejects. Available at: https://filmschoolrejects.com/mickey-mouse-steamboat-willie/ (Accessed: 1 October 2023).Johnson, N. (2023) Spider-Verse 2 Reveals Main Villain’s Insane Superpowers In New Footage, The Direct. Available at: https://thedirect.com/article/spider-verse-2-villain-superpowers-footage (Accessed: 22 September 2023).Juan, P. (2018) Portrait Photo of Man in White Crew-neck T-Shirt with Assorted Hand Tools in Background, Pexels. Available at: https://www.pexels.com/photo/portrait-photo-of-man-in-white-crew-neck-t-shirt-with-assorted-hand-tools-in-background-1139743/ (Accessed: 10 December 2023).Khazan, O. and Boyd, K. (2020) The Benefits of Not Fitting In, Think. Available at: https://think.kera.org/2020/04/14/the-benefits-of-not-fitting-in/ (Accessed: 25 September 2023).Landekic, L. (2019) Good Omens, www.artofthetitle.com. Available at: https://www.artofthetitle.com/title/good-omens/ (Accessed: 25 September 2023).Manuel does motion (2022) Crazy Trim Paths Tricks in After Effects | Tutorial, www.youtube.com. Available at: https://youtu.be/748l7DIU4bQ?si=GHbo1Z7m3VIwjgLn (Accessed: 13 November 2023).Nakaya, R. (2021) ‘I Put a Tiny Camera on My Cat for 24 Hours’, The Kid Should See This. Available at: https://thekidshouldseethis.com/post/tiny-camera-on-cat-24-hours-half-asleep-chris-video (Accessed: 10 February 2023).Piacquadio, A. (2017) Closeup Photo of Woman with Brown Coat and Gray Top, Pexels. Available at: https://www.pexels.com/photo/closeup-photo-of-woman-with-brown-coat-and-gray-top-733872/ (Accessed: 10 December 2023).Pixbay (2021a) Fire Breath, Pixbay. Available at: https://pixabay.com/sound-effects/fire-breath-6922/ (Accessed: 7 December 2023).Pixbay (2021b) swoosh, Pixbay. Available at: https://pixabay.com/sound-effects/swoosh-6428/ (Accessed: 7 December 2023).Pixbay (2022b) Chime Song Mellow Chill Short 2, Pixbay. Available at: https://pixabay.com/sound-effects/chime-song-mellow-chill-short2-62649/ (Accessed: 10 December 2023).Ramin Zahed (2023) Spider-Man: Across the Spider-Verse. Abrams.
Richards, O. (2019) Faerie Rogue, Art of Magic: the Gathering. Available at: https://www.artofmtg.com/art/faerie-rogue/ (Accessed: 25 September 2023).Scrinkl, M. (2023a) Dots | stop motion animation, Behance. Available at: https://www.behance.net/gallery/161155765/Dots-stop-motion-animation?trackingsource=searchprojects (Accessed: 2 October 2023).Scrinkl, M. (2023b) Pride Month | stop motion animation, Behance. Available at: https://www.behance.net/gallery/172880981/Pride-Month-stop-motion-animation (Accessed: 2 October 2023).Stavraki, I. (2023) ADHD & Sensory Overload In Adults: Managing Overstimulation, Simply Psychology. Available at: https://www.simplypsychology.org/adhd-sensory-overload.html (Accessed: 25 September 2023).Szikszai, G. (2020) Sprite Dragon, Art of Magic: the Gathering. Available at: https://www.artofmtg.com/art/sprite-dragon/ (Accessed: 25 September 2023).Tate (no date) Art Maps, Tate. Available at: https://www.tate.org.uk/about-us/projects/art-maps (Accessed: 19 September 203AD).The Guardian (2015) ‘Cool cartography: the art of mapmaking’, the Guardian, 10 September. Available at: http://www.theguardian.com/travel/gallery/2015/sep/10/cool-cartography-the-art-of-mapmaking (Accessed: 19 September 2023).Transport for London | Every Journey Matters (2019) Tube, Transport for London. Available at: https://tfl.gov.uk/maps/track/tube (Accessed: 20 September 2023).Venturia Animations (no date) VENTURIA | Animation Studio based in Colombia, VENTURIA | Animation Studio based in Colombia. Available at: https://www.venturiaanimation.com (Accessed: 1 October 2023).Venturia Animations (2019) Waldos Dream, VENTURIA | Animation Studio based in Colombia. Available at: https://www.venturiaanimation.com/waldos-dream (Accessed: 27 November 2023).Walt Disney Animation Studios (2023) Wish | Official Trailer, www.youtube.com. Available at: https://www.youtube.com/watch?v=oyRxxpD3yNw (Accessed: 10 October 2023).Wikipedia (2023a) Centre Port, Wikipedia. Available at: https://en.wikipedia.org/w/index.php?title=Centre_Port&oldid=1168234315 (Accessed: 24 September 2023).Wikipedia (2023b) Map, Wikipedia. Available at: https://en.wikipedia.org/w/index.php?title=Map&oldid=1175608454 (Accessed: 19 September 2023).Yoyo Tricks (no date) Yoyo Tricks, YoYoTricks.com. Available at: https://yoyotricks.com/yoyo-tricks/ (Accessed: 25 September 2023).
